7 Easy Wood Accent Wall Ideas You Can Install Yourself
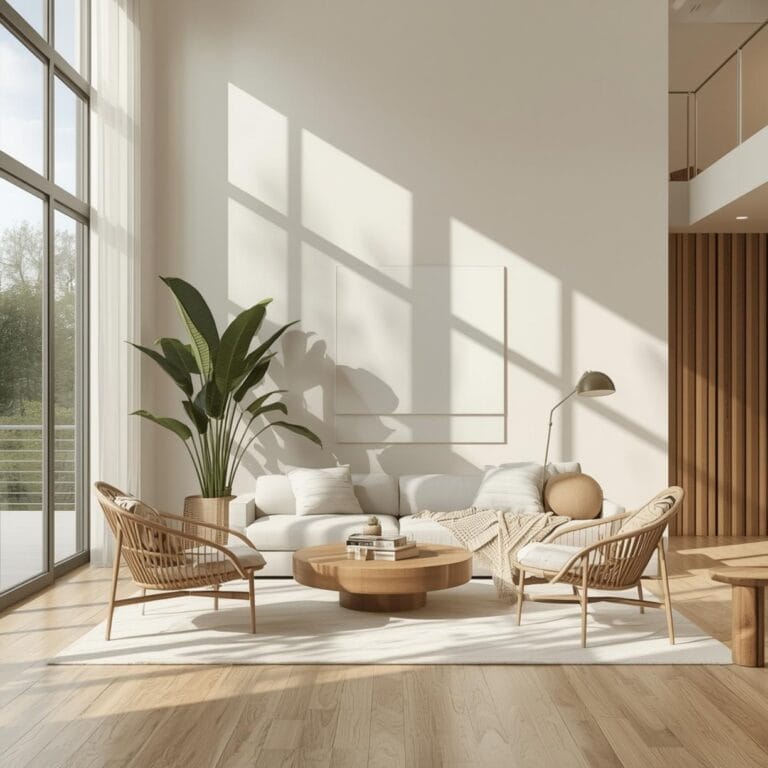
You walk into a room and something feels missing. The paint color is fine, the furniture works, but the space still feels flat. That’s where wood accent walls ideas come in to add warmth, texture, and character that paint alone just can’t deliver.
Wood accent walls have become one of the most popular ways to give any room instant personality. Whether you love rustic farmhouse vibes, modern minimalism, or something in between, there’s a wood wall style that fits your home perfectly.
The best part? Many of these looks are surprisingly achievable for regular homeowners without calling in a contractor.
Table of Contents
What You’ll Need to Get the Look
The materials you’ll need depend on which wood accent wall style you choose. Here are the most common elements homeowners work with:
Wood Materials:
– Shiplap boards (real wood or MDF)
– Reclaimed barn wood planks
– Pallet wood (cleaned and sanded)
– Tongue and groove planks
– Wood panels or plywood strips
– Pre-finished wood tiles
Installation Supplies:
– Construction adhesive
– Brad nailer or finishing nails
– Level and measuring tape
– Sandpaper (various grits)
– Wood stain or paint
– Polyurethane sealer
Decorating Elements:
– Wall-mounted shelves
– Artwork or mirrors
– Lighting fixtures
– Plants in decorative pots
– Textiles that complement the wood tone
Finding Your Style and Season
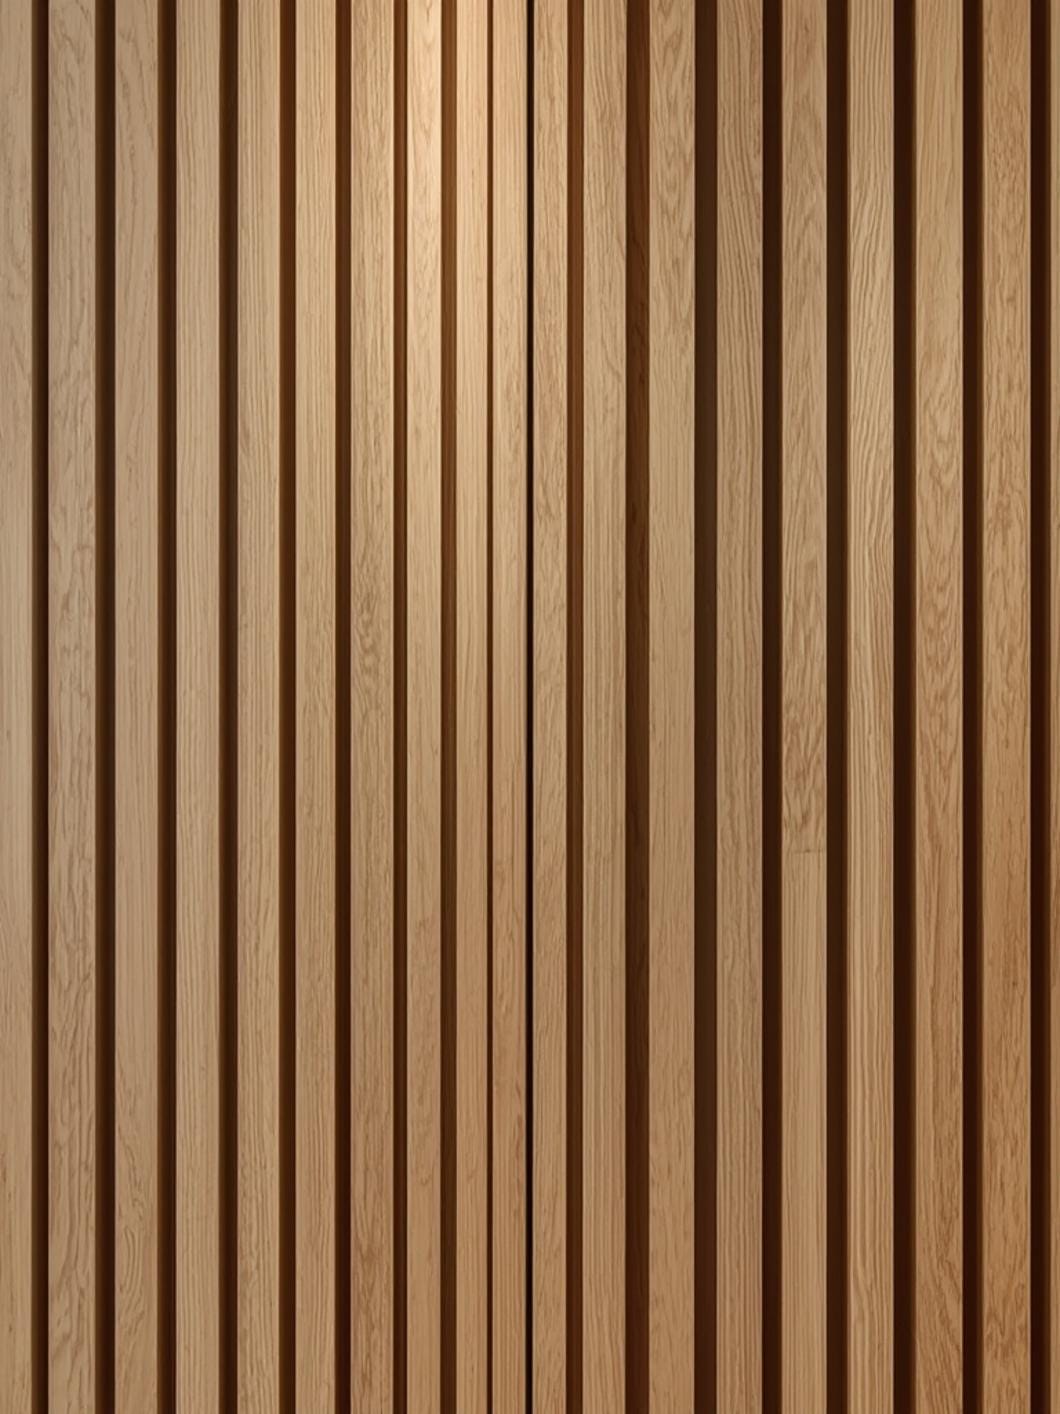
Think about the mood you want to create before choosing your wood accent wall style. Lighter woods like pine or whitewashed shiplap feel airy and fresh, perfect for spring and summer aesthetics. Darker woods like walnut or weathered barn wood create cozy, intimate spaces ideal for fall and winter vibes.
Consider which wall makes the biggest impact. Your accent wall should be the focal point, so choose the wall behind your bed, sofa, or dining table. This creates a natural gathering spot for the eye and anchors your furniture arrangement.
Timing matters too. If you’re planning a wood accent wall, give yourself a weekend for planning, shopping, and installation. Most homeowners complete a single accent wall in one to two days, depending on the size and complexity of the pattern.
7 Ideas to Try in Your Home
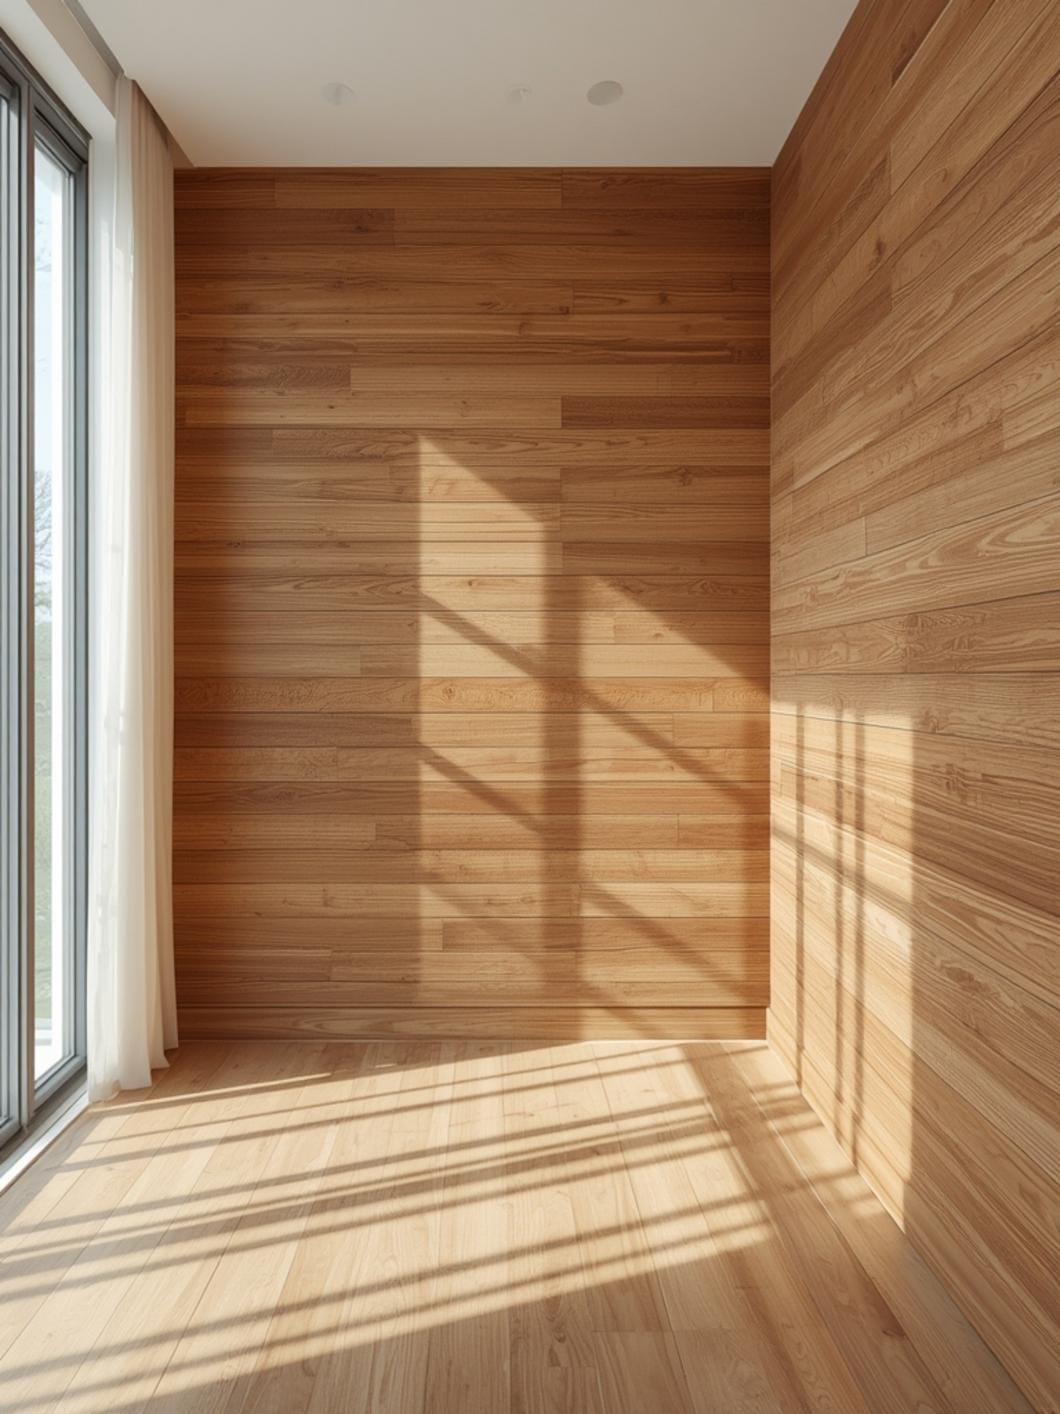
Classic Horizontal Shiplap
This timeless look features horizontal boards with small gaps between them. Understanding how to install shiplap accent walls opens up endless design possibilities, from white painted finishes to natural wood tones. Start at the bottom and work your way up, using a level to keep each board straight. The horizontal lines make rooms feel wider and create that coveted farmhouse-modern aesthetic.
Vertical Board and Batten
Vertical wood strips create height and drama. Install wider boards vertically with even spacing, then add narrower strips over the seams. This pattern works beautifully in entryways and dining rooms where you want to draw the eye upward. Paint everything one color for a sophisticated monochrome look.
Diagonal Herringbone Pattern
Cut wood pieces at 45-degree angles and arrange them in a zigzag pattern. This geometric design adds serious visual interest and works especially well as a bedroom headboard wall. The angled lines create movement and energy that flat horizontal or vertical boards can’t match.
Mixed Width Planks
Combine boards of different widths for an organic, collected-over-time appearance. This style works perfectly with reclaimed wood because the varied widths highlight the character of each piece. Install them horizontally or vertically, mixing 3-inch, 5-inch, and 7-inch boards randomly.
Weathered Barn Wood Panels
Authentic reclaimed barn wood brings instant age and character to any space. Each plank tells a story with its weathered gray tones, nail holes, and natural patina. Install these horizontally in living rooms or bedrooms for rustic charm that feels warm rather than rough.
Painted Wood Grid
Create a modern grid pattern using wood strips painted in two contrasting colors. Install horizontal and vertical pieces to form large squares or rectangles. This geometric approach works beautifully in home offices and craft rooms, adding structure without overwhelming the space.
Whitewashed Tongue and Groove
Light, bright, and beachy describes this popular style. Tongue and groove boards fit together seamlessly, creating a smooth surface. Apply a whitewash or light stain to let the wood grain show through while keeping the overall look fresh and airy. This style makes small rooms feel larger and brings coastal cottage vibes anywhere.
Natural Edge Live Edge Boards
For something truly unique, use boards with their natural bark edge intact. Arrange them horizontally with the wavy edges visible for an organic, forest-inspired look. This works especially well in cabins, nature-themed nurseries, or anywhere you want to bring the outdoors in.
Stained Wood Chevron
Similar to herringbone but with continuous V-shapes, chevron patterns create bold visual impact. Cut boards to precise angles so they meet in perfect points. Stain them in complementary tones for added depth, or keep everything uniform for cleaner lines.
Benefits of Adding Wood Accent Walls
Wood accent walls transform how a room feels the moment you walk in. They add depth and dimension that flat painted walls simply cannot achieve, making spaces feel more layered and intentionally designed.
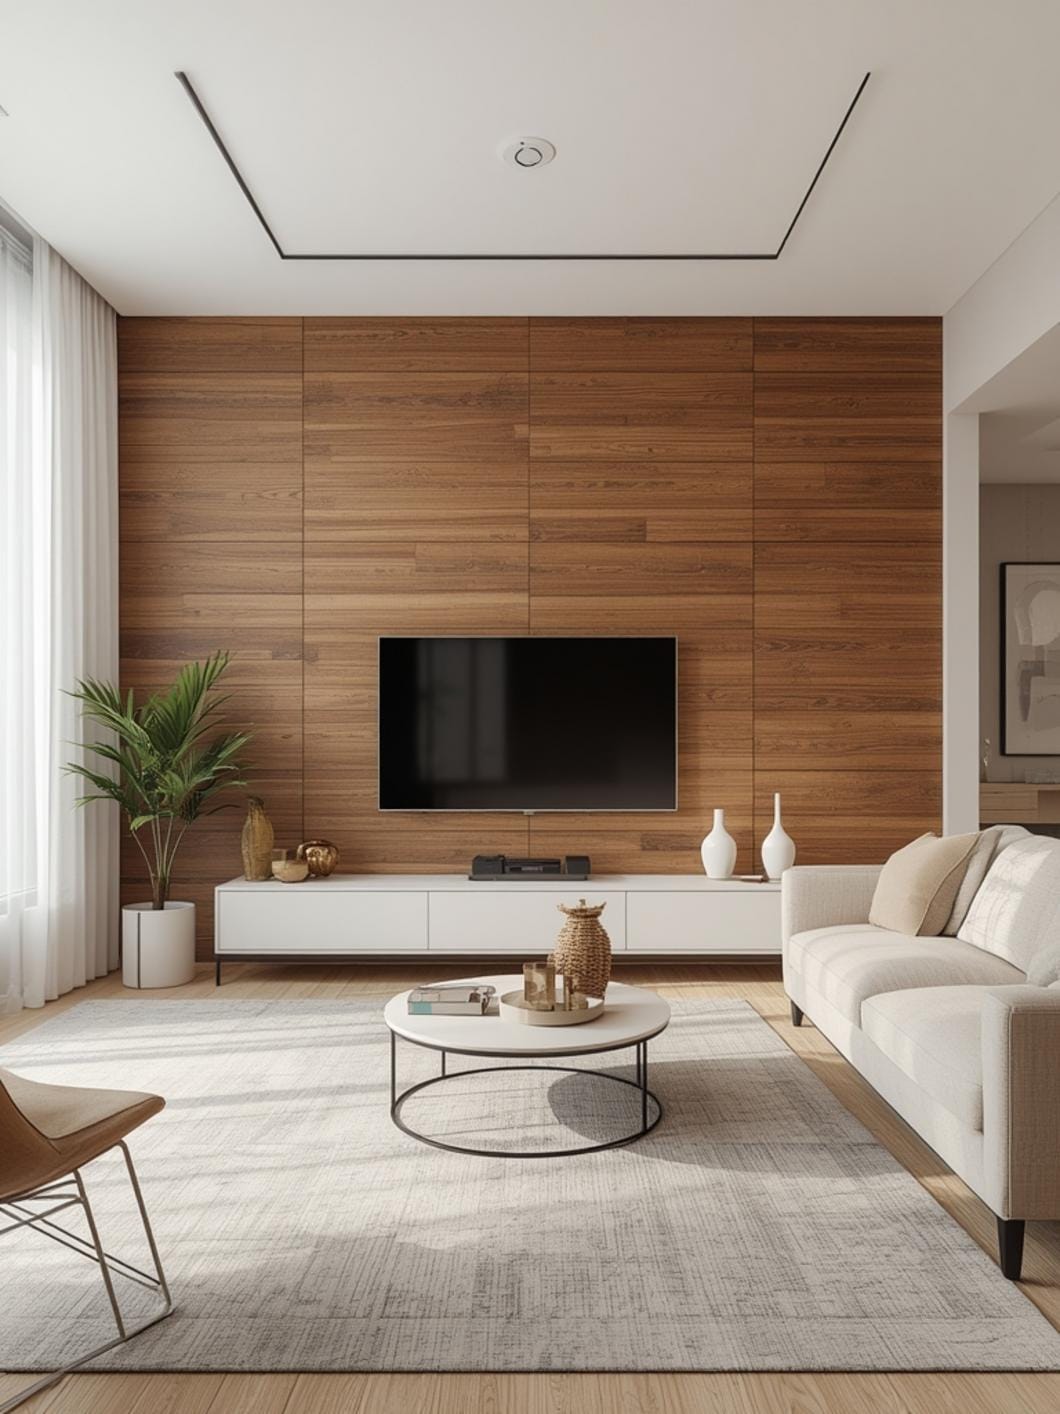
The natural texture of wood introduces warmth that makes any room feel more inviting. Even in modern minimalist spaces, a wood accent wall softens the overall aesthetic while maintaining clean lines and contemporary style.
These walls also solve decorating dilemmas. That awkward empty wall suddenly becomes the star of the room. You’ll find yourself needing less artwork and fewer decorative accessories because the wall itself provides the visual interest.
Wood accent walls can actually make rooms feel larger or cozier depending on your choice. Horizontal lines expand space visually, while darker woods create intimate atmospheres perfect for bedrooms and reading nooks.
From a practical standpoint, wood walls hide minor wall imperfections. Small dents, uneven drywall, or patched areas disappear beneath your new wood surface.
Tips, Alternatives, and Styling Advice
Budget-Friendly Option:
Use pre-finished plywood cut into strips. Many home improvement stores will make cuts for you, and plywood costs significantly less than solid wood boards. Paint or stain it yourself, and you’ll have a beautiful accent wall for under $200 in materials.
Mid-Range Option:
Real wood shiplap boards or tongue and groove planks offer authentic wood grain and texture. Expect to spend $400-700 for a typical bedroom accent wall, including adhesive and finishing materials. The quality difference is noticeable, and these walls last for decades.
Premium Option:
Reclaimed barn wood or exotic hardwoods create truly one-of-a-kind walls. Budget $800-1500 for materials, but you’re getting a conversation piece with history and character money can’t buy. These walls become focal points that define entire rooms.
Small Space Adaptation:
In small rooms, use wood accent walls strategically. Apply wood only to the upper half of the wall, or create a headboard-sized section rather than covering the entire wall. This gives you the wood texture without overwhelming tight quarters.
Choose your wood tone to complement existing furniture. If you have dark furniture, lighter wood walls create beautiful contrast. With light furniture, you can go either way—match for a cohesive look or contrast for drama.
Layer your wood wall with other textures. Add soft textiles, smooth metals, or rough ceramics nearby to create visual interest that prevents the wood from feeling monotonous.
Common Mistakes to Avoid
Skipping the Acclimation Period:
Installing wood immediately after bringing it home leads to warping and gaps. Let your wood sit in the room for 48 hours so it adjusts to your home’s temperature and humidity before installation.
Forgetting to Account for Outlets and Switches:
Measure outlet locations carefully before installing boards. Mark these spots and cut notches so your plates fit properly, or you’ll be pulling boards back down to fix it.
Not Using a Level:
Even slightly crooked boards become obviously wrong as you work your way up the wall. Check your level with every single board, even if it slows you down, because fixing crooked work means starting over.
Choosing Wood That Clashes With Your Flooring:
Your wood accent wall and wood floors should complement each other, not compete. If you have warm honey-toned floors, avoid cool gray wood walls and vice versa unless you intentionally want that contrast.
Installing Wood in High-Moisture Areas:
Bathrooms with showers need special consideration. Standard wood expands and contracts with moisture, potentially warping or developing mold. If you love the look, use specially treated wood or wood-look tiles designed for wet environments.
Maintenance and Upkeep Tips
Dust your wood accent walls monthly with a microfiber cloth or soft duster. Unlike painted walls, wood texture catches dust, but regular light cleaning prevents buildup that becomes harder to remove.
For deeper cleaning once or twice a year, use a barely damp cloth with a drop of wood-safe cleaner. Wipe with the grain, never across it, and dry immediately with a clean towel to prevent water spots.
If you’ve sealed your wood wall with polyurethane, it’s protected from most daily wear. Check the finish annually, especially in high-traffic areas, and apply a fresh coat if you notice dull spots or minor scratches appearing.
For unsealed or lightly stained wood, embrace the natural aging process. Light color changes and subtle variations add to the character. If something truly bothers you, a light sanding followed by fresh stain on that board blends it back in.
Address scratches or dents promptly if they bother you. Wood filler in a matching stain color fixes small issues, and a light sanding with fine-grit sandpaper minimizes surface scratches before they become deeper grooves.
Conclusion
Wood accent walls bring warmth, character, and visual interest that transforms ordinary rooms into spaces you’re truly proud to call home. With so many styles from classic shiplap to dramatic herringbone, you’ll find a look that matches your personal taste perfectly.
The beauty of these projects is that many are genuinely doable for regular homeowners willing to invest a weekend. Start with one wall, take your time, and enjoy the process of creating something beautiful with your own hands.
Ready to explore more ways to make your home uniquely yours? Browse DecorKingdom for hundreds of inspiring ideas that turn your decorating dreams into reality.
FAQs
What’s the easiest wood accent wall for beginners?
Horizontal shiplap is the most beginner-friendly option because the installation process is straightforward and forgiving. You work from bottom to top, and each board supports the next. Small mistakes in spacing or cutting blend into the overall design, making it perfect for your first wood wall project.
Can I install a wood accent wall without removing baseboards?
Yes, you can work around existing baseboards. Start your first board just above the baseboard and end just below the ceiling molding. This saves time and effort while still creating a beautiful finished look. Use quarter-round molding if you need to cover any gaps between the wood and baseboard.
How much does a wood accent wall typically cost?
Budget $150-300 for a DIY plywood or basic pine wall, $400-700 for quality shiplap or tongue and groove, and $800-1500 for reclaimed or exotic woods. These estimates cover an average 10×12 foot wall including wood, adhesive, finishing materials, and basic tools if you don’t already own them.
Do I need to paint or stain my wood accent wall?
Not necessarily. Many homeowners love the natural wood look and simply apply a clear polyurethane sealer for protection. However, paint or stain gives you more control over the final color and helps the wall blend with your existing decor. The choice depends entirely on your personal style preference.
Will a wood accent wall work in a rental apartment?
Traditional installed wood walls aren’t ideal for rentals, but peel-and-stick wood planks offer a renter-friendly alternative. These adhesive-backed planks apply directly to walls and remove cleanly when you move out. They cost slightly more than traditional wood but require no nails, tools, or permanent installation.
—
Meta Title: Wood Accent Walls Ideas That Transform Any Room (2026)
Meta Description: Discover stunning wood accent walls ideas from shiplap to herringbone. Get style inspiration plus practical tips for DIY installation.