How to Create Budget Unfinished Basement Laundry Room Ideas
You know that corner of your basement where the washer and dryer sit surrounded by bare concrete walls and exposed pipes? It doesn’t have to look like a forgotten utility closet. Even without drywall or a big renovation budget, you can create a space that feels clean, organized, and surprisingly pleasant to use.
With the right budget unfinished basement laundry room ideas, you can turn that cold, dingy area into a functional room you don’t dread visiting. The key is working with what you already have rather than against it. Many homeowners spend under $300 and a few weekends to completely refresh their basement laundry setup.
This guide walks you through practical, affordable ways to improve your unfinished basement laundry room without hiring contractors or breaking the bank.
Table of Contents
What You’ll Need to Get the Look
Creating a functional and appealing unfinished basement laundry room doesn’t require fancy finishes. Here’s what actually makes a difference:
Essential Structural Protection:
– Waterproofing paint or sealer for concrete walls
– Vapor barrier sheets if needed
– Dehumidifier to control moisture
Storage and Organization:
– Heavy-duty metal shelving units
– Pegboard panels for hanging supplies
– Plastic storage bins with lids
– Hanging rod for air-drying clothes
Lighting and Comfort:
– LED shop lights or track lighting
– Peel-and-stick vinyl floor tiles
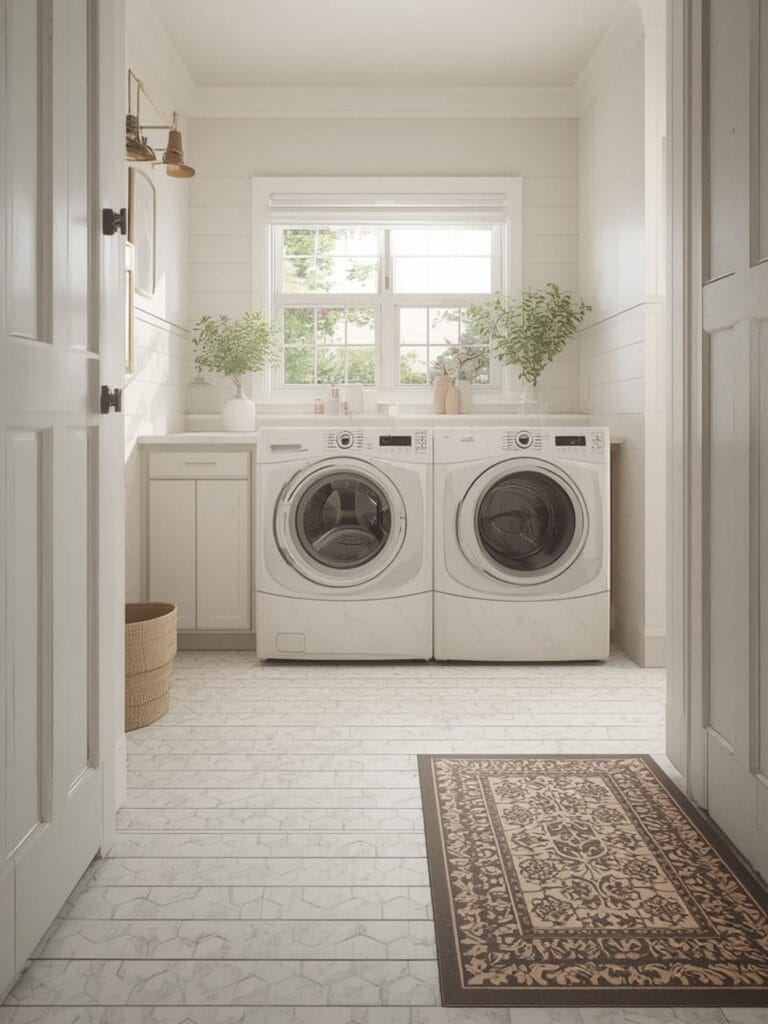
– Area rug or rubber floor mats
– Curtains or fabric panels to hide utility areas
Finishing Touches:
– Bright white paint for exposed ceiling joists
– Command hooks for organizing cords and hoses
– Folding table or countertop over washer/dryer
– Small stool or step ladder
You don’t need to purchase everything at once. Start with moisture protection and lighting, then add organizational pieces as your budget allows.
Finding Your Style and Season
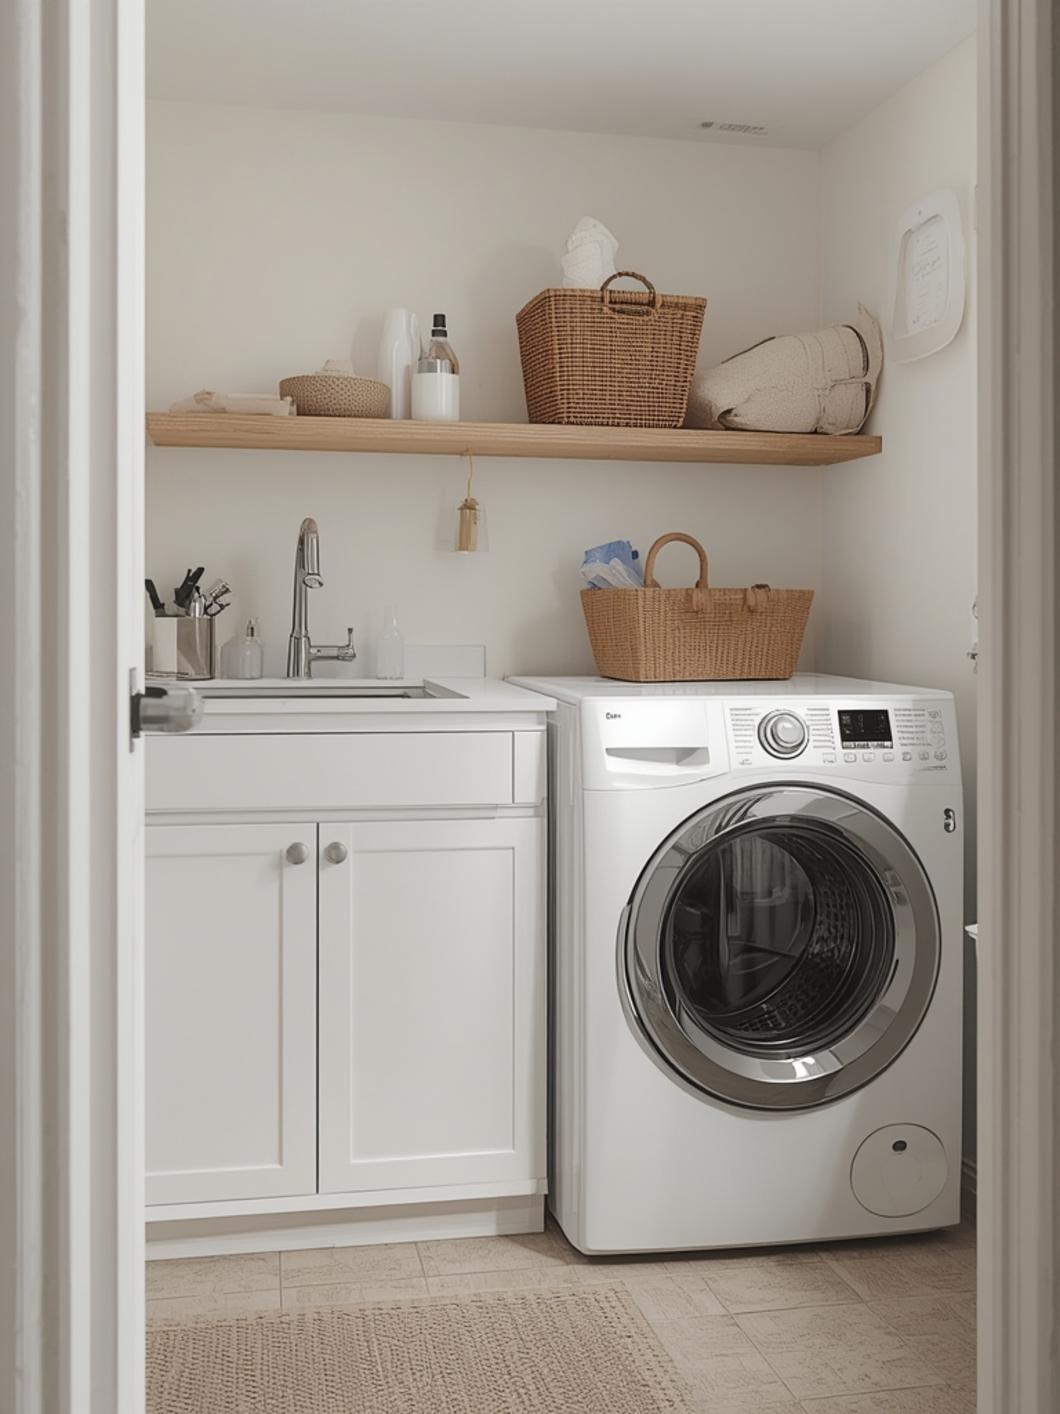
Timing your basement laundry makeover around the right season makes the project easier and more effective. Spring and summer offer the best conditions for waterproofing work since concrete needs to be dry and temperatures should stay above 50°F for most sealers to cure properly.
Consider tackling this project during a long weekend when you can complete moisture-proofing steps without rushing. The waterproofing process typically needs 24–48 hours of drying time before you can move appliances back and add finishing touches.
Budget-wise, plan for three phases if funds are tight. Month one focuses on waterproofing and basic protection (around $100–150). Month two adds lighting and flooring improvements ($75–100). Month three brings in storage, organization, and decorative elements ($50–100).
Shopping end-of-season sales at home improvement stores can cut your costs significantly. Late summer clearance events often discount organizational systems, while January sales offer great deals on storage containers and lighting fixtures.
7 Ideas to Try in Your Home
1. Paint Everything White
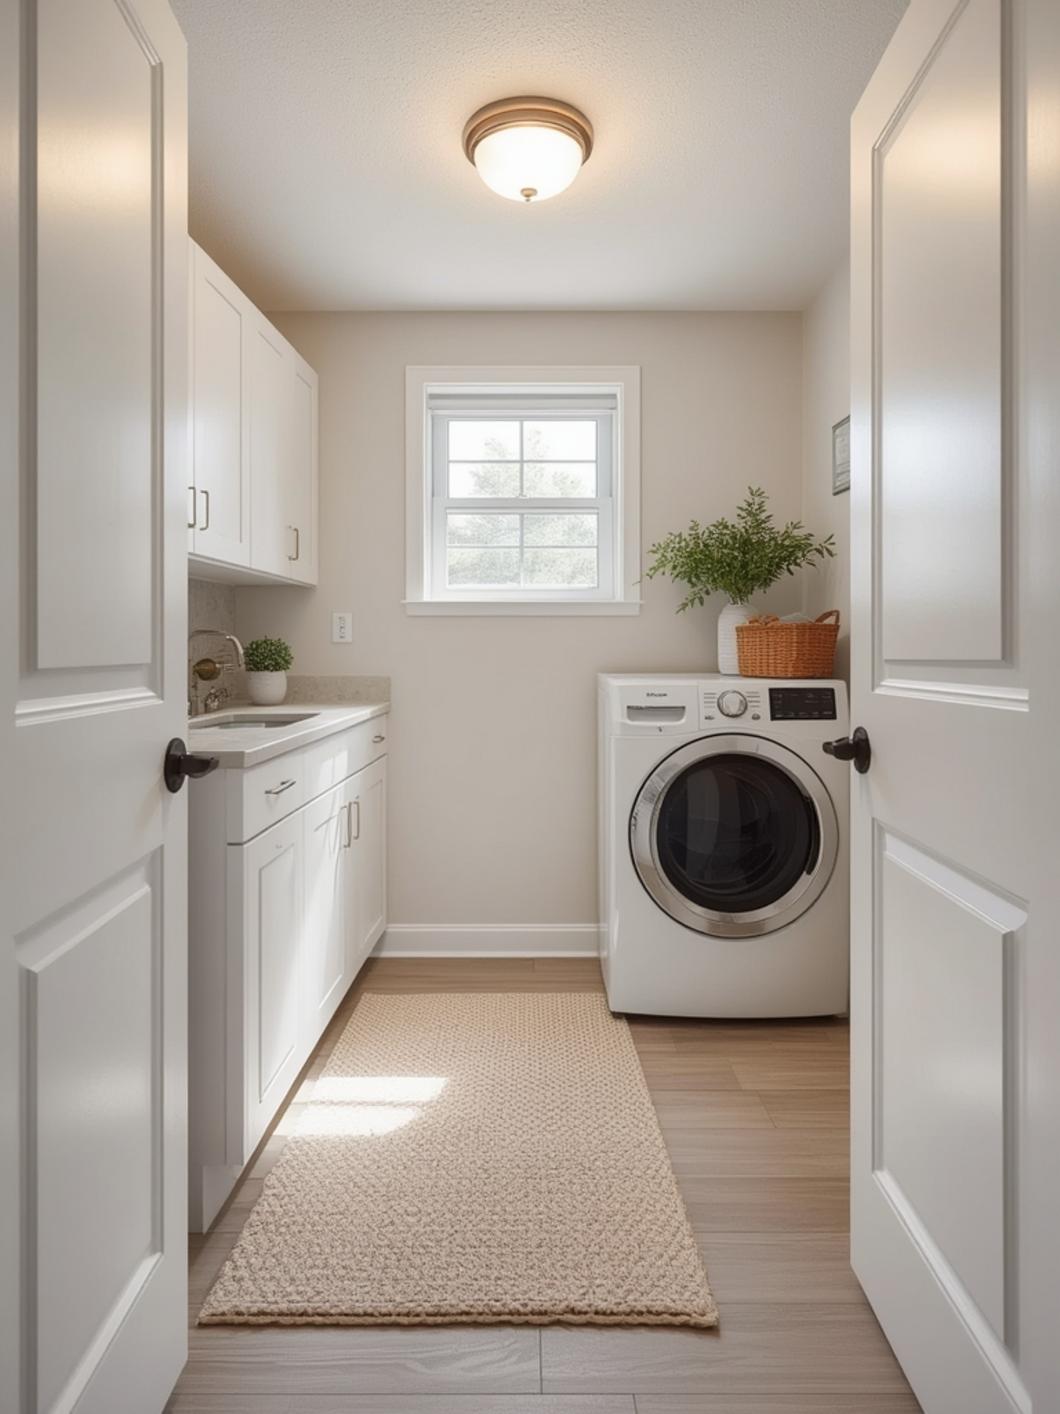
The fastest way to brighten an unfinished basement is painting exposed ceiling joists, pipes, and ductwork bright white. This industrial-chic look makes the space feel intentional rather than neglected. Use a paint sprayer for quick coverage, or apply multiple thin coats with a roller. The transformation happens in an afternoon and typically costs under $50.
2. Create Zones with Floor Mats
Define your laundry area using interlocking foam tiles or rubber mats in a bold color. This provides cushioning underfoot while visually separating the laundry zone from storage or utility areas. Choose darker colors to hide inevitable detergent spills and dirt tracked in from outside.
3. Hang Fabric Curtain Dividers
Install tension rods or simple curtain tracks to hide water heaters, utility panels, or storage areas behind washable fabric panels. This softens the industrial feel while keeping necessary equipment accessible. Choose moisture-resistant fabrics like canvas or outdoor fabric that can handle basement humidity.
4. Add Industrial-Style Open Shelving
Mount black metal shelving units directly to concrete walls using masonry anchors. How to waterproof an unfinished basement laundry room should happen before you install storage, but these sturdy units work beautifully in damp-prone spaces. Arrange laundry supplies in matching baskets or bins for a pulled-together look that costs pennies compared to custom cabinetry.
5. Install a Folding Counter
Attach a hinged plywood or laminate countertop to the wall above your washer and dryer using heavy-duty brackets. When you need folding space, it flips down. When you don’t, it tucks up and out of the way. Paint or cover it with adhesive countertop film to match your style.
6. Create a Drying Station
Mount a sturdy wooden dowel or metal pipe between exposed joists to create an instant drying rod. Position it away from the washer and dryer to avoid blocking access. Add a portable clothing rack on wheels for additional hanging space that you can move when needed.
7. Upgrade the Lighting
Replace that single dim bulb with linked LED shop lights that provide bright, even illumination. Mount them perpendicular to floor joists for the best coverage. Better lighting instantly makes the space feel cleaner and more inviting. Some homeowners add color-changing smart bulbs to make laundry day slightly more entertaining.
8. Establish a Sorting System
Set up three large canvas or plastic bins on a simple wooden frame for sorting lights, darks, and delicates. Label each bin clearly. This simple organizational system prevents piles from accumulating on the floor and makes wash day more efficient.
9. Make Use of Pegboard Walls
Install large pegboard panels on exposed studs to create customizable storage for brooms, mops, spray bottles, and cleaning supplies. Paint the pegboard in a fun color to add personality. The beauty of pegboard is that you can rearrange hooks and baskets as your storage needs change without creating new holes in concrete walls.
Benefits Beyond the Budget
Creating an organized, protected basement laundry area improves your daily routine in ways you might not expect. You’ll actually want to stay on top of laundry when the space feels welcoming rather than depressing.
Proper waterproofing protects your expensive appliances from moisture damage and extends their lifespan significantly. The money you spend on sealing concrete walls pays for itself by preventing future repair costs from mold, mildew, or water damage.
Better lighting reduces eye strain and makes it easier to spot stains before clothes go in the wash. You’ll spend less time rewashing items because you can actually see what you’re doing.
Organization systems eliminate the frustration of hunting for supplies when you’re mid-laundry. Everything has a designated spot, which means you’ll know immediately when you’re running low on detergent or dryer sheets.
The psychological boost shouldn’t be underestimated either. Taking care of a previously neglected space creates momentum to tackle other home improvement projects you’ve been putting off.
Tips, Alternatives, Styling Advice
Budget-Friendly Approach (Under $200):
Focus on waterproofing paint, basic LED lighting, and a large area rug to define the space. Add DIY shelves from cinder blocks and painted boards. Use what you already own for storage containers before buying anything new.
Mid-Range Option ($200–500):
Include professional-grade waterproof sealer, vinyl plank flooring, metal shelving systems, and a proper folding counter. Add a dehumidifier to maintain ideal moisture levels. Invest in matching storage containers and a quality drying rack.
Premium Upgrade ($500–1000):
Go for epoxy floor coating, custom-built storage solutions, upgraded appliances if needed, and designer organizational systems. Install a utility sink if plumbing access exists. Add sound-dampening panels to ceiling joists for quieter operation.
Small Space Adaptation:
Vertical storage becomes even more critical in tight basements. Use every inch of wall space from floor to ceiling. Install a retractable clothesline instead of a permanent drying rod. Choose slim profile storage bins that fit between joists. Mount folding tables and ironing boards directly to walls to save floor space.
Consider using the space under your basement stairs for additional laundry storage if your setup allows. This often-wasted area can hold cleaning supplies, extra detergent, or seasonal items.
Common Mistakes to Avoid
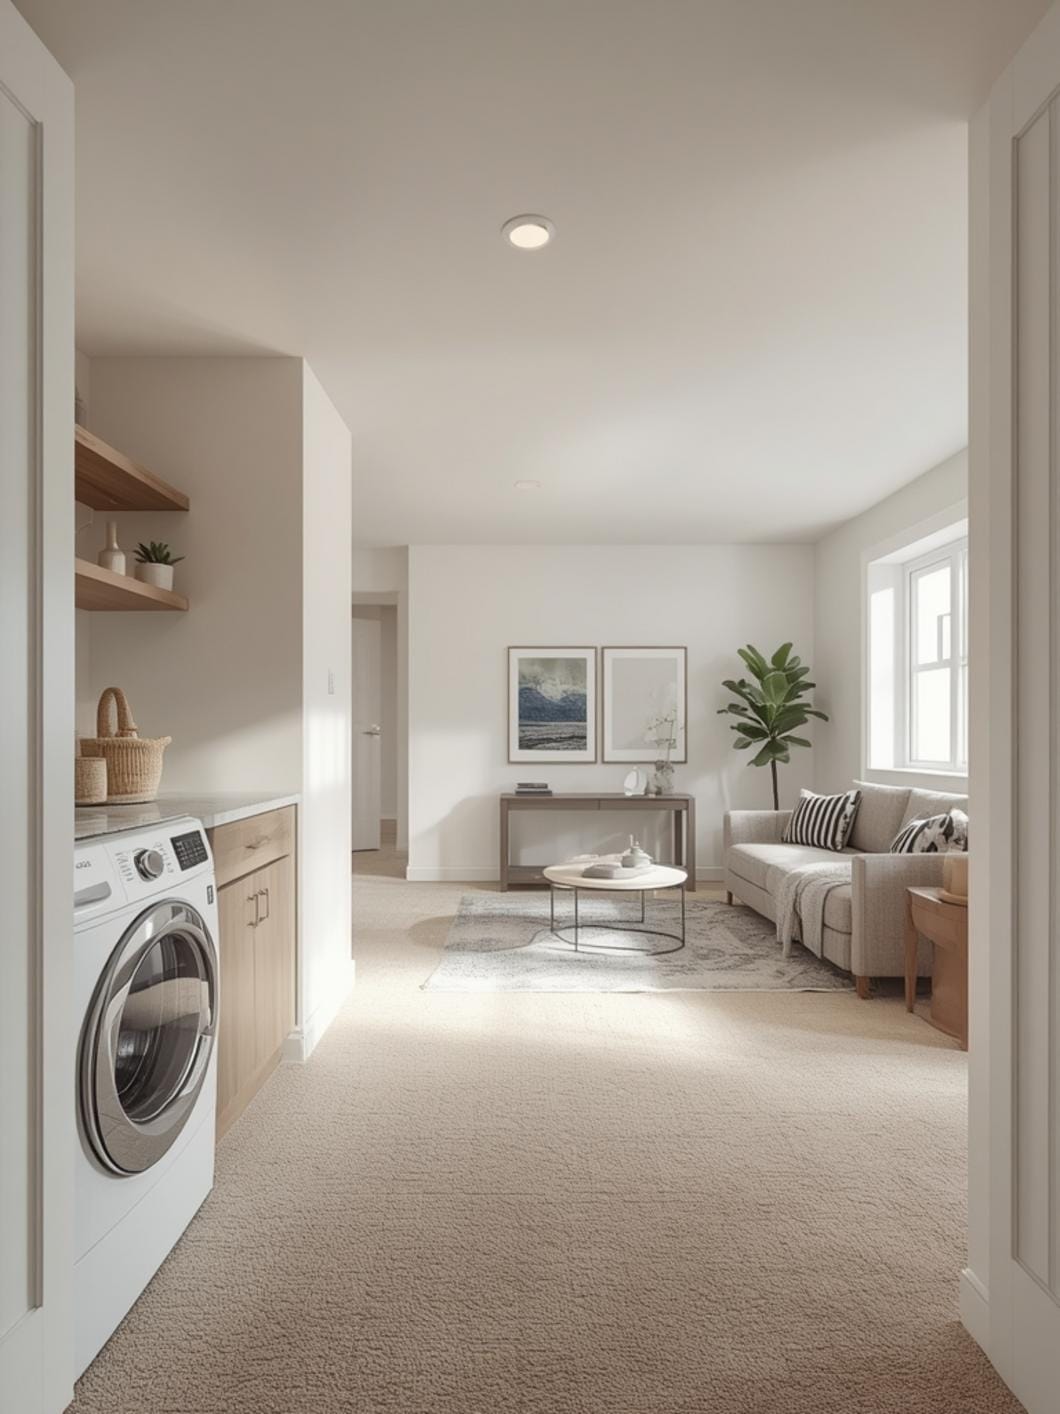
Skipping moisture testing before waterproofing: Tape a 2-foot square of plastic sheeting to your concrete wall for 24 hours and check for condensation. If moisture appears, you need a more aggressive waterproofing approach than just paint.
Installing shelving before addressing water issues: Moisture will rust metal shelving and warp wooden storage systems over time. Always waterproof first, then add organizational elements.
Choosing the wrong flooring for damp conditions: Regular carpet or laminate flooring will fail quickly in humid basements. Stick with vinyl planks, rubber tiles, or concrete paint specifically designed for basements.
Overloading electrical outlets: Adding multiple high-wattage appliances to a single circuit creates fire hazards. Use existing outlets properly and never attempt DIY electrical work. Have a licensed electrician evaluate your setup if you need more power sources.
Ignoring ventilation needs: Even waterproofed basements need air circulation to prevent mildew. Run your dehumidifier regularly and consider adding a small fan to keep air moving.
Maintenance and Upkeep Tips
Check your dehumidifier reservoir weekly during humid months and empty it before it reaches capacity. Clean the filter monthly to maintain efficiency. Most units will shut off automatically when full, but you want to stay ahead of that.
Inspect waterproofed walls twice a year for any signs of moisture breakthrough. Small issues are easy to touch up with additional sealer before they become major problems.
Vacuum or sweep your basement laundry floor weekly to prevent dirt buildup. Damp-mop monthly using a cleaner designed for your specific flooring type.
Wipe down shelving units quarterly to remove dust and lint accumulation. This prevents that grimy film that develops over time in basement environments.
Test your washing machine hoses annually for cracks or weak spots. Replace them every five years even if they look fine. A burst hose can flood your newly improved space and cause significant damage.
Make Your Basement Laundry Work for You
Creating a functional, pleasant basement laundry room on a tight budget is absolutely achievable when you focus on the essentials: moisture control, good lighting, and smart organization. You don’t need finished walls or expensive renovations to make a dramatic improvement.
Start with waterproofing to protect your investment, add bright lighting to improve visibility, then build your organizational systems around how you actually do laundry. Small changes create big impacts in these hardworking spaces.
Ready to tackle more home improvement projects that won’t break the bank? Explore more practical decorating ideas and real-home solutions here at DecorKingdom.
FAQs
How much does it cost to makeover an unfinished basement laundry room?
Most homeowners spend between $150 and $500 depending on the space size and what improvements you prioritize. Waterproofing and lighting typically run $100–200, while organizational systems and flooring add another $100–300. You can absolutely create a functional space for under $200 by focusing on essentials first.
Do I really need to waterproof my basement laundry room if it seems dry?
Yes, basements experience moisture fluctuations throughout the year even when they appear dry. The humidity from your washer and dryer adds additional moisture that concrete walls can absorb. Waterproofing prevents gradual damage to walls, protects your appliances, and stops mold growth before it starts.
What’s the best flooring for an unfinished basement laundry area?
Peel-and-stick vinyl planks or interlocking rubber tiles work best because they handle moisture well, provide cushioning, and install without special tools or adhesives. Both options cost $1–3 per square foot and can go directly over sealed concrete. Avoid carpet, regular laminate, or hardwood in basement laundry rooms.
Can I paint exposed basement ceiling pipes and joists myself?
Absolutely, and it’s one of the most impactful DIY improvements you can make. Use a paint sprayer for fastest coverage, or apply white latex paint with a roller. No special prep needed beyond cleaning off dust and cobwebs. The bright white color reflects light and makes exposed elements look intentional rather than unfinished.
How do I keep basement laundry rooms from smelling musty?
Run a dehumidifier continuously during humid months to maintain moisture levels below 50%. Ensure your dryer vents properly to the outside. Leave your washing machine door open between loads to air out. Add small containers of activated charcoal or baking soda around the space to absorb odors naturally.
—
Meta Title: Budget Unfinished Basement Laundry Ideas 2026 (Under $300!)
Meta Description: Transform your basement laundry with budget unfinished basement laundry room ideas that work. Real solutions under $300, no contractor needed.