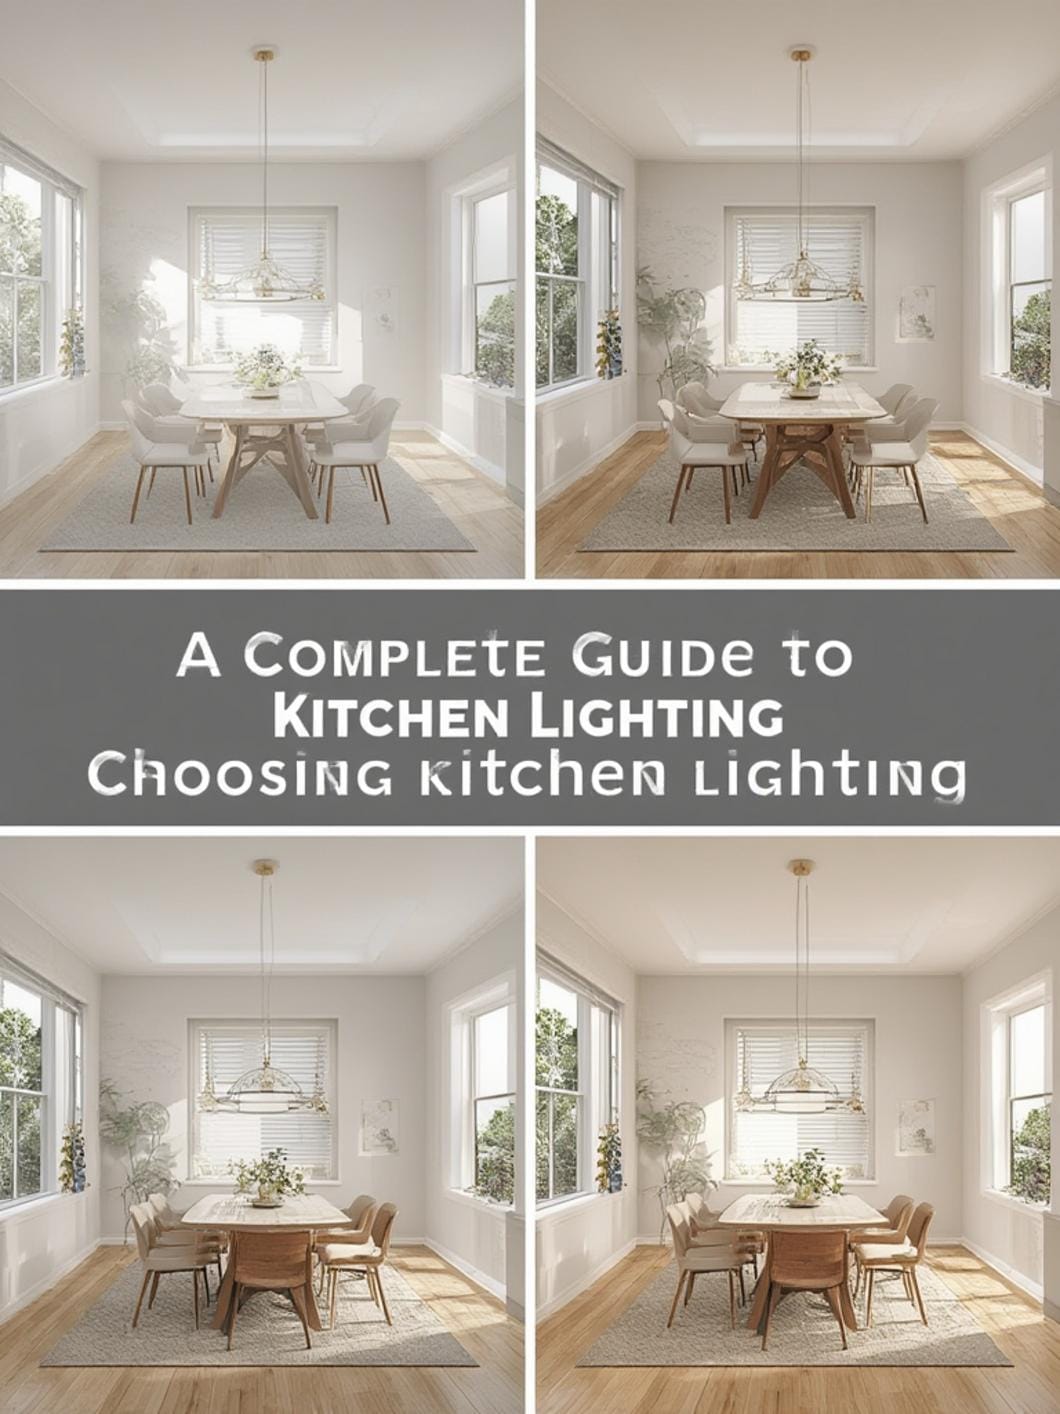
best 5 kitchen lighting tips Complete Guide to Choosing Kitchen Lighting
The kitchen is the heart of every home—a space where culinary magic happens, families gather, and memories are created. Yet, one of the most overlooked aspects of kitchen design is lighting. Poor lighting can make meal preparation challenging, diminish the ambiance, and even affect the overall functionality of your space.
Table of Contents
This Complete Guide to Choosing Kitchen Lighting will walk you through everything you need to know about transforming your kitchen with the perfect lighting solutions. Whether you’re renovating or simply updating your space, understanding kitchen lighting design ideas will help you create a kitchen that’s both beautiful and functional. With the right approach, you can illuminate work areas effectively, highlight architectural features, and set the perfect mood for every occasion.
Materials & Decor Elements
Before diving into your kitchen lighting project, gather these essential materials and components:
Lighting Fixtures:
– Recessed ceiling lights or can lights
– Pendant lights (2-3 depending on island size)
– Under-cabinet LED strip lights or puck lights
– Track lighting systems (optional)
– Chandelier or statement fixture (for larger kitchens)
Electrical Components:
– Dimmer switches (multiple zones recommended)
– Light bulbs (LED recommended, various color temperatures)
– Junction boxes and mounting hardware
– Wire connectors and electrical tape
– Circuit breakers (if adding new circuits)
Tools & Equipment:
– Voltage tester
– Screwdriver set
– Wire strippers
– Drill with various bits
– Ladder or step stool
– Measuring tape
– Pencil for marking
– Stud finder
Planning Materials:
– Kitchen floor plan or measurements
– Lighting layout sketches
– Calculator for lumens and wattage
– Color temperature guide
– Budget worksheet
Timing / Project Planning
Preparation Phase (2-4 weeks):
The planning stage is crucial for successful kitchen lighting installation. Spend the first week researching different lighting types and determining your kitchen’s specific needs. Measure your space carefully, noting ceiling height, cabinet locations, and work zones. Week two should focus on creating a lighting plan and selecting fixtures that match your style and budget. Use weeks three and four to order materials, schedule electrical inspections if required, and hire a licensed electrician if you’re not comfortable with electrical work.
Installation Timeline:
– DIY installation (replacing existing fixtures): 1-2 days
– Professional installation (complete lighting overhaul): 3-5 days
– Major renovation with new electrical work: 1-2 weeks
Best Time to Install:
Consider timing your project during seasons when you use your kitchen less intensively, or plan around holidays when professional electricians might offer better rates. Weekend projects work well for simple fixture replacements, while comprehensive renovations should be scheduled when you have alternative cooking arrangements.
Step-by-Step Instructions
Step 1: Assess Your Kitchen’s Lighting Needs
Begin by evaluating how you use your kitchen. Identify primary work zones including the sink, stove, countertops, and island. Note areas that feel dark or shadowy during different times of day. Take photos from various angles to reference later. Understanding these needs is fundamental to any Complete Guide to Choosing Kitchen Lighting.
Step 2: Create a Layered Lighting Plan
Implement the three-layer approach: ambient (general overhead lighting), task (focused illumination for work areas), and accent (decorative or highlighting fixtures). Ambient lighting should provide 35-50 lumens per square foot. Task lighting requires 70-80 lumens per square foot for work surfaces. This layered approach is central to effective kitchen lighting design ideas.
Step 3: Select Appropriate Color Temperature
Choose bulb temperatures strategically: warm white (2700K-3000K) creates a cozy atmosphere, neutral white (3500K-4100K) offers balanced visibility, and cool white (5000K-6500K) provides bright, energizing light. Most designers recommend 3000K-4000K for kitchens, balancing warmth with functionality.
Step 4: Install Ambient Lighting
Start with overhead fixtures—recessed lights spaced 4-6 feet apart work well for even coverage. For an 8-foot ceiling, place recessed lights 4 feet apart; for 9-foot ceilings, space them 4.5 feet apart. Install a dimmer switch to control intensity throughout the day.
Step 5: Add Task Lighting
Install under-cabinet lighting 2-3 inches from the front edge of cabinets to minimize shadows on countertops. LED strips provide seamless illumination, while puck lights offer focused beams. Ensure fixtures are shielded to prevent glare when working.
Step 6: Install Pendant or Statement Lighting
Hang pendant lights 30-36 inches above countertops or islands. For islands, space multiple pendants 24-30 inches apart, centered over the surface. Choose fixtures that complement your kitchen’s style while providing adequate illumination.
Step 7: Incorporate Accent Lighting
Add lighting inside glass-front cabinets, above cabinets to highlight architectural details, or beneath toe kicks for subtle ambient glow. These touches add depth and visual interest.
Step 8: Test and Adjust
Once installed, test all fixtures at different times of day and during various activities. Adjust dimmer settings, reposition portable fixtures if needed, and fine-tune zones until achieving optimal functionality and ambiance.
Benefits / Advantages
Enhanced Functionality:
Proper kitchen lighting dramatically improves task performance, reducing eye strain and making food preparation safer. Well-lit workspaces mean fewer cooking accidents and more enjoyable meal preparation experiences.
Increased Home Value:
Updated lighting is one of the highest-return investments in kitchen renovations. Potential buyers consistently rank good lighting as a top priority, often increasing home values by 3-5%.
Improved Aesthetics:
Strategic lighting transforms kitchen ambiance, highlighting beautiful backsplashes, countertops, and architectural features. Pendant lights become decorative focal points while providing essential illumination.
Energy Efficiency:
Modern LED fixtures consume 75% less energy than traditional incandescent bulbs and last 25 times longer. This translates to significant savings on electricity bills while reducing environmental impact.
Mood Enhancement:
Adjustable lighting with dimmers allows you to create different atmospheres—bright and energizing for morning meal prep, soft and inviting for evening entertaining.
Better Color Rendering:
Quality kitchen lighting with high Color Rendering Index (CRI above 90) ensures food appears appetizing and colors are accurately represented, essential for cooking and decorating decisions.
Tips, Alternatives, Styling Advice
Budget-Friendly Options:
If working with limited funds, prioritize task lighting for work surfaces—this delivers the biggest functional improvement. Consider affordable LED strip lights under cabinets paired with updated bulbs in existing fixtures. Shop end-of-season sales or consider gently used fixtures from architectural salvage stores.
Small Kitchen Solutions:
Maximize light in compact spaces with reflective surfaces like glossy backsplashes and light-colored cabinets. Choose slim-profile fixtures that don’t overwhelm the space. Multi-functional fixtures, such as pendants with both uplight and downlight capabilities, provide layered lighting without clutter.
Style-Specific Recommendations:
– Modern kitchens: Sleek recessed lighting, geometric pendants, minimal track systems
– Traditional spaces: Classic chandeliers, bronze or brass fixtures, decorative sconces
– Farmhouse style: Industrial pendants, Edison bulbs, black metal fixtures
– Contemporary design: Linear suspensions, integrated LED strips, minimalist profiles
Smart Lighting Integration:
Consider smart bulbs or switches that allow voice control, scheduling, and color adjustment. Program different scenes for cooking, dining, and entertaining—all controllable from your smartphone.
Natural Light Optimization:
Complement artificial lighting by maximizing natural light. Keep window treatments minimal, use mirrors to reflect daylight, and consider light tubes or skylights if structurally feasible.
Professional vs. DIY:
Replace simple fixtures yourself to save money, but hire licensed electricians for new circuits, moving junction boxes, or if you’re uncomfortable with electrical work. Safety should always be the priority.
Common Mistakes to Avoid
Relying Only on Overhead Lighting:
Single-source lighting creates harsh shadows and uneven illumination. Solution: Implement the three-layer approach with ambient, task, and accent lighting for balanced coverage.
Incorrect Fixture Placement:
Pendants hung too low obstruct views, while recessed lights placed too far from cabinets create shadows on counters. Solution: Follow recommended spacing guidelines—30-36 inches above counters for pendants, 12-18 inches from walls for recessed lights.
Choosing Style Over Function:
Beautiful fixtures that provide inadequate light defeat the purpose. Solution: Calculate required lumens for your space first, then select attractive fixtures that meet those needs.
Ignoring Color Temperature:
Mixing bulbs with different color temperatures creates an unappealing, disjointed look. Solution: Maintain consistent color temperature throughout the kitchen (3000K-4000K works well for most spaces).
Forgetting Dimmer Switches:
Fixed lighting intensity limits flexibility and wastes energy. Solution: Install dimmers on all lighting zones for customizable ambiance and energy savings.
Overlooking Under-Cabinet Lighting:
This omission leaves countertops—your primary work surfaces—in shadow. Solution: Always include under-cabinet lighting in your plan as essential task lighting.
Improper Bulb Selection:
Using bulbs with insufficient CRI makes food appear unappetizing and colors look off. Solution: Choose bulbs with CRI ratings of 90 or higher for accurate color representation.
Neglecting Electrical Capacity:
Adding multiple fixtures without checking circuit capacity can overload your electrical system. Solution: Consult an electrician to verify your electrical panel can handle additional loads.
Maintenance / Upkeep Tips
Regular Cleaning Schedule:
Dust light fixtures monthly using a microfiber cloth to maintain brightness—dirt can reduce light output by up to 30%. For pendant lights and chandeliers, remove and wash glass shades quarterly with warm, soapy water. Clean under-cabinet LED strips with a slightly damp cloth to remove cooking grease buildup.
Bulb Replacement Strategy:
Replace LED bulbs when they reach 70% of their original brightness, even if still functioning. This maintains consistent light levels throughout your kitchen. Keep spare bulbs with matching color temperatures on hand.
Fixture Inspection:
Annually inspect all electrical connections, looking for loose wires, corrosion, or burn marks. Check dimmer switches for proper function and replace if they buzz or flicker. Examine pendant cords for fraying or damage.
Update Schedule:
Even quality LED fixtures lose efficiency over time. Plan to update your kitchen lighting every 10-15 years to take advantage of improved technology and efficiency. Consider refreshing fixture styles every 5-7 years if your décor preferences change.
Seasonal Adjustments:
Recalibrate dimmer settings seasonally to account for changing natural light patterns. Summer months with more daylight require less artificial light, while winter evenings need enhanced illumination.
Smart Technology Updates:
If using smart lighting systems, regularly update firmware to maintain security and access new features. Replace smart bulbs every 15,000-25,000 hours or when connectivity issues arise.
Conclusion
Choosing the right kitchen lighting transforms this essential space from merely functional to truly exceptional. This Complete Guide to Choosing Kitchen Lighting has equipped you with the knowledge to create a well-lit kitchen that enhances both beauty and practicality. By implementing layered lighting strategies, selecting appropriate fixtures, and avoiding common pitfalls, you’ll create an inviting atmosphere perfect for cooking, dining, and gathering. Remember that effective kitchen lighting design ideas combine ambient, task, and accent lighting to address every need while reflecting your personal style.
Ready to illuminate your kitchen? Start by assessing your current lighting situation and identifying areas for improvement. Whether you tackle the project yourself or hire professionals, investing in quality kitchen lighting pays dividends in functionality, aesthetics, and home value. Don’t let another day pass working in shadows—begin planning your kitchen lighting transformation today and discover how the right illumination can revolutionize your favorite room!
FAQs
Q: How many lumens do I need for kitchen lighting?
A: Kitchens require 35-50 lumens per square foot for ambient lighting and 70-80 lumens per square foot for task lighting. A 100-square-foot kitchen needs approximately 3,500-5,000 lumens total from all sources combined.
Q: What’s the best color temperature for kitchen lighting?
A: Most designers recommend 3000K-4000K for kitchens. This range provides warm, inviting light while maintaining sufficient brightness for food preparation. Avoid going below 2700K (too yellow) or above 5000K (too clinical) in residential kitchens.
Q: Should I choose LED or other bulb types for my kitchen?
A: LEDs are the best choice for kitchens due to their energy efficiency (75% less energy than incandescent), longevity (25,000+ hours), low heat output, and immediate full brightness. While initially more expensive, they provide significant long-term savings.
Q: How far apart should recessed lights be in a kitchen?
A: Space recessed lights approximately 4-6 feet apart for even coverage. The general rule is to divide ceiling height by two—for 8-foot ceilings, space lights 4 feet apart. Position lights 12-18 inches from walls and cabinets to prevent shadows on work surfaces.
Q: Can I install kitchen lighting myself, or should I hire an electrician?
A: Simple fixture replacements (swapping pendant lights or updating bulbs) are safe DIY projects. However, hire a licensed electrician for new circuits, relocating junction boxes, installing recessed lighting in existing ceilings, or any work requiring electrical panel modifications. Safety should always be the priority.