Gallery Wall Ideas That Feel Curated, Not Cluttered — For Every Room in Your Home
You’ve been dreaming about that empty wall in your living room for months now. You know it has potential, but every time you picture hanging frames, you worry about nail holes, crooked placements, or worse—creating a cluttered mess instead of the stylish display you see on Pinterest.
Creating beautiful gallery wall ideas doesn’t have to feel overwhelming or permanent. Whether you’re renting and can’t put holes in the walls, or you simply want the freedom to change your display whenever inspiration strikes, there are countless ways to showcase your favorite art, photos, and prints without commitment or stress.
Your walls are blank canvases waiting to tell your story, and the best part? You can create a stunning gallery that feels uniquely yours without a single hammer or nail.
Table of Contents
What You’ll Need to Get the Look
The beauty of gallery walls is that you can start with what you already own and build from there. You don’t need expensive equipment or a design degree—just a few key items and your personal taste.
Essential Items:
– Picture frames in various sizes (mix of 5×7, 8×10, and 11×14 works beautifully)
– Adhesive strips, picture hanging strips, or removable hooks
– Paper templates or painter’s tape for planning
– Level or smartphone level app
– Measuring tape
– Your favorite photos, prints, or artwork
Optional Style Enhancers:
– Decorative mirrors to add depth
– Small floating shelves for dimensional interest
– Woven baskets or textured pieces
– Personal mementos like postcards or pressed flowers
– LED picture lights for evening ambiance
You’ll also want to consider your frame style. Matching frames create a cohesive, gallery-like feel, while mixed frames add eclectic charm. Neither approach is wrong—it’s all about what makes you smile when you walk into the room.
Finding Your Style and Season
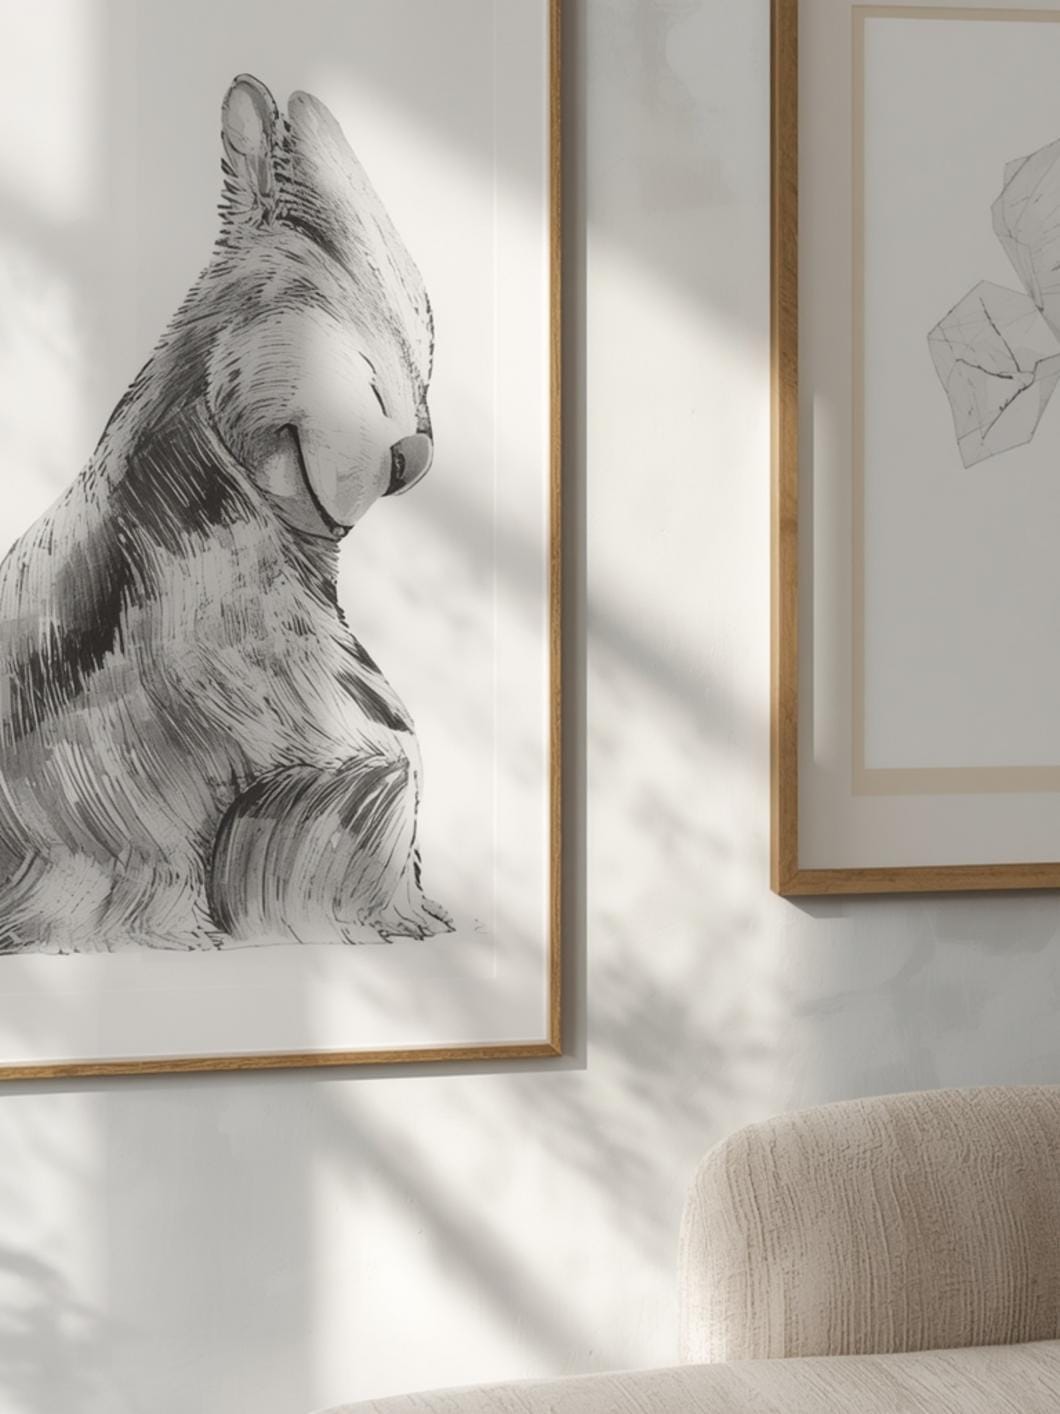
Your gallery wall should reflect your personality and the mood you want to create in your space. Think about the feeling you want when you enter the room—calm and serene, vibrant and energetic, or nostalgic and warm.
Spring and summer are perfect times to refresh your gallery with lighter prints, botanical illustrations, or vacation photos that capture sunny memories. The natural light during these seasons makes artwork pop, especially pieces with bright whites and fresh colors.
Fall and winter invite deeper, moodier tones. This is when cozy family photos, landscape prints, and vintage-inspired artwork feel most at home. The lower light angles during these months create beautiful shadows that add dimension to textured pieces.
Don’t feel pressured to create your entire gallery in one weekend. Many homeowners find that building their collection over time makes the wall feel more meaningful. You might start with five frames and add new pieces as you travel, celebrate milestones, or discover artists you love.
7 Ideas to Try in Your Home
The Symmetrical Grid
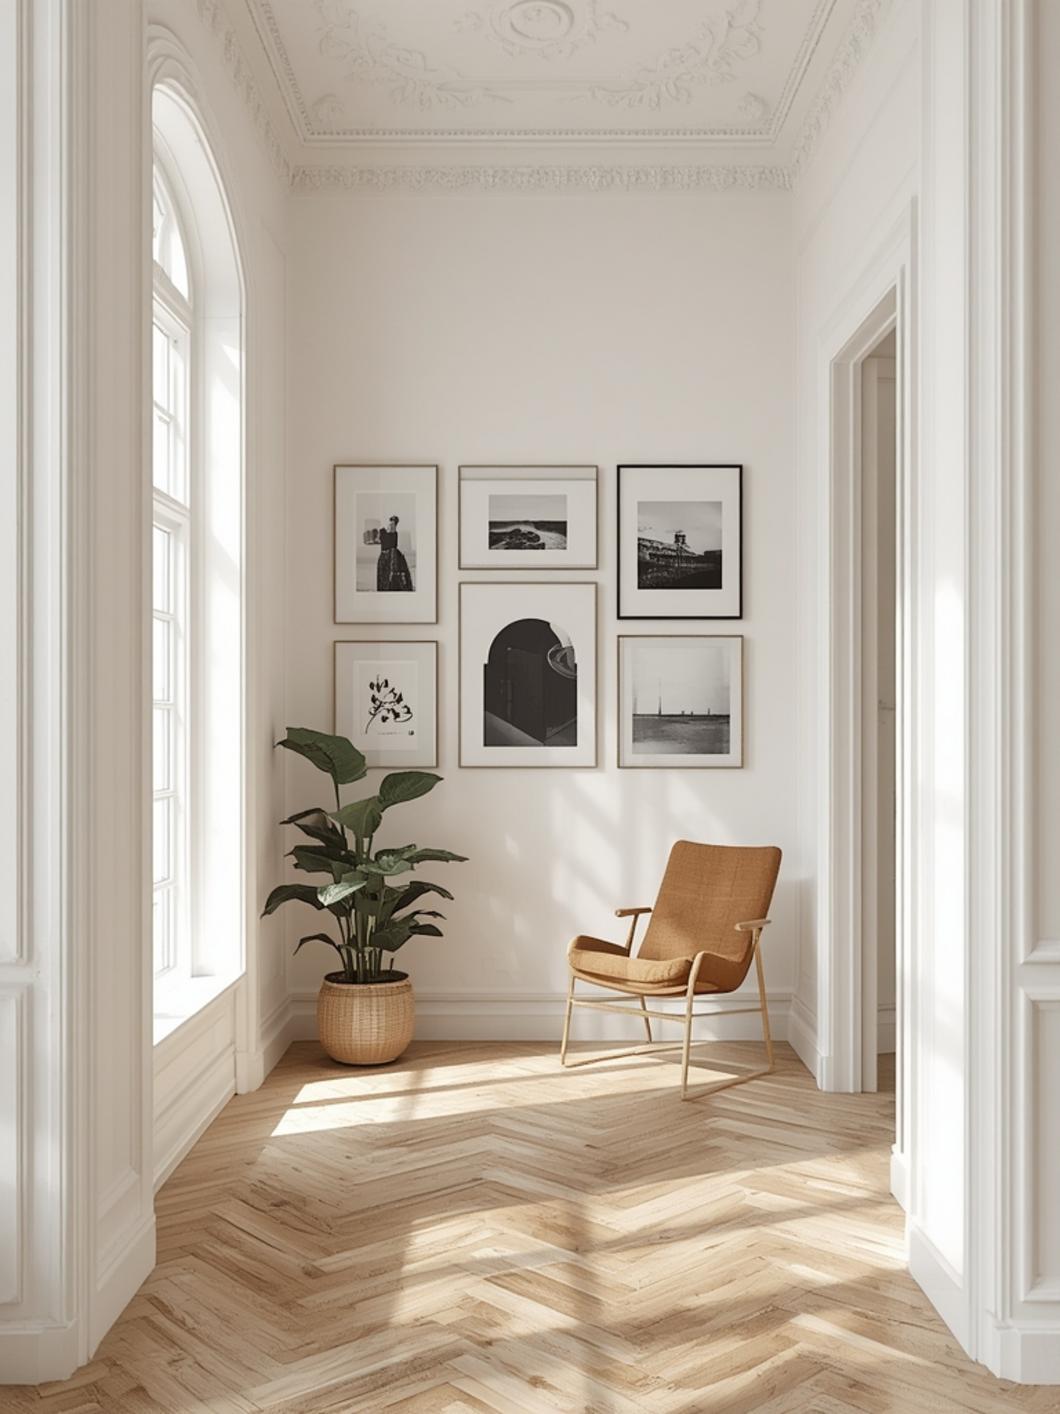
This classic approach uses identical frames arranged in perfect rows and columns. It works beautifully in modern and traditional spaces alike. Choose 6 to 9 frames of the same size, space them evenly, and you’ll create a clean, magazine-worthy look that never goes out of style.
The Salon Style
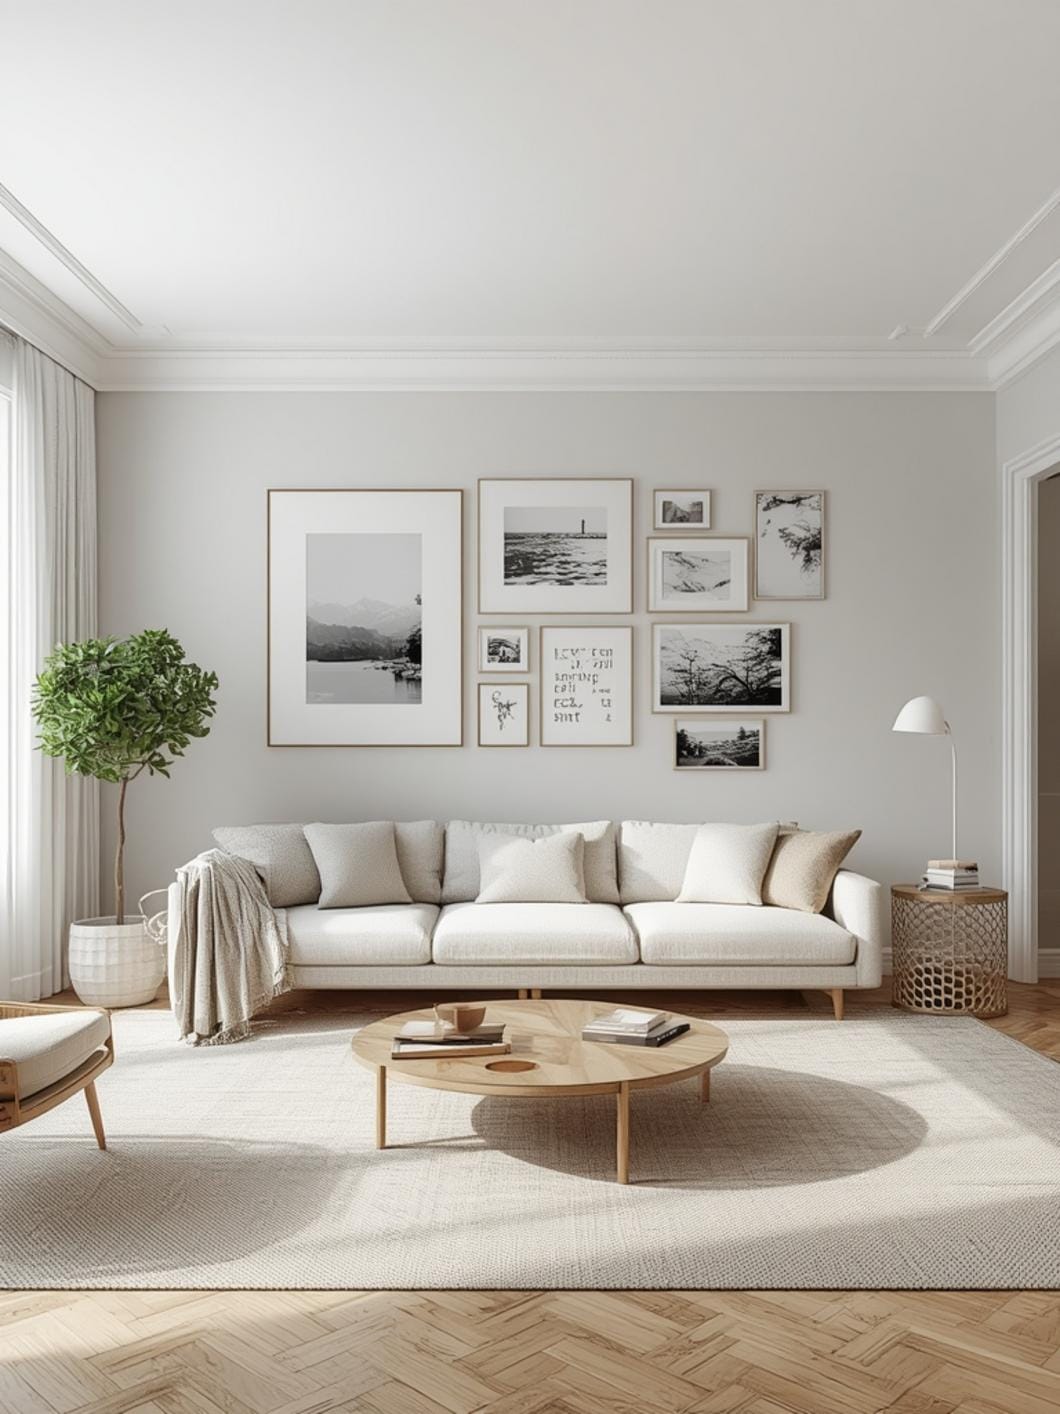
Embrace beautiful chaos with frames of all different sizes clustered together. Start with your largest piece slightly off-center, then build around it like a puzzle. The edges should form a loose rectangle or square, but inside, anything goes. This style lets you mix frame colors, artwork types, and even incorporate three-dimensional objects.
The Leaning Ledge Approach
If you’re wondering how to arrange artwork without nails, picture ledges are your best friend. Install floating shelves at varying heights, then lean frames against the wall. You can overlap them, switch them out on a whim, and never worry about spacing or holes. This method is perfect for renters and indecisive decorators who love to refresh their displays.
The Vertical Statement
Create drama by stacking frames vertically in a single column. This works wonderfully in narrow spaces like hallways or beside doorways. Use three to five frames in descending or mixed sizes, keeping the center points aligned. The vertical line draws the eye upward and makes ceilings feel higher.
The Themed Collection
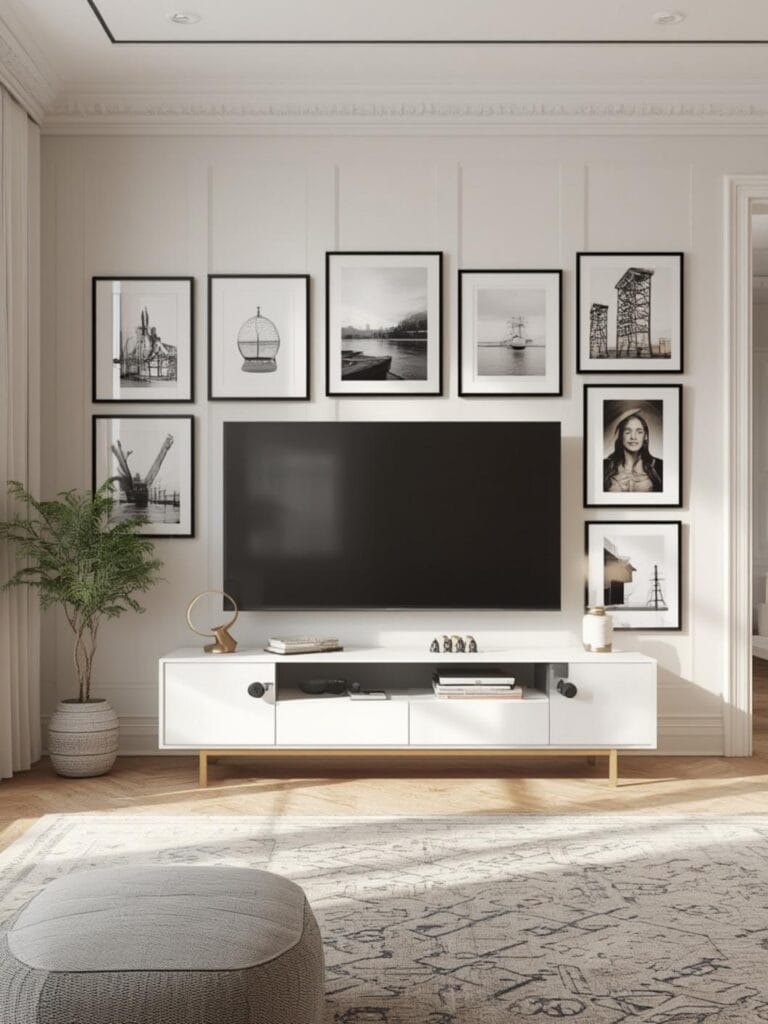
Choose a single theme—family photos, black and white landscapes, vintage botanical prints, or travel memories—and let that guide your selections. The consistent subject matter creates cohesion even if your frames and sizes vary. This approach tells a clear story and makes a powerful visual impact.
The Oversized Solo Statement
Sometimes one large piece makes more impact than a collection. A single oversized print or photograph (24×36 or larger) commands attention without overwhelming the space. Pair it with a smaller piece or two on an adjacent wall if you want to create a looser gallery feel throughout the room.
The Corner Gallery
Don’t limit yourself to single walls. Wrap your gallery around a corner, continuing the display across two walls. This creates an immersive experience and works especially well in open-concept spaces. Keep your largest pieces near the corner where the walls meet, then let smaller frames trail outward.
Benefits of Creating Your Own Gallery Wall
Gallery walls transform empty spaces into personal museums that celebrate your life and taste. Every time you walk past, you’re reminded of people you love, places you’ve been, or art that moves you.
This approach to wall decor is incredibly flexible. Unlike wallpaper or large furniture pieces, you can change your gallery’s look in an afternoon. Swap out summer photos for fall landscapes, replace graduation pictures with wedding photos, or refresh the entire display when you’re ready for a new look.
Gallery walls also solve the common problem of small, disconnected wall decor. Instead of one lonely frame that feels lost on a large wall, a thoughtfully arranged collection fills the space with purpose and intention. Your room immediately feels more finished and personalized.
The process itself can be surprisingly therapeutic. Choosing which memories and art to display helps you reflect on what matters most to you. Many homeowners find that curating their gallery becomes an ongoing creative project they genuinely look forward to.
Tips, Alternatives, and Styling Advice
Budget-Friendly Approach
Print your own photos at drugstore photo counters or use free printable art from museums and libraries. Dollar stores and thrift shops are goldmines for basic frames you can paint or use as-is. Command strips work beautifully for lightweight frames and cost just a few dollars.
Mid-Range Investment
Purchase quality frames from home decor stores during seasonal sales. Mix professional prints with personal photos for variety. Invest in a proper frame set with matching mats—this instantly elevates the look. Add one or two custom-framed pieces as focal points.
Premium Option
Commission original artwork or invest in limited edition prints. Choose custom framing with museum-quality materials and UV-protective glass. Install proper picture lighting to highlight your collection. Consider working with a professional art consultant for particularly large or valuable pieces.
Small Space Adaptation
Create a mini gallery using 3×5 or 4×6 frames in a tight cluster. Vertical arrangements work better than horizontal in narrow spaces. Consider a single shelf with three to five small leaning frames instead of a traditional wall arrangement. Use light-colored frames and mats to keep the space feeling open.
Common Mistakes to Avoid
Hanging Everything Too High
The center of your gallery should sit at eye level, roughly 57 to 60 inches from the floor. Measure from the middle of your arrangement, not the top frame, to ensure comfortable viewing.
Spacing Frames Too Far Apart
Frames should sit 2 to 3 inches apart for a cohesive look. Any wider and your gallery starts feeling disconnected. Measure and mark with painter’s tape before committing.
Skipping the Template Step
Trace your frames on paper, tape the templates to the wall, and live with the arrangement for a day or two. This simple step prevents regret and wasted wall damage. You’ll catch awkward spacing issues before making any holes.
Mixing Too Many Frame Colors
Stick to two or three frame colors maximum—typically black, white, natural wood, or metallic. More variety than that creates visual chaos instead of curated style.
Forgetting About Furniture Below
Your gallery should relate to the furniture beneath it. Center your arrangement over a sofa or console table, and leave 6 to 8 inches between the furniture top and the bottom frame. This creates a connected, intentional look.
Maintenance and Upkeep Tips
Dust your frames monthly with a microfiber cloth to prevent buildup. For glass surfaces, spray cleaner on your cloth—never directly on the frame—to avoid moisture damage.
Check adhesive strips and removable hooks every few months, especially in humid climates. The adhesive can weaken over time, and catching it early prevents frames from falling.
Rotate artwork that receives direct sunlight to prevent fading. Even UV-protective glass can’t completely stop color changes. Swap pieces between rooms or store favorites during the sunniest months.
If you notice frames gradually shifting crooked, tiny stick-on bumpers on the bottom corners help them stay level. These clear dots cost pennies and solve a common frustration.
Consider taking photos of your gallery arrangement before making changes. This way, you can recreate favorite layouts or remember what worked well when planning your next update.
Creating Your Perfect Gallery Wall
Your walls deserve to showcase the memories, art, and style that make your house feel like home. Whether you start with three frames or twenty, the most important element is that your gallery reflects your personal story.
The beauty of gallery walls is their flexibility—you can adjust, refresh, and reimagine them whenever inspiration strikes. Start with pieces you already love, experiment with layouts using paper templates, and remember that there’s no single “right” way to create your display.
Ready to transform your blank walls into personalized art galleries? Explore more inspiring decor ideas and practical tips at DecorKingdom to make every room in your home uniquely yours.
FAQs
How do I arrange a gallery wall without making holes in my walls?
Use picture hanging strips, adhesive hooks rated for your frame weight, or install floating shelves where you can lean frames. These methods work beautifully for renters or anyone who likes to frequently change their display. The key is choosing products rated for slightly more weight than your frames actually weigh.
What’s the best layout for a gallery wall above a couch?
Center your arrangement above the sofa with the bottom frames sitting 6 to 8 inches above the couch back. A horizontal rectangle or loose grid works best, roughly two-thirds the width of your furniture. Avoid tall, narrow arrangements above wide furniture—they look top-heavy and disconnected.
Should all my frames match or can I mix different styles?
Both approaches work beautifully depending on your style. Matching frames create a clean, cohesive gallery look perfect for modern spaces. Mixed frames add personality and eclectic charm, ideal for bohemian or collected-over-time aesthetics. If mixing, stick to two or three colors maximum to maintain visual harmony.
How many frames do I need for a gallery wall?
Start with at least five frames for a true gallery feel, though three can work in small spaces. Most successful gallery walls use between seven and fifteen frames. Odd numbers tend to look more organic and visually interesting than even numbers.
Can I include things other than framed photos in my gallery?
Absolutely! Mix in mirrors, floating shelves with small objects, woven baskets, metal wall art, or even hat displays. The variety adds dimension and personality. Just ensure these three-dimensional pieces are securely mounted since they’re typically heavier than frames.
—
Meta Title: Gallery Wall Ideas: 7 No-Nail Designs for 2026
Meta Description: Transform blank walls with stunning gallery wall ideas using removable strips. Get 7 styles plus tips for renters and DIY lovers.