How to Replace Fluorescent Lights: Step-by-Step
You flip the light switch in your kitchen or garage, and that familiar hum and flicker greets you once again. Maybe the light takes a few seconds to warm up, or maybe it’s casting that unflattering blue-white glow that makes everything look clinical and cold. If you’ve been living with outdated fluorescent lights, you’re not alone—and the good news is that How to Replace Fluorescent Lights with modern, energy-efficient alternatives is easier than you think.
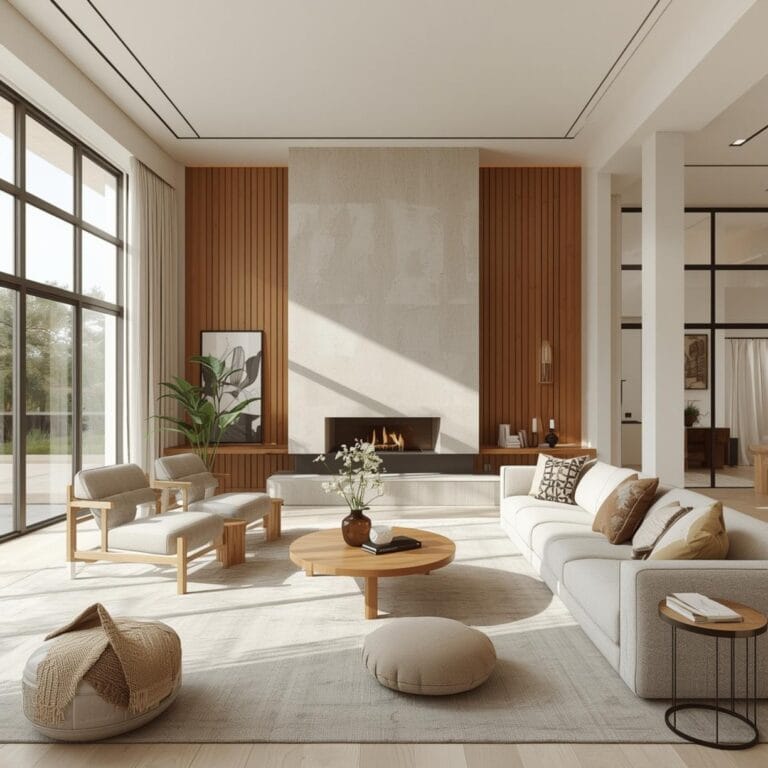
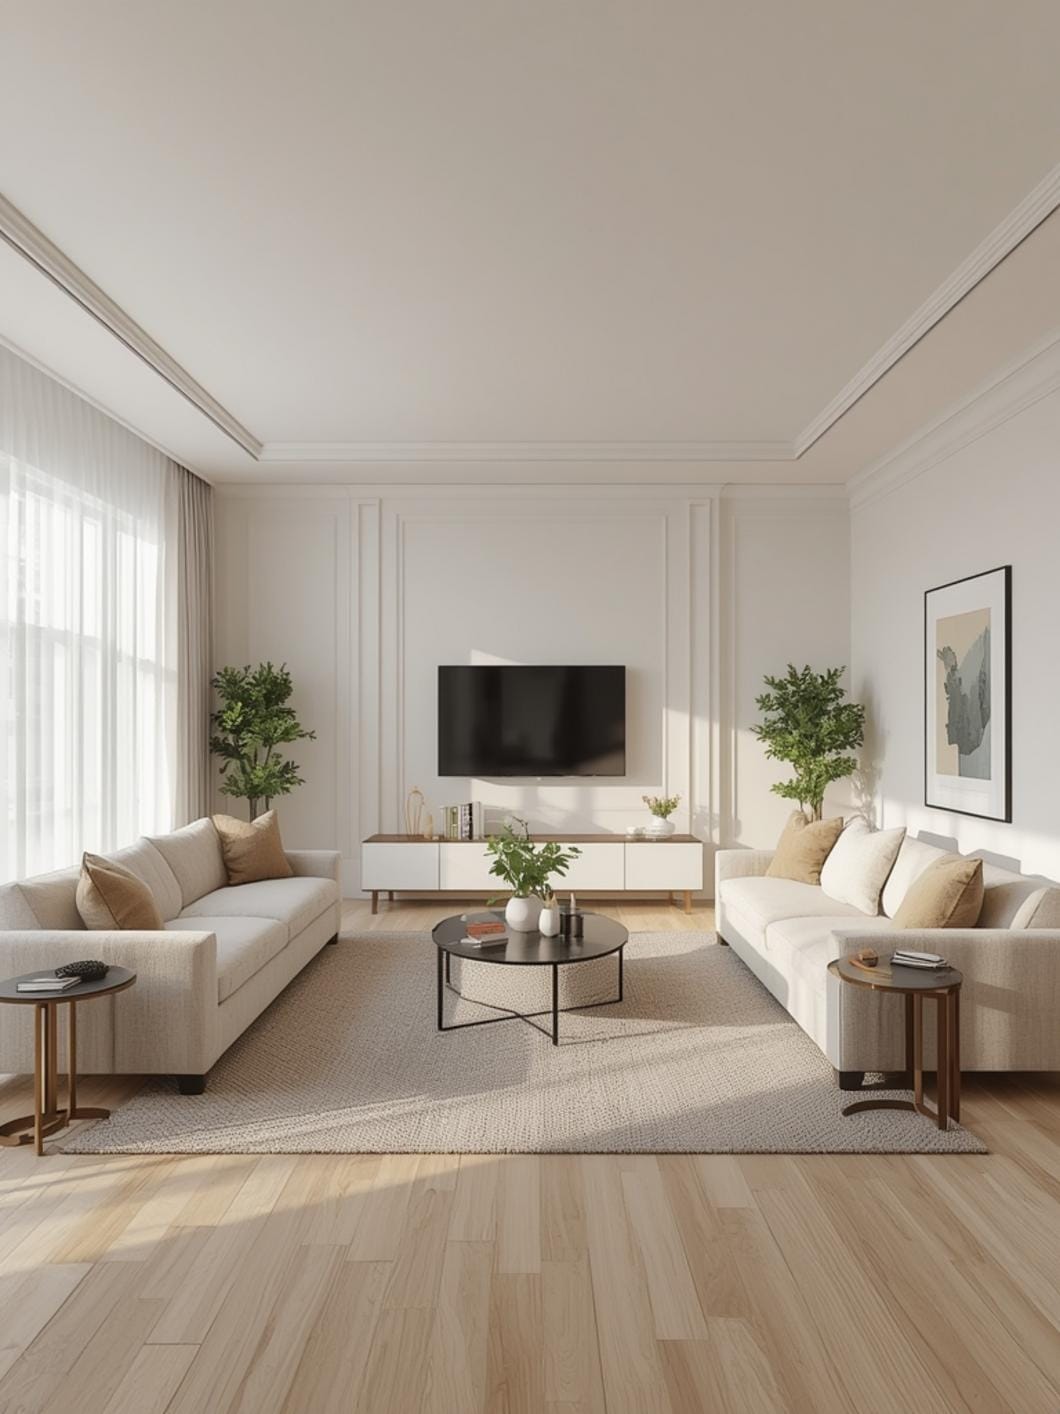
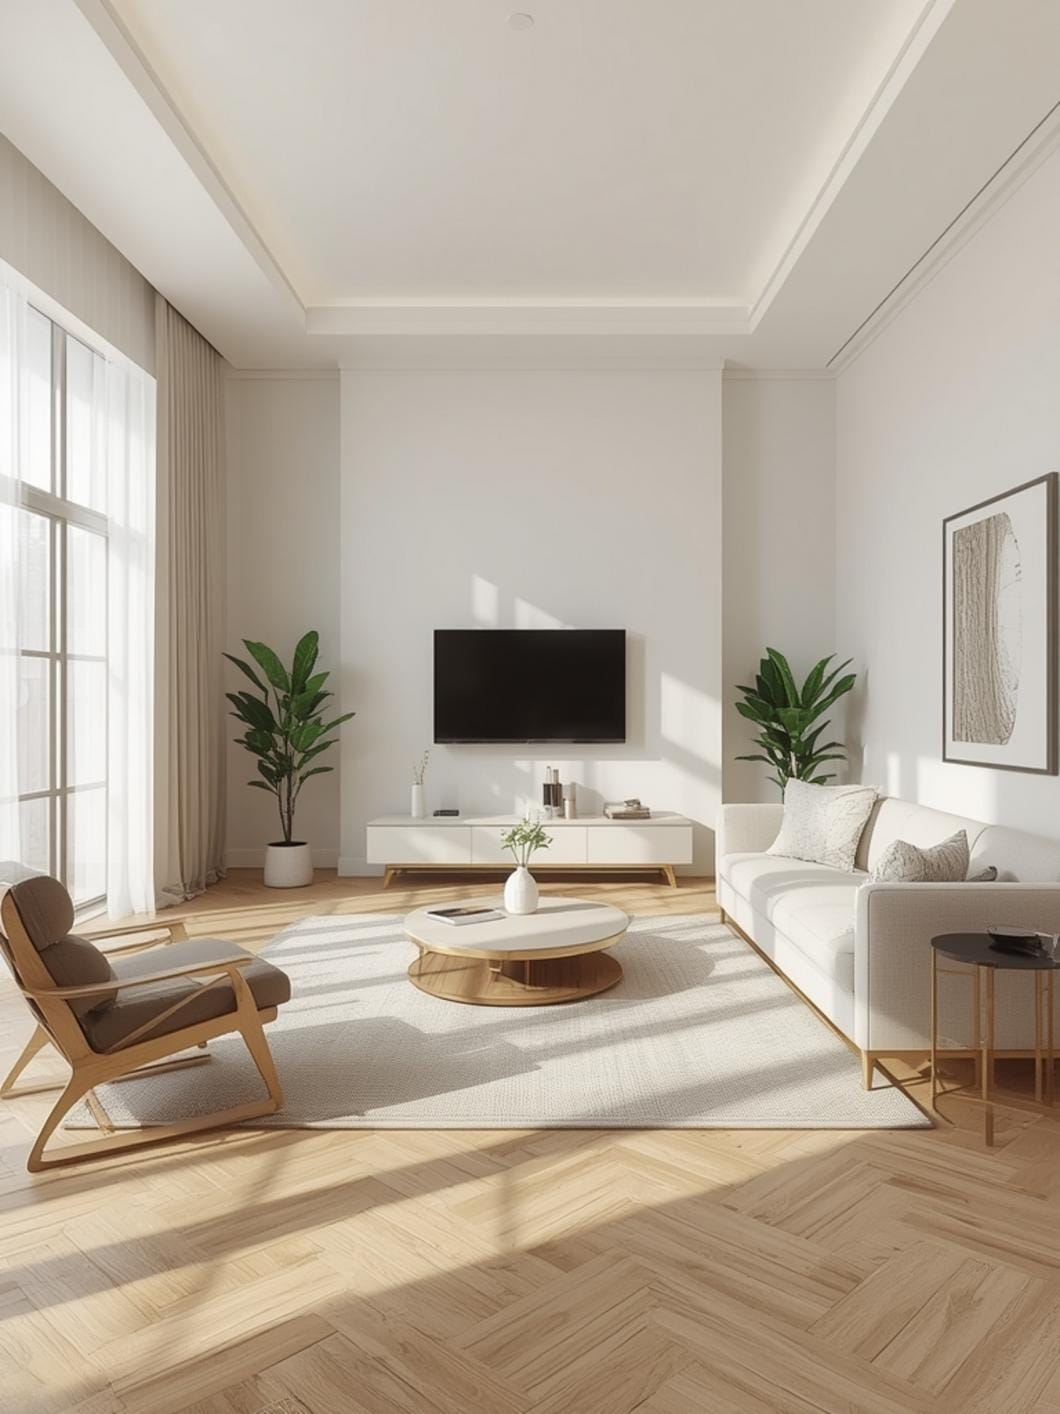
Fluorescent fixtures were once the go-to for bright, budget-friendly lighting in homes across the US and UK. But times have changed, and so has lighting technology. Today’s LED options offer better light quality, lower energy bills, and zero annoying flicker or buzz. Whether your fixture is in the kitchen, bathroom, laundry room, or garage, swapping it out can completely transform how that space looks and feels.
This guide walks you through everything you need to know to make the switch confidently—from recognizing when it’s time for a change to choosing the right replacement and getting it installed without calling an electrician for simple upgrades.
Materials & Decor Elements
Before you start your lighting upgrade, gather everything you’ll need for a smooth replacement process:
– Replacement LED fixture or retrofit kit — choose one that matches your current fixture size (usually 2-foot or 4-foot)
– Ladder or step stool — to safely reach ceiling-mounted fixtures
– Screwdriver set — both flathead and Phillips head
– Wire nuts — if you’re connecting wires (usually included with new fixtures)
– Voltage tester — to confirm power is off before you touch any wires
– Work gloves — to protect your hands from sharp edges
– Drop cloth or old towel — to catch any dust or debris
– Light bulbs — if your new fixture doesn’t come with them pre-installed
For a purely decorative upgrade that requires no electrical work, consider retrofit kits that fit over your existing fluorescent fixture. These snap-on LED panels completely hide the old fixture while giving you modern, even lighting. They’re perfect if you’re renting or simply want the easiest possible solution.
Timing / Project Planning
Most homeowners can complete a basic fluorescent light replacement in 30 to 90 minutes, depending on the type of upgrade you choose. If you’re simply swapping bulbs for LED tubes that work with your existing ballast, expect about 15 minutes per fixture. If you’re replacing the entire fixture with a modern LED panel, budget 60 to 90 minutes for your first one.
Budget considerations vary widely based on your approach. LED tube replacements that work with existing fixtures run $15 to $40 per fixture. Complete LED fixture replacements typically cost $30 to $150, depending on size and features. Decorative retrofit panels sit in the $40 to $80 range. The investment pays off quickly through lower energy bills—LED fixtures use about 50% less energy than fluorescent and last up to three times longer.
Plan this project for a weekend morning when you have good natural light coming through windows. You’ll need to turn off power to the fixture, so working during daylight hours means you won’t be fumbling around in the dark. Spring and fall are ideal since you won’t be running air conditioning or heat that might require you to keep certain circuits active.
Step-by-Step Instructions
Understanding Signs you need to replace fluorescent light fixtures helps you know when it’s time to take action. Watch for these telltale indicators: flickering or slow warm-up times, buzzing or humming sounds, discoloration or yellowing of the fixture cover, visible burn marks near the bulb sockets, or lights that only work intermittently. If your fixture is showing any of these symptoms, replacement will give you better light quality and peace of mind.
Here’s how to tackle the replacement project yourself:
Turn off the power. Locate your circuit breaker panel and flip off the switch that controls your fluorescent fixture. Use a voltage tester at the fixture to confirm the power is truly off before proceeding. This simple safety step is non-negotiable.
Remove the old cover and bulbs. Most fluorescent fixtures have a plastic diffuser that either slides out or hinges down. Remove it carefully and set it aside. Twist the fluorescent tubes a quarter turn and pull them straight down to remove them from their sockets. Dispose of fluorescent bulbs properly at a recycling center—they contain small amounts of mercury.
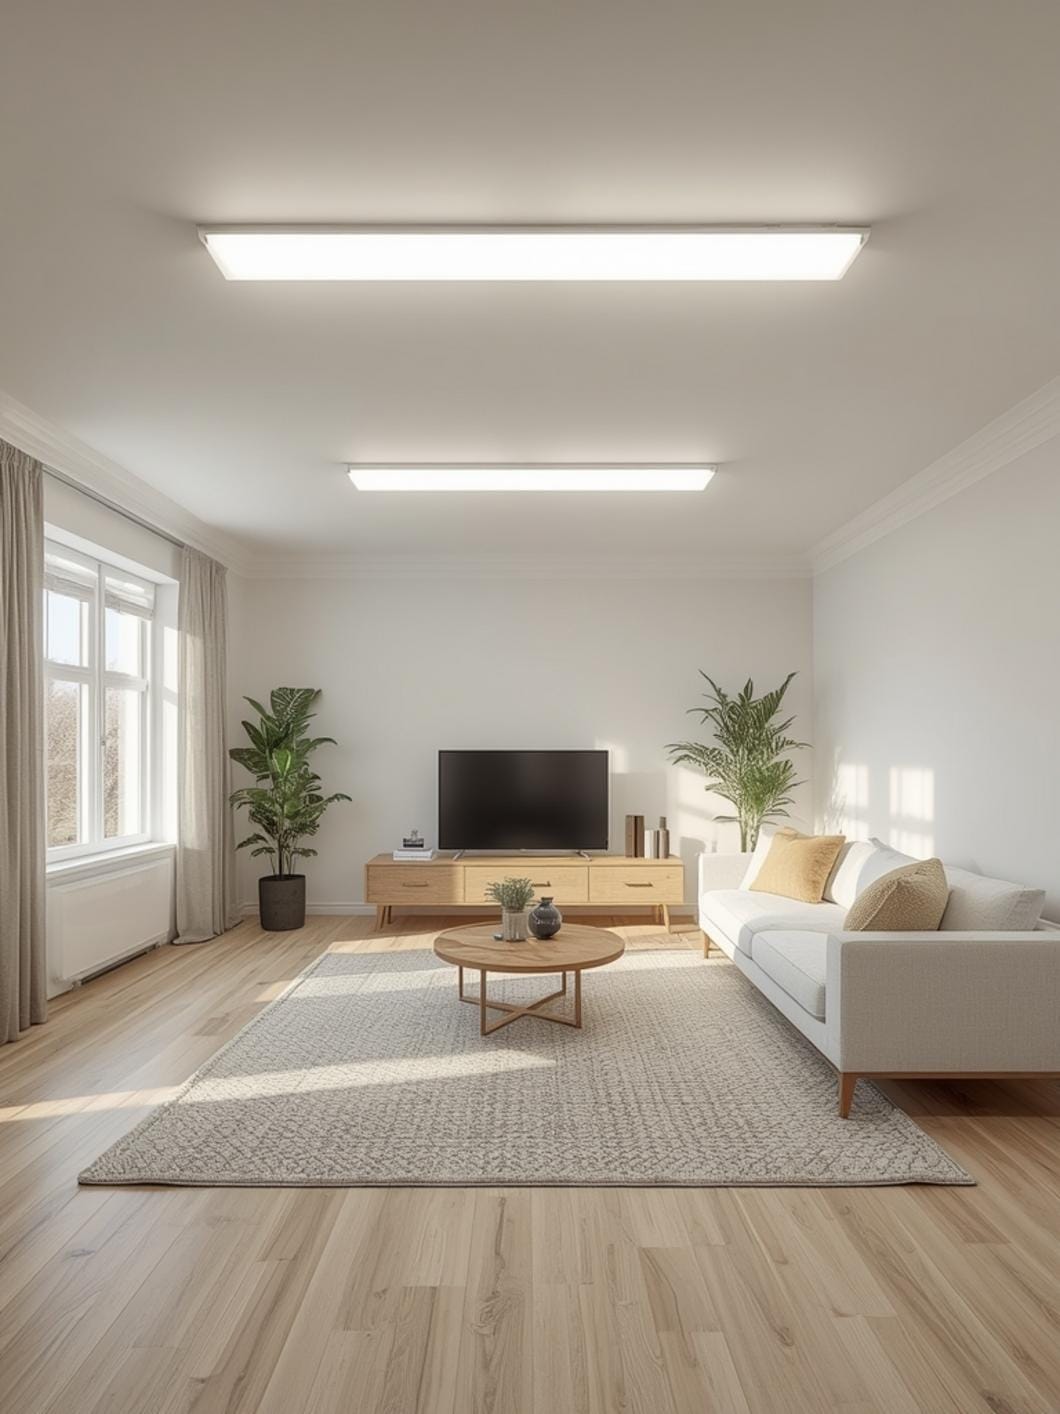
Decide on your replacement approach. For the simplest upgrade, install LED tubes designed to work with your existing ballast—they simply twist into the same sockets. For a complete modernization, you’ll remove the entire fixture and install a new LED fixture in its place.
Install your new lighting. If using LED tubes, twist them into the sockets just like the old fluorescent tubes. If installing a complete new fixture, remove the old fixture housing after disconnecting it from its mounting bracket, then follow the manufacturer’s instructions to mount and connect your new LED fixture. Most modern LED fixtures come with simple plug-in connectors rather than requiring you to splice wires.
Test and adjust. Restore power at the circuit breaker and flip the light switch. Your new LED lighting should illuminate immediately with no flicker or delay. Replace the diffuser cover or install the new cover that came with your fixture.
Consider color temperature. LED fixtures come in different color temperatures measured in Kelvin. For kitchens and workspaces, choose 4000K to 5000K for bright, energizing light. For living areas and bedrooms, 2700K to 3000K creates a warm, inviting glow.
Benefits / Advantages
Replacing your old fluorescent fixtures delivers immediate improvements you’ll notice every single day. The instant-on performance means no more waiting for lights to flicker to life—perfect for those early morning trips to the kitchen or quick dashes to the laundry room.
Energy savings add up quickly in your monthly bills. LED fixtures use 40 to 60 percent less electricity than fluorescent, and they last 50,000 hours or more compared to fluorescent’s 10,000 to 20,000 hours. That means fewer bulb changes and lower maintenance over the years.
The quality of light transforms how your home looks and feels. Modern LEDs eliminate that harsh, industrial fluorescent glow and replace it with clean, natural-looking light that makes colors look true and spaces feel more inviting. Your kitchen counters, bathroom mirrors, and garage workspace will all look better under LED lighting.
Silence is another unexpected benefit. That constant hum from aging fluorescent ballasts disappears completely with LED fixtures, creating a more peaceful home environment.
Tips, Alternatives, Styling Advice
Budget-friendly approach: Install LED tubes that work with your existing ballast. Brands like Philips and GE offer tubes starting around $15 each that twist right into your current sockets. This gives you LED efficiency and better light quality without touching any electrical connections. You can complete the upgrade in minutes with zero tools required beyond a ladder.
Mid-range solution: Choose a flush-mount LED fixture that replaces your entire fluorescent housing. These run $40 to $80 and give you a completely modern look while still being straightforward to install. Look for fixtures with built-in dimming capability if you want lighting flexibility.
Premium upgrade: Invest in smart LED fixtures with adjustable color temperature and brightness. These $80 to $150 fixtures let you change from cool white for detailed tasks to warm white for relaxing—all from your smartphone. Some models integrate with Alexa or Google Home for voice control.
Small space adaptation: In tight areas like closets or under-cabinet spaces, consider LED strip lights or puck lights instead of full fixtures. These compact options provide excellent task lighting without the bulk of traditional fixtures.
Rental-friendly option: Magnetic LED panels that attach directly over your existing fluorescent fixture give you all the benefits of LED lighting without any permanent modifications. Simply place the magnetic panel over your fluorescent diffuser and plug it in—no tools or electrical work required.
Common Mistakes to Avoid
Buying the wrong size replacement. Fluorescent fixtures come in standard lengths—usually 2-foot or 4-foot—but measuring your existing fixture before shopping ensures you get the right fit. Take measurements of both the fixture length and width to avoid returns and frustration.
Forgetting to check the ballast compatibility. Some LED tubes work with existing ballasts while others require ballast removal. Read the product description carefully before purchasing. If you’re unsure, choose a “ballast bypass” LED tube and follow the simple instructions to remove or bypass the ballast safely.
Overlooking color temperature. LED bulbs in 5000K might feel too harsh and clinical in a bathroom or bedroom, while 2700K might seem too dim for a workshop. Think about how you use each space before choosing your color temperature.
Disposing of fluorescent tubes in regular trash. Fluorescent bulbs contain mercury and require special recycling. Check with your local hardware store or recycling center for proper disposal locations. Many home improvement stores offer free fluorescent bulb recycling.
Rushing the installation without testing power. Always use a voltage tester to confirm power is off before touching any fixture components. This simple five-second check prevents dangerous shocks and gives you confidence to work safely.
Maintenance / Upkeep Tips
LED fixtures require almost no maintenance compared to their fluorescent predecessors. The bulbs last for years without replacement, often outlasting the fixture itself. Simply dust the diffuser cover every few months with a soft cloth to maintain maximum light output.
If your fixture has a removable diffuser, take it down twice a year for a gentle wash with warm soapy water. Let it dry completely before reinstalling it. This keeps your light bright and prevents that dingy yellow tint that builds up on plastic covers over time.
Check mounting screws annually to ensure your fixture remains securely attached to the ceiling. A quick visual inspection takes just seconds and prevents fixtures from sagging or pulling away from mounting surfaces.
For LED tubes in particular, wipe them down with a dry microfiber cloth monthly. Dust buildup reduces light output and can make your new LEDs seem dimmer than they should be. This quick cleaning maintains optimal brightness and keeps your upgrade looking fresh.
Conclusion
Upgrading your old fluorescent fixtures to modern LED lighting is one of the most satisfying home improvements you can tackle in an afternoon. You’ll enjoy better light quality, lower energy bills, and a more modern look throughout your home—all from a project that’s well within reach for any confident homeowner.
Whether you choose simple LED tube replacements or complete fixture upgrades, the transformation happens the moment you flip that switch. Start with your most-used space—usually the kitchen or bathroom—and you’ll immediately see why this upgrade is worth every minute. Ready to explore more ways to brighten and beautify your home? Visit DecorKingdom for inspiration and practical advice for every room in your house.
FAQs
How long do LED lights last compared to fluorescent bulbs?
LED fixtures typically last 50,000 to 100,000 hours compared to fluorescent bulbs’ 10,000 to 20,000 hours. In practical terms, if you use your lights four hours daily, LEDs can last 30 years or more before needing replacement. This longevity means fewer bulb changes and less waste over the life of your home.
Can I put LED bulbs in my existing fluorescent fixture?
Yes, but you need LED tubes specifically designed for fluorescent fixtures. Some work with your existing ballast while others require simple ballast bypass installation. Check the product specifications before purchasing to ensure compatibility with your fixture type. The swap takes just minutes once you have the right tubes.
Do fluorescent lights really use more energy than LEDs?
Fluorescent fixtures use 40 to 60 percent more energy than equivalent LED fixtures for the same amount of light output. A typical 4-foot fluorescent fixture draws about 32 watts while an LED replacement uses just 15 to 18 watts. Over a year, this difference adds up to noticeable savings on your electricity bill.
Why do my fluorescent lights flicker and take time to warm up?
Flickering and slow warm-up indicate an aging ballast or failing bulbs. The ballast regulates electrical current to the bulbs, and as it wears out, it struggles to provide steady power. This is one of the clearest signs that replacement will improve your lighting experience immediately.
Is it worth replacing working fluorescent lights with LED?
Even if your fluorescent fixtures still work, upgrading to LED provides instant-on lighting, better color quality, lower energy costs, and elimination of that annoying hum. The improved light quality alone makes a noticeable difference in how your rooms look and feel. Most homeowners recoup the upgrade cost through energy savings within two to three years.
—
Meta Title: How to Replace Fluorescent Lights Fast & Easy 2026
Meta Description: Say goodbye to flickering lights! How to Replace Fluorescent Lights with modern LEDs for better light, lower bills, and zero buzz.