How to Place Kitchen Wall Sconces for Perfect Lighting
Table of Contents
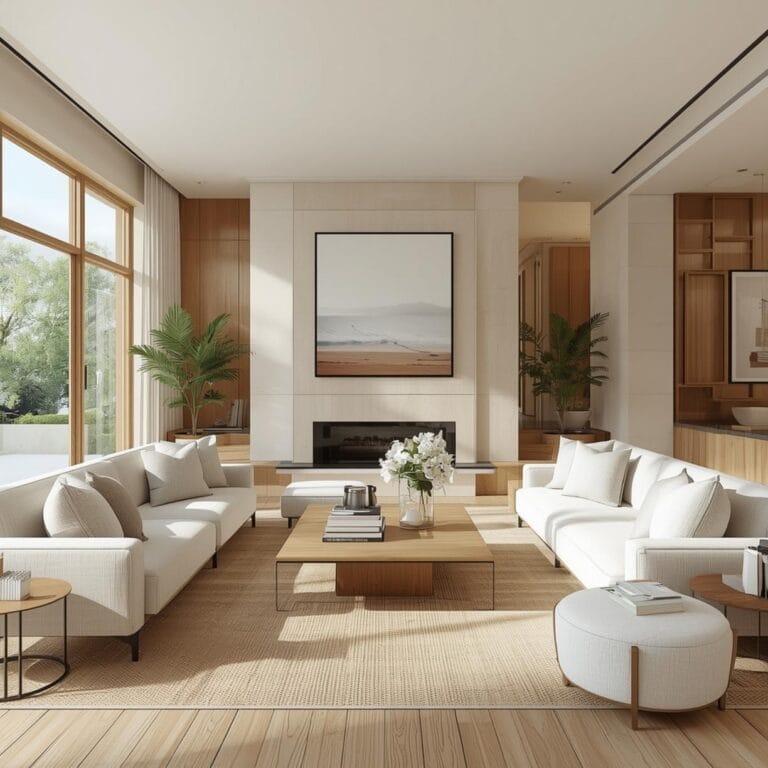
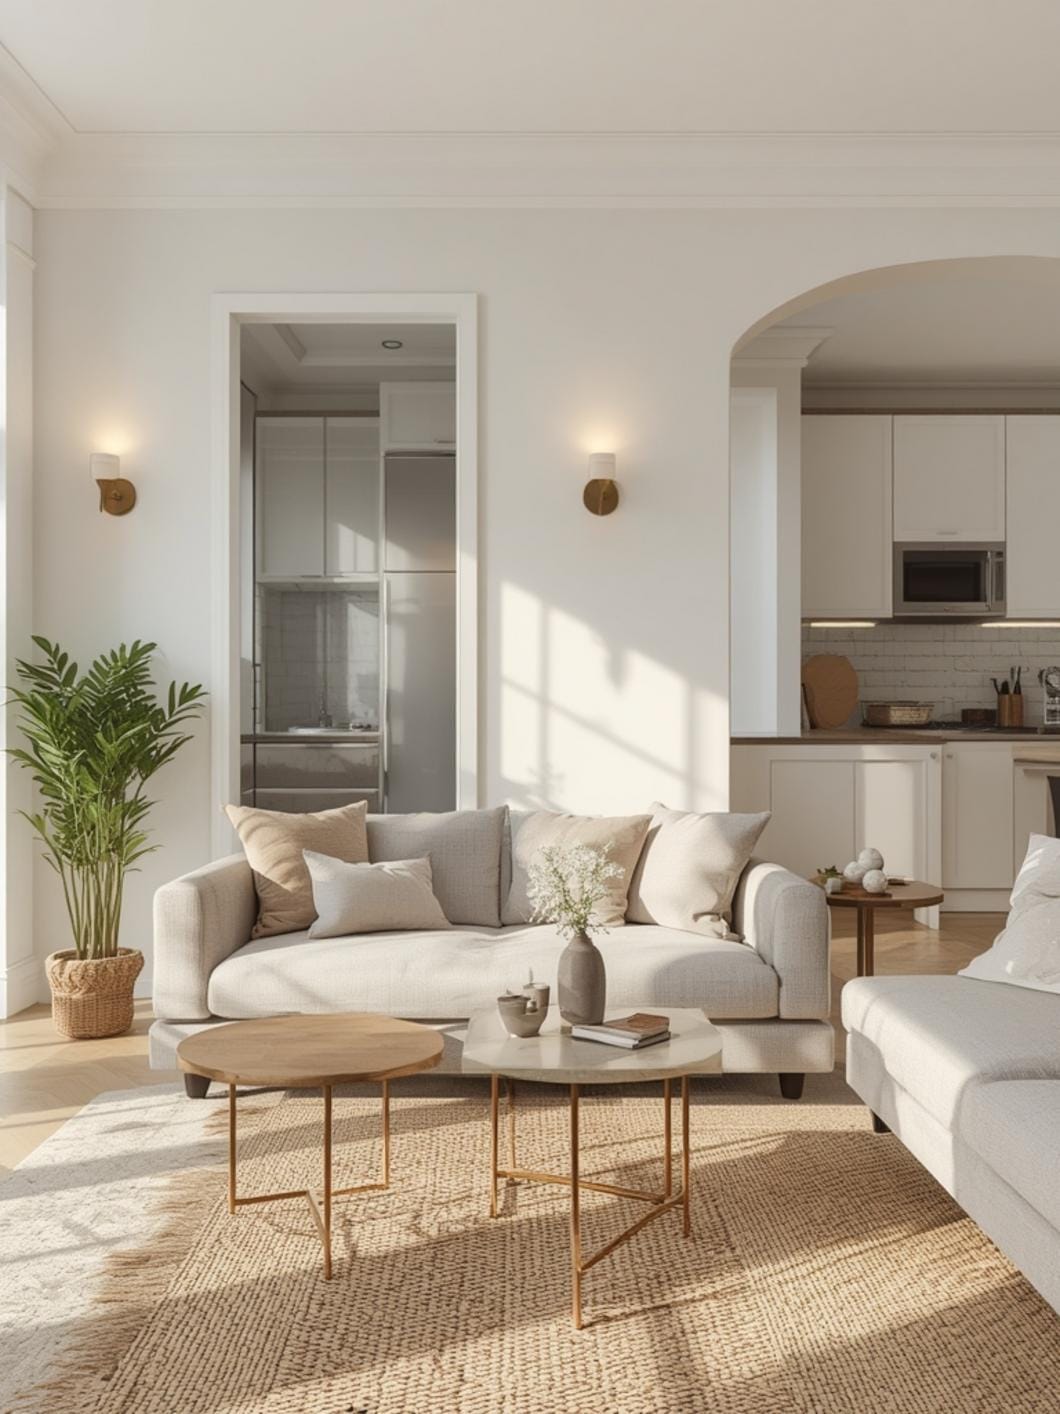
You walk into your kitchen at night, flip the overhead light, and everything looks flat and uninviting. The corners are dark, your beautiful backsplash disappears into shadow, and the whole space feels like it’s missing something. That’s where wall sconces come in—they add warmth, dimension, and personality to your kitchen in ways ceiling lights just can’t match.
But here’s the thing: where to place kitchen wall sconces makes all the difference between a cozy, well-lit space and awkwardly positioned fixtures that highlight all the wrong things. You need to think about cabinet placement, counter height, task lighting needs, and overall balance.
Whether you’re adding sconces to brighten up dark corners or creating ambient lighting around your breakfast nook, the right placement turns functional fixtures into beautiful design elements. Let’s walk through everything you need to know to get it right the first time.
Key Terms and Elements to Know
Before you start marking walls with painter’s tape, it helps to understand what you’re working with. Kitchen wall sconces come in different styles and serve different purposes, so knowing the basics will help you make smarter placement decisions.
Here’s what matters most for placement:
– Sconce height: Most kitchen sconces work best between 60–72 inches from the floor, depending on your ceiling height and what you’re lighting
– Clearance from cabinets: You need enough space so fixtures don’t look cramped or create awkward shadows
– Light direction: Downward-facing sconces work great near counters, while upward or multi-directional ones suit ambient lighting
– Fixture depth: How far the sconce sticks out from the wall affects placement near doorways and walkways
– Shade style: Open vs. closed shades change how light spreads and where shadows fall
Your kitchen’s existing features also play a role. Cabinet height, window placement, and whether you have upper cabinets or open shelving all influence where sconces look and work best.
Think about whether you want task lighting (to help you see what you’re doing), ambient lighting (to create overall warmth), or accent lighting (to highlight specific features). This determines both placement and fixture type.
Common Misconceptions to Clear Up First
Many homeowners think wall sconces are only for formal dining rooms or hallways, but they’re actually incredibly practical in kitchens. They fill in gaps that overhead lighting misses and add visual interest at eye level.
Another myth is that you need tons of wall space for sconces to work. Even small kitchens benefit from one or two well-placed fixtures. A single sconce near your sink or breakfast area can completely change how the space feels in the evening.
Some people worry that sconces will make their kitchen look cluttered or old-fashioned. The truth is, modern sconces come in every style imaginable—from sleek industrial to minimalist contemporary. It’s all about choosing fixtures that match your existing decor and placing them thoughtfully.
You also don’t need to install sconces in pairs. While symmetrical placement looks great in some kitchens, a single statement sconce can be just as effective, especially in smaller spaces or near specific work areas.
Finally, don’t assume you’re stuck with whatever electrical boxes are already in your walls. Battery-operated and plug-in sconces have come a long way in quality and style. They give you much more flexibility with placement without calling an electrician.
How It Works in Real Homes
Let’s look at how real homeowners successfully use sconces in different kitchen layouts. These examples will help you visualize what might work in your own space.
Above or beside the sink: This is one of the most popular spots because overhead lighting often casts shadows right where you’re working. Mount sconces 12–18 inches above the counter on either side of your window, or if you don’t have a window, center one fixture above the sink area. How far should kitchen wall sconces be from cabinets depends on your specific layout, but aim for at least 3–4 inches of clearance from upper cabinets to avoid a cramped look and ensure proper light spread.
Flanking open shelving: If you’ve replaced upper cabinets with open shelves, sconces on either side create beautiful accent lighting that highlights your dishes and decor. Place them at the middle shelf height, typically 60–66 inches from the floor. This creates a balanced, gallery-like feel.
In breakfast nook corners: Sconces mounted 60–65 inches high in the corners of a breakfast nook add warmth and define the space. They work especially well if your nook doesn’t have a pendant light or if you want softer lighting for morning coffee.
On either side of a range hood: This placement adds symmetry and provides task lighting for cooking. Mount them high enough that they don’t interfere with your range hood—typically 72 inches or higher, depending on your hood’s size.
Near doorways or pass-throughs: A single sconce near a kitchen entrance creates a welcoming glow and helps transition between spaces. Place it on the opposite wall from the door swing, about 60–66 inches high.
For galley kitchens, consider staggering sconces along one wall rather than placing them directly across from each other. This creates rhythm without making the narrow space feel busier.
In kitchens with breakfast bars or islands, sconces on the wall behind the seating area add ambiance and can replace or supplement pendant lights. Mount them 60–70 inches high so they’re visible when seated but don’t shine directly in anyone’s eyes.
Benefits / Advantages
Wall sconces transform your kitchen from purely functional to genuinely inviting. When you walk in during those early morning hours or late evening snack runs, sconces create pockets of warm light that make the space feel cozy rather than clinical.
They solve the common problem of dark zones that overhead lighting misses. Those corners near your cabinets, the area above your sink, or that awkward space by the pantry—sconces fill these gaps beautifully. Your kitchen becomes more evenly lit, which makes it easier to work and more pleasant to spend time in.
From a design perspective, sconces add visual interest at eye level. They break up large expanses of wall and draw attention to the thoughtful details in your space. Whether you choose vintage glass shades or modern geometric designs, they become decorative elements that reflect your personal style.
Sconces also give you lighting control that ceiling fixtures can’t match. You can create different moods by turning on just the sconces for ambient lighting during dinner parties or adding them to task lighting when you’re cooking. This flexibility makes your kitchen more versatile.
They’re especially valuable in homes with lower ceilings where pendant lights might hang too low, or in kitchens where you’ve maximized upper cabinet space and don’t want recessed lighting. Sconces work with your existing layout rather than against it.
Tips, Alternatives, Styling Advice
Budget-friendly option: Look for plug-in sconces that don’t require electrical work. Modern options with fabric or metal shades cost $30–60 each and simply mount with a small screw. Choose simple designs in black or brass that won’t look dated in a few years. Battery-operated LED sconces with remote controls work well in rentals and cost $25–40.
Mid-range option: Hardwired sconces in the $80–150 range offer better quality and more style choices. Look for fixtures with adjustable arms or swivel heads that let you direct light where you need it. Schoolhouse glass shades, industrial cage styles, and classic brass swing-arms all fall in this range.
Premium option: Designer sconces ($200+) make a real statement and often feature hand-blown glass, artisan metalwork, or unique shapes. These work beautifully as focal points on either side of a range hood or flanking open shelving. The quality difference shows in the finish durability and light quality.
Small space adaptation: In compact kitchens, choose slim-profile sconces that don’t project more than 6–8 inches from the wall. Downlight sconces save space while still providing useful task lighting. A single well-placed sconce often works better than trying to fit multiple fixtures.
For renters or commitment-phobes, removable adhesive strips designed for heavier items can hold lightweight plug-in sconces without damaging walls. Just make sure the fixture weighs less than the strip’s rating.
Consider dimmer-compatible sconces even if you’re not installing dimmers right away. This gives you flexibility to adjust lighting intensity later without replacing fixtures. Most LED-compatible sconces work with standard dimmer switches.
Common Mistakes to Avoid
Placing sconces too high or too low: Many people default to standard switch height (48 inches) or standard mirror height (60 inches) without considering their kitchen’s proportions. The fix: measure 60–72 inches from the floor for most kitchen applications, adjusting based on your ceiling height and the fixture’s purpose.
Ignoring the fixture’s projection: Sconces that stick out 10+ inches can block walkways or bump into cabinet doors when they open. The solution: measure how far your fixture extends from the wall and ensure it won’t interfere with traffic flow or cabinet operation—leave at least 18 inches of clearance in walkways.
Choosing the wrong light temperature: Cool white bulbs (5000K+) can make your kitchen feel sterile, while very warm bulbs (2200K) might make food look unappetizing. Use 2700K–3000K bulbs for a warm but true-to-color light that works well in kitchens.
Forgetting about scale: Tiny sconces on a large wall look lost, while oversized fixtures can overwhelm a small kitchen. Match your sconce size to your space—8–10 inch fixtures for standard kitchens, 6–8 inches for compact spaces, and 12+ inches for large kitchens with high ceilings.
Creating awkward spacing: Placing sconces too close to cabinet edges or corners looks unintentional. Center fixtures within the available wall space, leaving equal margins on either side, and maintain at least 4–6 inches from cabinet edges for a deliberate, balanced appearance.
Maintenance / Upkeep Tips
Keep your sconces looking great with regular dusting every week or two using a microfiber cloth. For glass shades, remove them monthly and wash with warm soapy water, then dry completely before reinstalling to prevent water spots.
LED bulbs last 15,000+ hours, but when they do need replacing, turn off the power first and let any hot bulbs cool for several minutes. Keep spare bulbs on hand so you’re not stuck with mismatched lighting while you shop for replacements.
Check mounting screws every six months to ensure they haven’t loosened over time. This quick inspection prevents fixtures from tilting or, in rare cases, falling. If your sconces have metal finishes like brass or bronze, wipe them with appropriate metal cleaners annually to maintain their finish.
For sconces near cooking areas, grease buildup can dull the finish and shades. Wipe these down monthly with a degreasing cleaner designed for kitchen surfaces. This prevents buildup from becoming harder to remove later.
If your sconces have fabric shades, vacuum them gently with a brush attachment every few weeks. For deeper cleaning, check if the fabric is removable and washable—many modern shades are, making maintenance much easier.
Conclusion
The right wall sconce placement brings your kitchen to life with layers of light that overhead fixtures alone can’t achieve. When you consider your cabinet clearance, work zones, and overall room proportions, sconces become both functional and beautiful additions to your space.
Start by identifying which areas of your kitchen need additional light or visual interest, then measure carefully before mounting anything. Whether you choose budget-friendly plug-ins or invest in hardwired designer fixtures, thoughtful placement makes all the difference.
Ready to explore more ways to light up your kitchen? Check out our other kitchen lighting guides on DecorKingdom for ideas that’ll make your space shine.
FAQs
Can I install wall sconces if I have full upper cabinets?
Yes, you can place sconces on walls without cabinets, such as near your sink if it’s on an exterior wall, beside doorways, in breakfast nooks, or on the wall behind your kitchen table. You can also mount them above cabinet height as accent lighting, though this works best with taller ceilings.
Do kitchen wall sconces need to match my pendant lights?
No, they don’t need to match exactly, but they should coordinate in finish or style. If your pendants are matte black, your sconces can be black too, or a complementary finish like brushed nickel. The key is creating a cohesive look rather than matching everything identically.
What’s the best height for sconces above kitchen counters?
Mount sconces 12–18 inches above your counter surface, which typically puts them 48–54 inches from the floor if you have standard 36-inch counters. This provides good task lighting without shining directly in your eyes when you’re working.
Should I put sconces on a dimmer switch?
Dimmer switches are highly recommended for kitchen sconces because they let you adjust the lighting for different activities and times of day. Make sure to choose dimmable LED bulbs and a compatible dimmer switch designed for LED lighting.
How many sconces does a typical kitchen need?
Most kitchens benefit from 2–4 sconces depending on size and layout. Start with the areas that need the most help—typically near the sink or in dark corners—then add more if needed. Even one well-placed sconce can make a noticeable difference in a small kitchen.
—
Meta Title: Where to Place Kitchen Wall Sconces Guide 2026
Meta Description: Find the perfect spots for kitchen wall sconces. Learn ideal heights, cabinet clearance, and placement tips for beautiful, functional lighting.