
How to Choose the Right Fishing Rod Organizer for Your Garage
You walk into the garage, ready for a Saturday morning at the lake, and there they are: fishing rods leaning against the wall, piled in a corner, or worse—wedged between tools and bikes. One of the reels is scratched. Another rod tip looks bent. You’re wasting precious fishing time untangling lines and hunting for tackle boxes.
A fishing rod organizer for garage can change all of that. Whether you have two rods or twenty, the right storage setup keeps everything upright, protected, and ready to grab. You’ll walk out the door faster, your gear will last longer, and your garage will finally look like you have your life together.
This guide walks you through everything you need to know—from choosing the right style to setting it up in even the tightest spaces. No power tools required, no complicated installation. Just practical, real-world advice for homeowners who love to fish and want their gear to stay organized.
Table of Contents
Materials & Decor Elements
Before you pick a storage system, think about what you’re working with. Here’s what you’ll want on hand or what you’ll be shopping for:
– Wall-mounted rod holders — vertical racks that hold rods upright by the handle
– Ceiling-mounted rod racks — horizontal systems that hang rods overhead
– Freestanding rod racks — portable stands that don’t require drilling
– Foam rod tubes or protective sleeves — to prevent scratches and tangling
– Hooks or J-hooks — simple hardware for DIY setups
– Anchor screws or wall studs — if you’re mounting anything to drywall or wood
– Labels or tape — to mark which rod is for what type of fishing
– Small bins or baskets — for reels, tackle, and accessories
You don’t need all of these. Start with the type of organizer that fits your space and fishing habits. If you’re renting or don’t want to drill holes, a freestanding rack is your friend. If you have wall space and a stud finder, wall-mounted systems offer the most capacity.
Timing / Project Planning
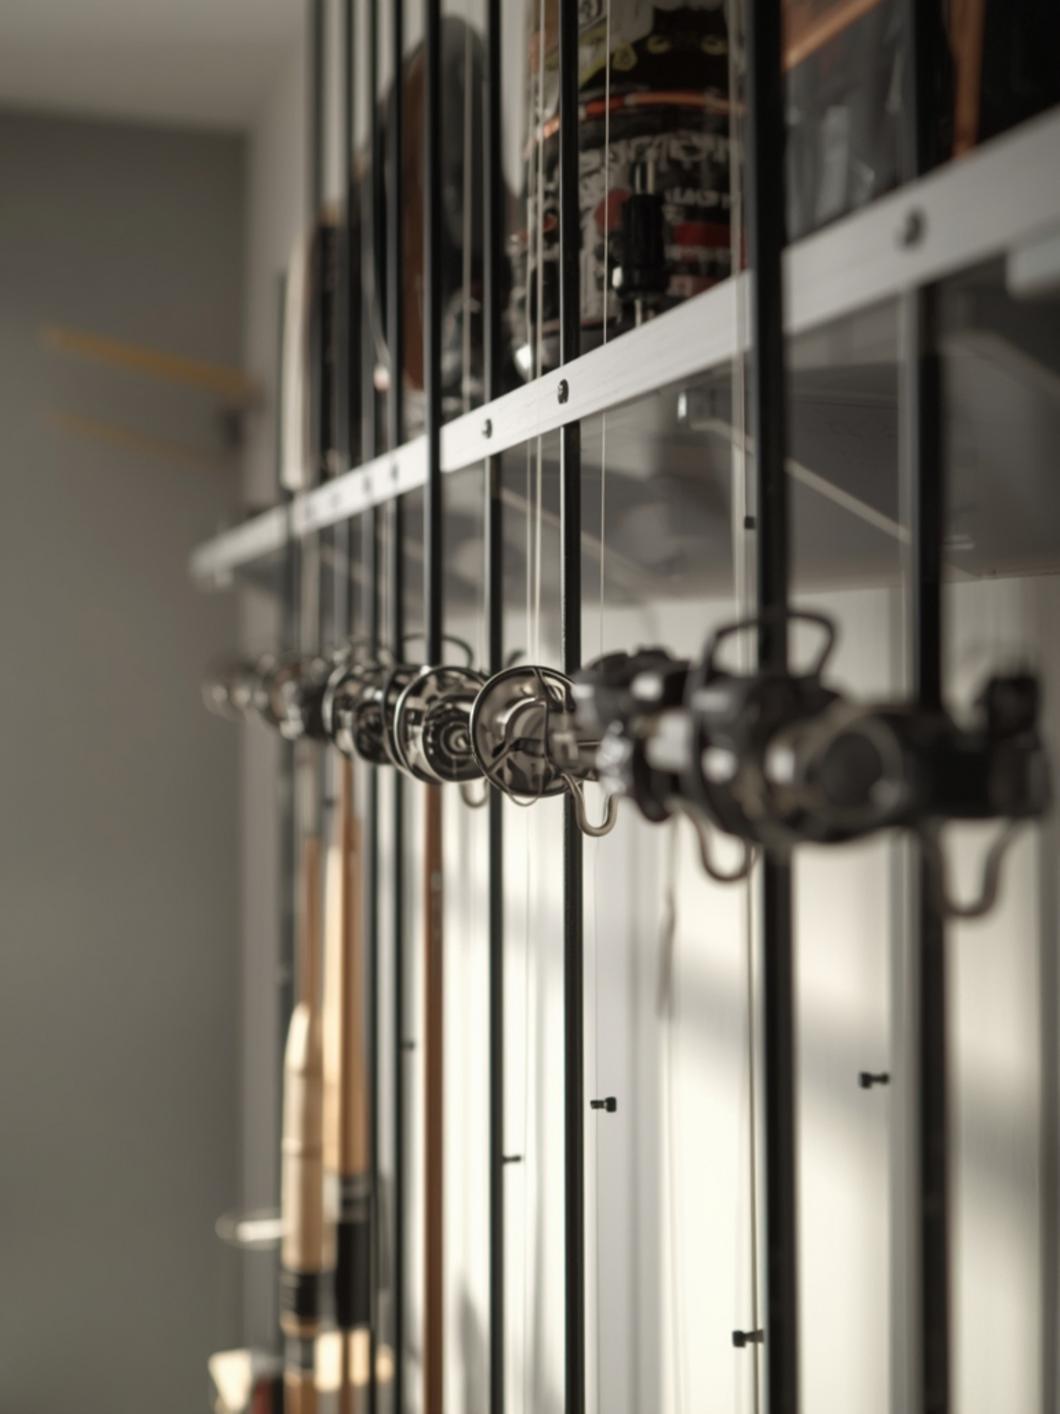
Setting up a fishing rod organizer is a quick weekend project. Most homeowners can finish it in under an hour, even if you’ve never installed anything before. Here’s how to plan it:
Time commitment: 30 to 90 minutes, depending on the system you choose. Wall-mounted racks take a bit longer because you’ll need to locate studs and drill pilot holes. Freestanding racks are literally a 5-minute setup—no tools required.
Best time to do it: Anytime, but the off-season is ideal. If you’re not actively fishing, you can sort through your rods, retire any damaged ones, and set up your storage without the pressure of an upcoming trip.
Budget range: You can start at $20 for a basic DIY solution using hooks and foam pipe insulation. Mid-range wall-mounted racks run $40 to $80. Premium ceiling systems with individual rod slots can go up to $150 or more, but they’re built to last and hold a serious collection.
Plan for extra space around your organizer. You’ll want room to pull rods out without hitting the car or knocking over bikes. Measure twice, install once.
Step-by-Step Instructions
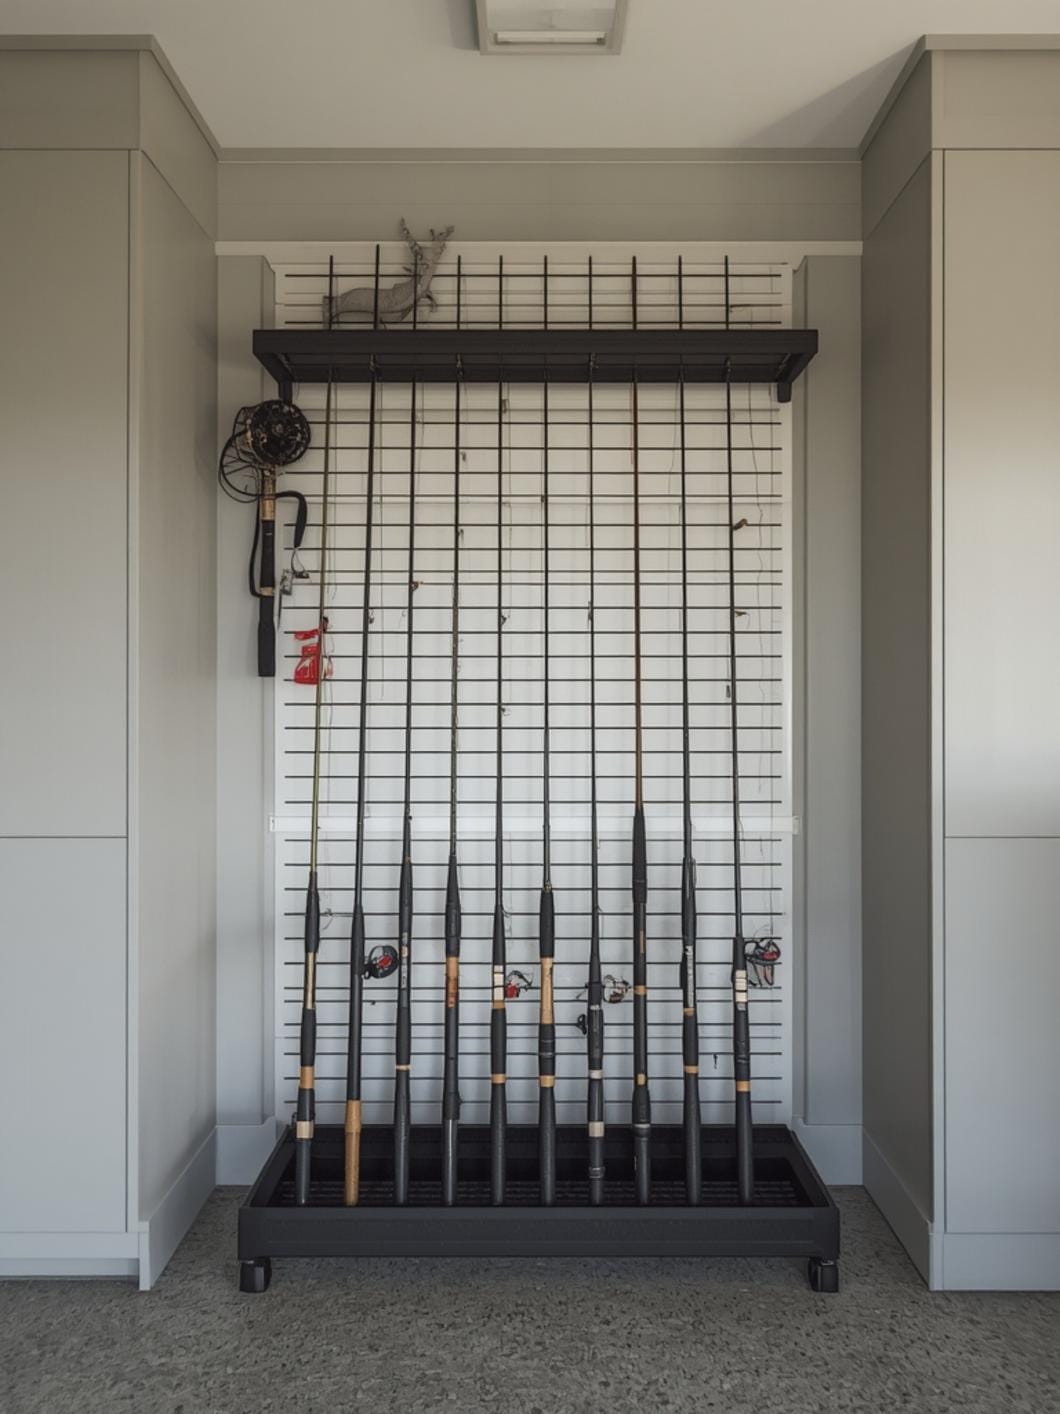
Here’s how to set up a wall-mounted fishing rod organizer, step by step. This is the most popular option for homeowners because it saves floor space and keeps rods visible and accessible.
Step 1: Choose your wall. Pick a spot that’s easy to reach but out of the main traffic path. The wall next to your garage door or along the side wall works well. Make sure there’s at least 7 feet of vertical clearance so your longest rods fit comfortably.
Step 2: Find the studs. Use a stud finder to locate the wooden studs behind your drywall. Mark them with a pencil. Mounting your rack into studs—not just drywall—ensures it won’t pull out under the weight of multiple rods.
Step 3: Mark your mounting holes. Hold the rack up to the wall at eye level or slightly higher. Use a pencil to mark where the screw holes line up with the studs. Double-check that the rack is level before you drill.
Step 4: Drill pilot holes. Use a drill bit slightly smaller than your screws to make pilot holes. This prevents the wood from splitting and makes screwing in the hardware much easier.
Step 5: Attach the rack. Line up the rack with your pilot holes and drive in the screws. Tighten them firmly, but don’t overtighten—you’ll strip the holes.
Step 6: Add your rods. Place each rod into its slot, handle down. If your rack has adjustable arms or clips, position them so the reels hang freely without touching each other. This is where garage fishing rod storage solutions for small spaces really shine—vertical storage keeps everything compact and organized.
Step 7: Label and accessorize. If you have different rods for bass, trout, or saltwater fishing, add small labels so you can grab the right one fast. Store tackle boxes and reels on a nearby shelf or in bins below the rack.
Benefits / Advantages
A fishing rod organizer does more than just clean up your garage. It protects your investment. Fishing rods aren’t cheap, and leaving them loose in a corner is a recipe for broken tips, scratched guides, and tangled lines.
When your rods are stored vertically, they’re not under stress. The weight is evenly distributed, and there’s no bending or warping over time. You’ll also avoid the frustration of untangling lines every time you want to fish.
Organization saves you time. No more digging through piles or moving tools out of the way. You walk in, grab your rod, and go. That’s worth more than any organizer costs.
For families, it’s a safety win. Rods stored upright and secured are less likely to fall and poke someone. Kids and pets can move through the garage without tripping over gear.
And honestly? It just looks better. A well-organized garage feels more intentional, more grown-up. When everything has a place, you’ll actually enjoy being in that space.
Tips, Alternatives, Styling Advice
Budget-friendly option: Use PVC pipe cut into short sections and mounted to a board. Add foam padding inside each pipe to protect the rod handles. Total cost: under $20. It’s not the prettiest solution, but it works beautifully and you can customize it to fit your exact number of rods.
Mid-range option: A wall-mounted horizontal rack with individual clips for each rod. These usually hold 6 to 12 rods and cost between $40 and $70. They’re easy to install, durable, and look clean. Some models even include hooks for nets and tackle bags.
Premium option: Ceiling-mounted overhead racks with adjustable straps. These are perfect if you have limited wall space but plenty of ceiling height. They hold rods horizontally and keep them completely out of the way. Expect to spend $100 to $150, but you’ll free up tons of floor and wall space.
Small space adaptation: If your garage is tight, consider a corner-mounted vertical rack or a freestanding unit that fits between your car and the wall. You can also mount a rack on the back of a pegboard system so your rods share space with other tools.
Style note: Paint or stain your wooden rack to match your garage aesthetic. A dark walnut stain looks sharp against white walls. Or go industrial with black metal racks and matching hooks.
Common Mistakes to Avoid
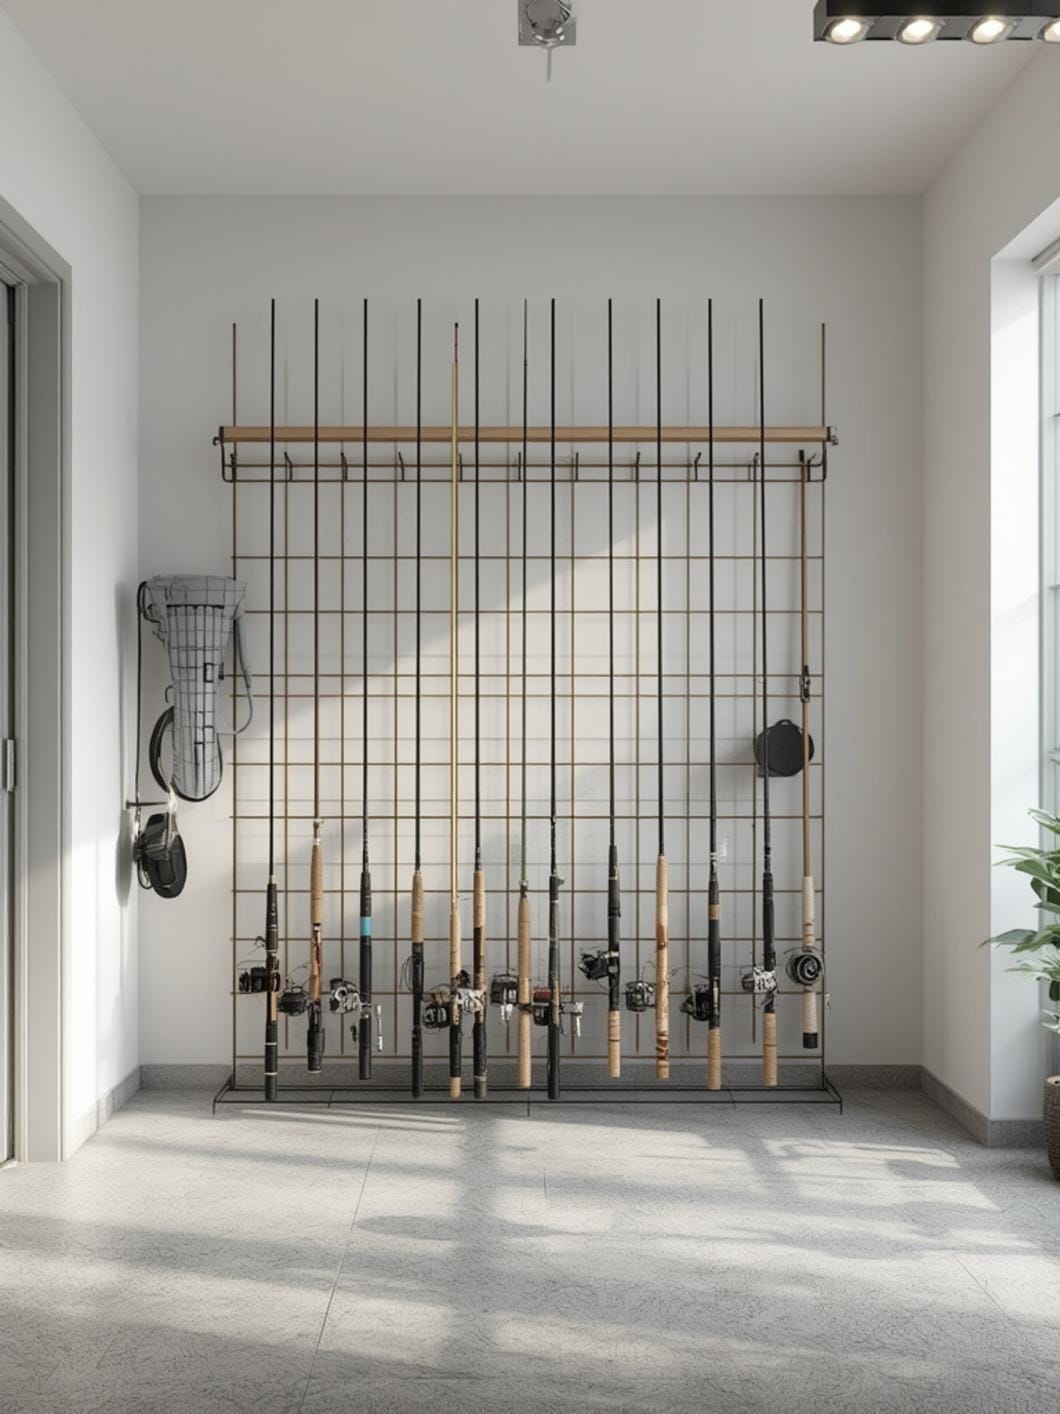
Mistake 1: Mounting the rack into drywall only, without hitting studs. Your rack will pull out of the wall the first time you load it up. Always use a stud finder and secure your rack into solid wood framing.
Mistake 2: Storing rods horizontally on the floor or across rafters without support. This causes the rods to bend and warp over time, especially longer ones. Always store rods vertically or with proper horizontal support at multiple points.
Mistake 3: Overcrowding the rack. Jamming too many rods into one space causes tangled lines, scratched reels, and frustration when you’re in a hurry. Leave a little breathing room between each rod.
Mistake 4: Forgetting to clean your rods before storing them. Saltwater, dirt, and grime will corrode guides and reels if left on for months. Wipe down your gear after every trip, then store it in the organizer.
Mistake 5: Installing the rack too low. If your rack is only 5 feet off the ground and your rods are 7 feet long, the tips will drag on the floor. Mount your rack high enough that even your longest rod clears the ground by at least 6 inches.
Maintenance / Upkeep Tips
Once your organizer is installed, maintenance is minimal. Here’s how to keep everything in top shape:
Wipe down your rods and reels after every fishing trip. Use a damp cloth to remove dirt, salt, and grime before you store them. This prevents buildup and keeps your gear functioning smoothly.
Check your rack screws once a season. Vibrations from opening and closing the garage door can loosen screws over time. Give them a quick tighten every few months to keep the rack secure.
Inspect your rods for damage. Look for cracks in the guides, bent tips, or frayed lines. Catching problems early means you can fix them before your next trip instead of discovering them at the lake.
Keep the area around your organizer clear. Don’t let boxes, bikes, or tools pile up in front of your rods. You want easy access so you’re not constantly moving things out of the way.
Rotate your rods if you have a large collection. If you fish with the same rod every time, the others can sit untouched for months. Switch them up occasionally to keep all your gear in working order.
Conclusion
A fishing rod organizer for garage transforms a chaotic pile of gear into a clean, functional system that protects your rods and saves you time. Whether you choose a budget-friendly DIY solution or a premium ceiling-mounted rack, the key is getting your rods off the floor and stored upright where they belong.
You don’t need to be a handyman to make this happen. Pick the system that fits your space and budget, follow the steps, and you’ll have a setup that lasts for years. Your rods will stay safe, your garage will look sharp, and you’ll be out the door faster every time you head to the water.
For more garage organization inspiration and practical home decor ideas, explore DecorKingdom and discover how to make every space in your home work better for you.
FAQs
What’s the best way to store fishing rods in a small garage?
Vertical wall-mounted racks are your best bet for small spaces. They take up minimal room and keep rods upright and organized. If you don’t have wall space, try a corner-mounted rack or a freestanding unit that fits in a narrow gap between your car and the wall.
Can I store fishing rods horizontally in the garage?
Yes, but only if they’re fully supported along their length. Ceiling-mounted racks that cradle the rod at multiple points work well. Never lay rods flat on the floor or rest them on just two points—they’ll warp over time.
How do I protect fishing reels when storing rods in the garage?
Store rods with the reels facing out so they don’t rub against each other. You can also cover reels with small fabric bags or even clean socks to prevent dust and scratches. Keep the area dry to avoid rust on metal components.
Do I need to drill holes to install a fishing rod organizer?
Not always. Freestanding racks require no installation at all—just set them up and load your rods. If you want a wall-mounted system but can’t drill, look for heavy-duty adhesive hooks rated for the weight of your rods, though these are less secure for large collections.
How many fishing rods can I fit on one rack?
It depends on the rack. Basic wall-mounted systems hold 6 to 12 rods. Premium ceiling-mounted racks can hold 20 or more. Measure your rods and check the rack’s weight capacity before buying to make sure it fits your collection.
—
Meta Title: Fishing Rod Organizer for Garage – Smart Storage 2026
Meta Description: Protect your gear and save space with a fishing rod organizer for garage. Easy setup, smart storage ideas for every homeowner.