How to Light a Gallery Wall the Way Designers Do
Your gallery wall looks amazing during the day, but once the sun goes down, it disappears into the shadows. You’ve spent hours arranging your favorite prints, photos, and artwork, only to realize they’re barely visible after dinner. The right gallery wall lighting ideas can completely change how your collection looks and feels, bringing warmth and visual interest to your space even when natural light fades.
Great lighting doesn’t just illuminate your artwork—it creates depth, highlights textures, and turns your wall into a focal point that draws the eye from across the room. Whether you’re working with a formal dining room gallery or a casual hallway display, choosing the right lighting approach makes all the difference. You don’t need to hire an electrician or rewire your home to achieve professional-looking results that you’ll love coming home to every evening.
The best part? Most gallery lighting solutions are surprisingly accessible for homeowners who want to tackle this project themselves with simple tools and a free afternoon.
Table of Contents
What You’ll Need to Get the Look
Creating beautifully lit gallery walls starts with gathering the right lighting elements. You’ll want to consider both the fixtures themselves and the supporting items that help you achieve a polished look.
Picture lights come in various styles, from traditional brass swing-arm designs to modern LED strips. Battery-operated versions offer flexibility without any wiring concerns, while plug-in models give you reliable, consistent lighting without battery changes.
Track lighting kits provide adjustable spotlights that you can aim directly at specific pieces. These work especially well for larger galleries where you want to highlight multiple artworks independently.
Wireless puck lights stick directly to your wall or frame backs, creating subtle illumination without visible cords. They’re perfect for renters or anyone who wants a temporary solution.
Clip-on spotlights attach to shelves or frame tops, giving you the freedom to reposition lights as your collection evolves. Many include dimmer switches so you can adjust brightness to match your mood.
You’ll also need basic supplies like measuring tape, a level, adhesive strips or small nails (depending on your chosen fixtures), and fresh batteries if you’re going the cordless route. Small cable clips help keep any cords neat and hidden along baseboards or behind frames.
Finding Your Style and Season
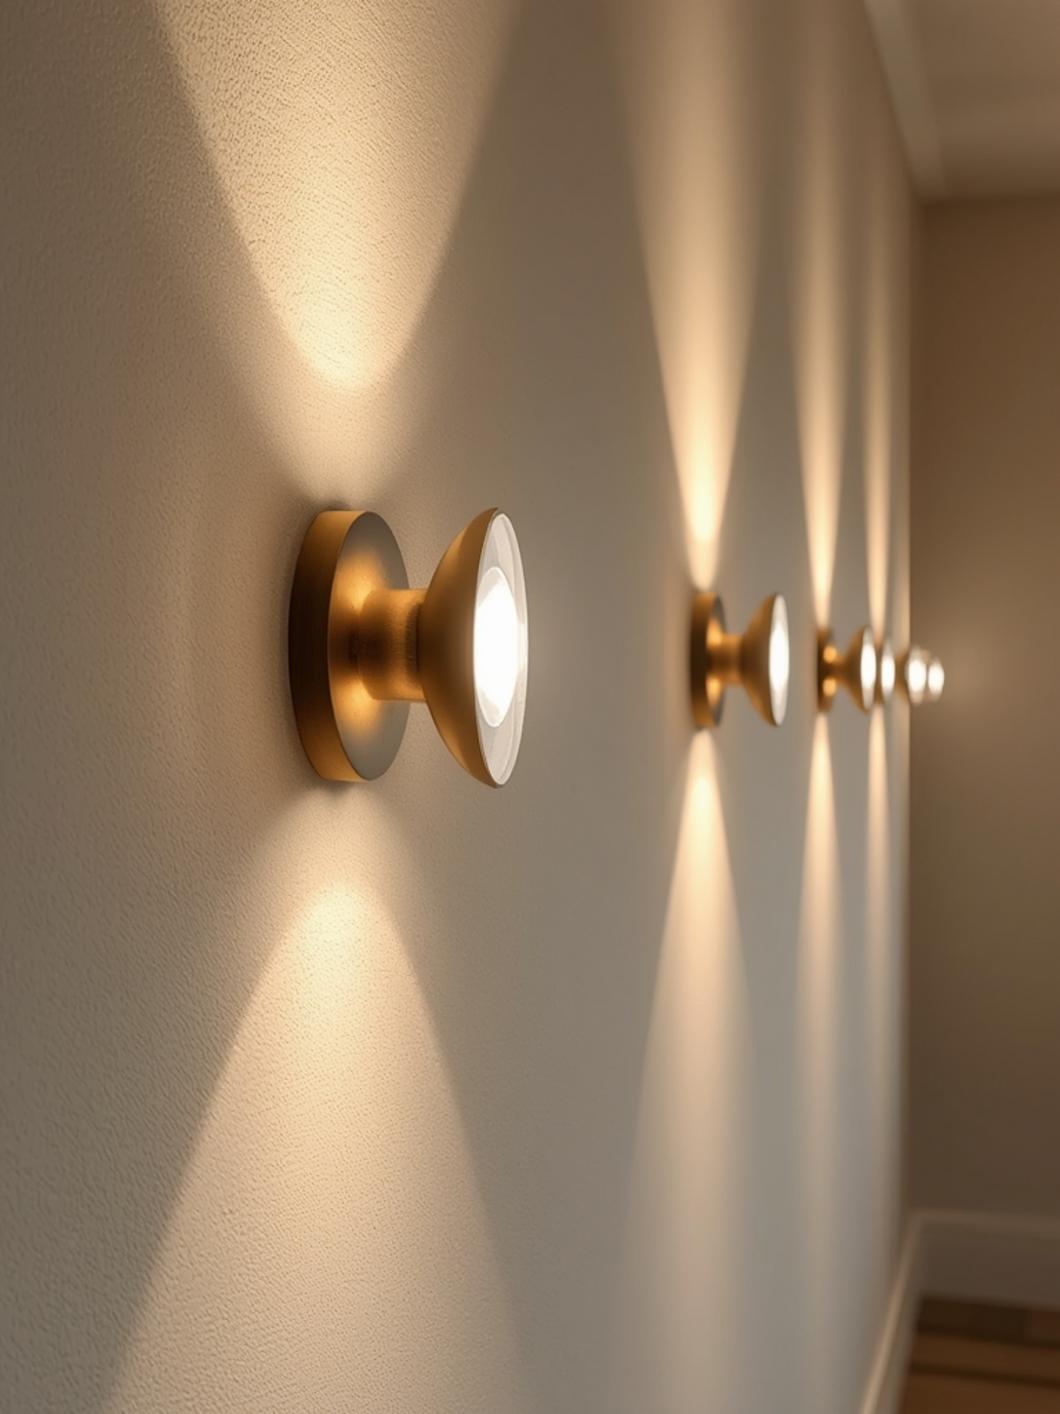
The mood you want to create should guide your lighting choices. Cool, bright LEDs give galleries a modern, museum-like feel that works beautifully in contemporary spaces. They’re ideal for showcasing bold graphics, abstract art, or black-and-white photography where you want clean, crisp visibility.
Warm-toned lighting creates an intimate, cozy atmosphere that makes traditional artwork, family photos, and vintage prints feel more inviting. This approach shines during fall and winter months when you want your home to feel like a warm refuge from cold weather outside.
Consider the time of day when you’ll enjoy your gallery most. If you typically relax in that room during evenings, prioritize soft, ambient lighting that doesn’t create harsh glare or compete with your TV or reading lamps. For spaces where you entertain guests, slightly brighter accent lighting helps your collection become a conversation starter.
Seasonal artwork rotations pair beautifully with adjustable lighting. During holidays, you might want brighter illumination to showcase festive pieces, while summer months call for subtler lighting that complements longer days and natural light streaming through windows.
The architectural style of your home matters too. Traditional homes with ornate molding look stunning with classic brass or bronze picture lights, while minimalist spaces benefit from sleek, almost invisible LED solutions that keep the focus entirely on the artwork itself.
7 Ideas to Try in Your Home
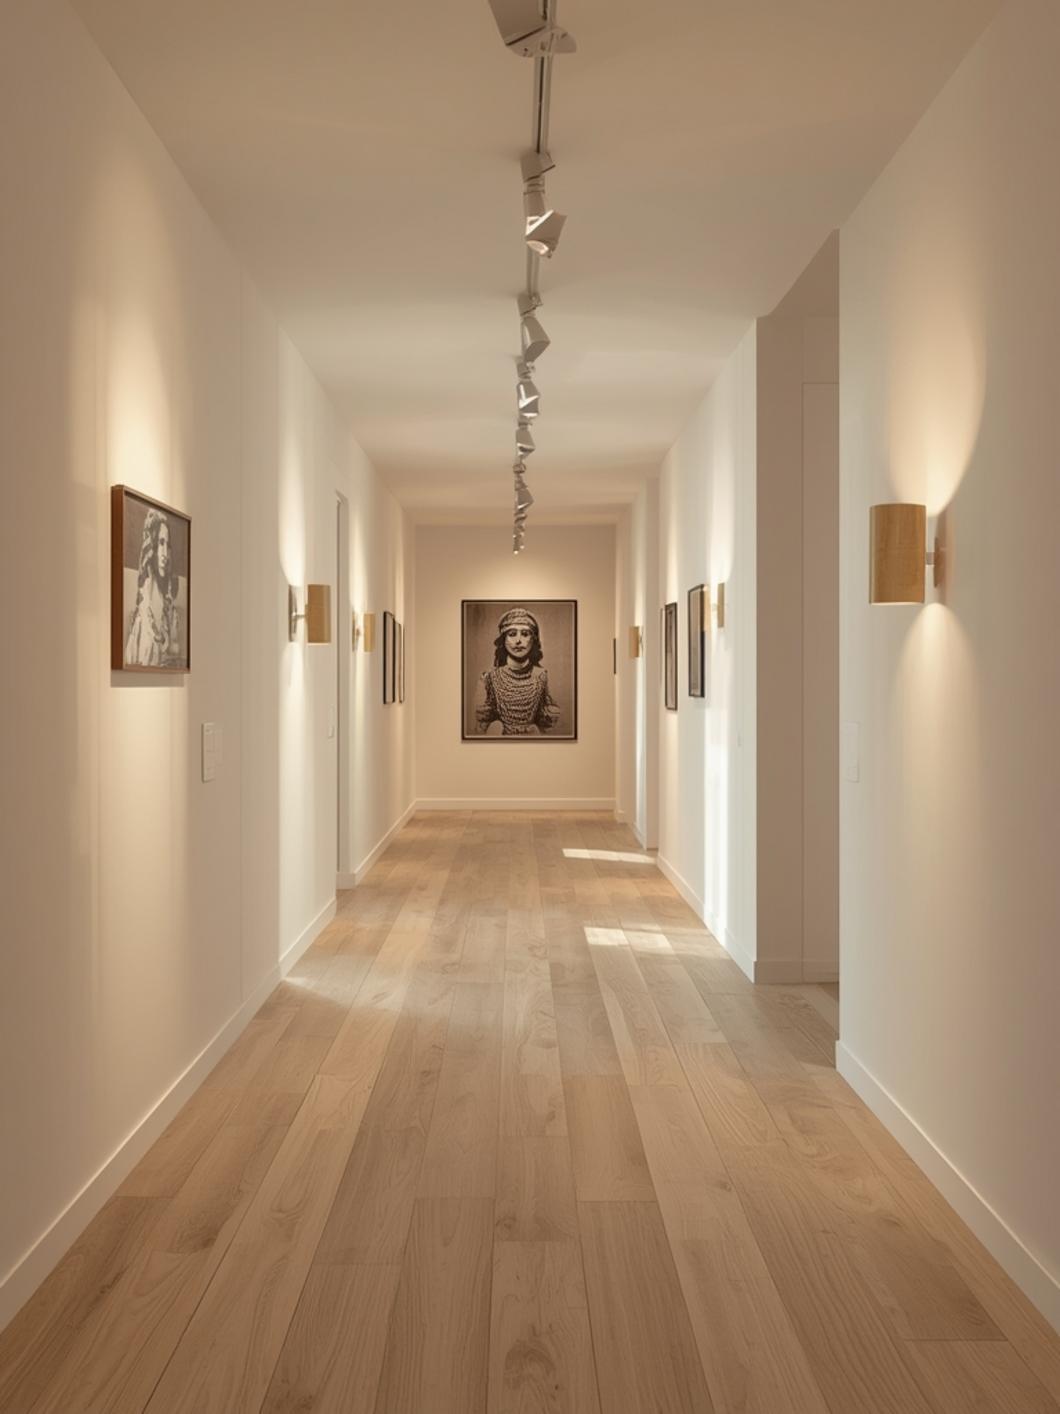
1. Individual Picture Lights Above Each Frame
Mount slim picture lights directly above your most important pieces to create a classic, gallery-inspired look. This works especially well for larger statement pieces or artwork with heavy frames. The light casts a gentle glow downward, preventing glare while illuminating the entire canvas from top to bottom.
When you’re ready to highlight specific pieces like canvas artwork, how to install picture lights on canvas artwork involves measuring the frame width first, then centering the light fixture about two to four inches above the top edge. Most battery-operated picture lights come with adhesive mounting strips that stick directly to your wall—just press firmly for thirty seconds and you’re done. For heavier fixtures, use the provided mounting hardware with small nails or screws placed into wall studs or drywall anchors for stability.
2. Track Lighting for Maximum Flexibility
Install a ceiling-mounted or wall-mounted track parallel to your gallery wall, then position individual spotlights to aim at different pieces. This gives you complete control over which artworks receive emphasis, and you can easily adjust the lights whenever you rearrange your collection.
The adjustable heads let you create layered lighting effects, with some pieces brightly lit and others receiving softer, ambient illumination that adds depth to your overall display.
3. Uplighting from Below
Place narrow LED strips or small spotlights at the bottom of your gallery wall, aiming upward. This unconventional approach creates dramatic shadows and highlights texture in three-dimensional pieces like sculptures or heavily textured paintings. It works beautifully in modern spaces where you want to make a bold statement.
4. Backlit Floating Frames
Mount battery-operated LED strips behind floating frames or shadow boxes to create a soft halo effect around your artwork. This technique works especially well with translucent or semi-transparent pieces, creating a luminous quality that makes your gallery feel almost magical in the evening.
5. Recessed Spotlights for Clean Lines
If you’re comfortable with a slightly more involved installation, recessed spotlights mounted in the ceiling create professional-quality illumination without any visible fixtures. Angle them toward your gallery wall at about thirty degrees for optimal lighting that minimizes glare and shadows.
6. String Lights for Casual Charm
Drape warm white string lights along the perimeter of your gallery wall or weave them between frames for a relaxed, bohemian feel. This approach works wonderfully in bedrooms, creative studios, or anywhere you want your art collection to feel personal and inviting rather than formal.
7. Combination Ambient and Accent Lighting
Layer different lighting types for the most sophisticated look. Use overhead ambient lighting to illuminate the entire wall softly, then add focused accent lights to highlight three to five key pieces. This creates visual hierarchy and ensures your gallery looks intentional and professionally designed.
Benefits of Properly Lit Gallery Walls
Great gallery lighting transforms your home in ways that go far beyond simple visibility. When your artwork is properly illuminated, it becomes an active part of your living space rather than something that fades into the background after sunset.
Lighting creates emotional atmosphere. The warm glow around your favorite family photos makes your living room feel more intimate and personal. Properly lit artwork in your entryway makes guests feel welcomed the moment they step inside.
You’ll actually appreciate your collection more when you can see it clearly throughout the day and evening. Many homeowners discover they enjoy pieces they’d almost forgotten about once those artworks receive proper lighting attention.
Gallery lighting also adds perceived value to your home. Rooms with thoughtfully lit artwork feel more finished and intentionally designed, which matters if you’re ever considering selling. Even if you’re staying put, that polished look makes your space feel more luxurious and well-considered.
From a practical standpoint, dedicated gallery lighting means you don’t have to flood entire rooms with bright overhead lights just to see your walls. This saves energy and creates more comfortable, layered lighting that feels less harsh and institutional.
Tips, Alternatives, Styling Advice
Budget-Friendly Option: Battery-operated puck lights cost just a few dollars each and stick directly to your wall or frame backs with adhesive strips. Place one above or below each frame for instant improvement without any tools or installation complexity. Look for warm white LEDs rather than cool white for the most flattering glow on most artwork types.
Mid-Range Option: Wireless picture lights with remote controls give you museum-quality results without the museum-level price tag. Many include dimmer functions and timer settings, so your gallery illuminates automatically when you arrive home and turns off when you go to bed. These typically run on rechargeable batteries that last several weeks between charges.
Premium Option: Hardwired picture lights or professionally installed track lighting creates permanent, high-end results that add genuine value to your home. This works best if you’re already doing other electrical updates or if you’ve found your forever gallery wall location.
Small Space Adaptation: In tight hallways or small rooms, skip individual picture lights and instead use a single adjustable spotlight or track light that can illuminate multiple pieces at once. Position it at an angle that casts light across your entire gallery rather than trying to light each piece separately.
You can also create beautiful lighting effects using smart bulbs in existing fixtures—just angle a table lamp upward toward your gallery wall or position a floor lamp to graze light across your collection from the side.
Common Mistakes to Avoid
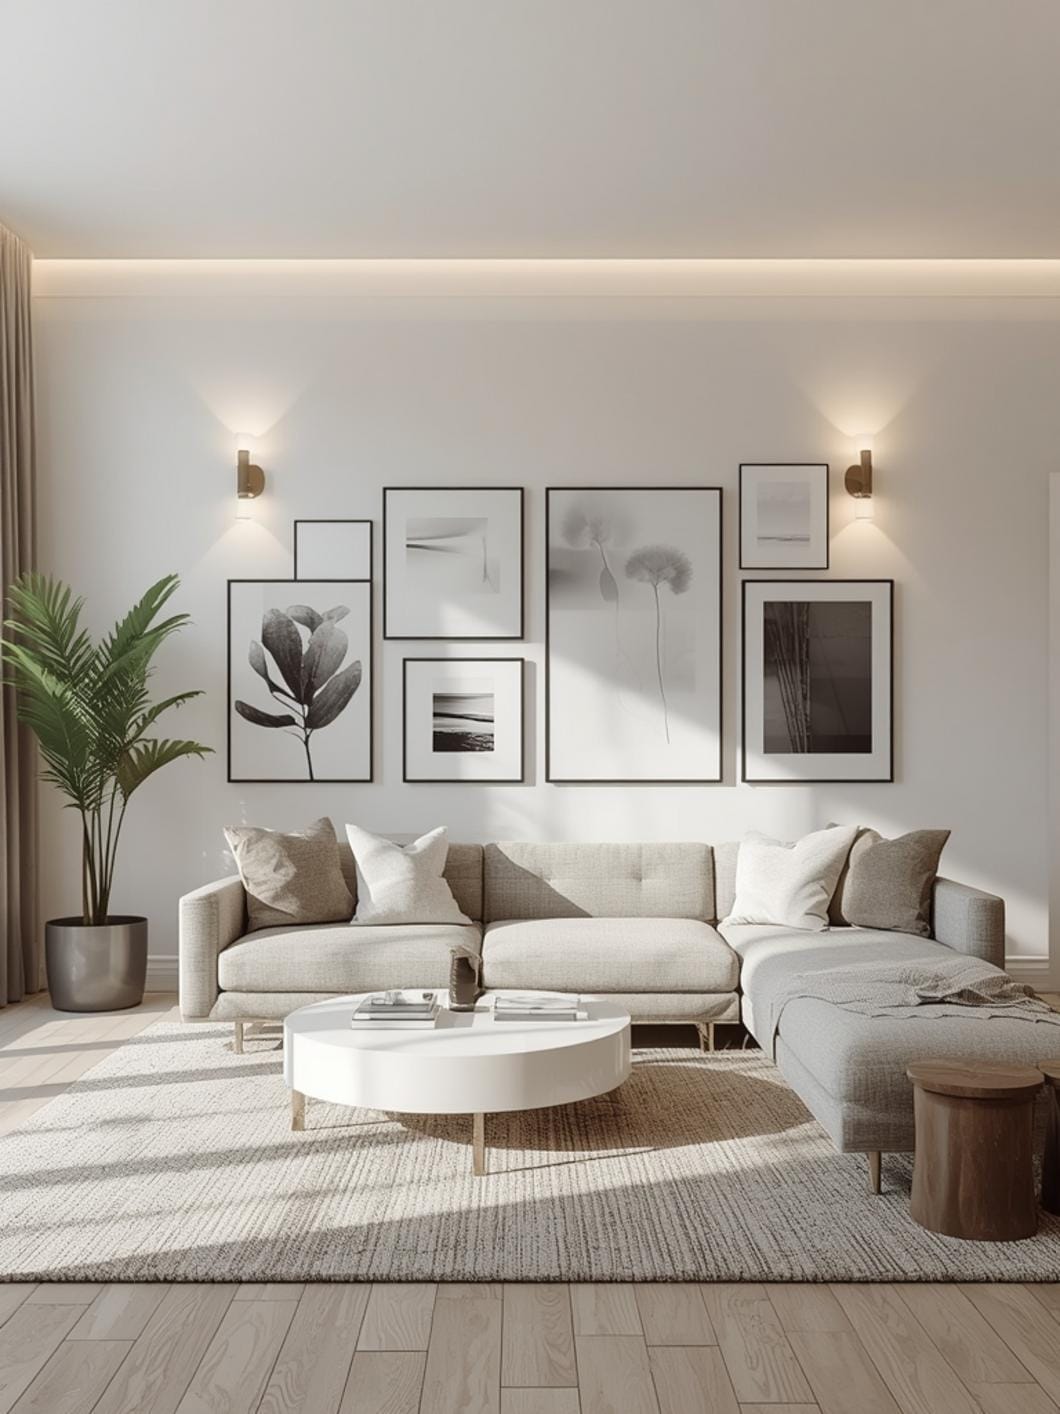
Using only overhead lighting washes out artwork and creates unflattering shadows. Add dedicated accent lighting positioned specifically for your gallery rather than relying on ambient room lights alone.
Placing lights too close to artwork can create hot spots and uneven illumination. Position picture lights at least two to four inches above frame tops and aim track lights from at least three feet away for even coverage.
Mixing incompatible light temperatures makes your gallery look disjointed and haphazard. Stick with either all warm white or all cool white bulbs throughout your gallery—mixing them creates an unpleasant clash that distracts from your artwork.
Ignoring glare problems ruins the viewing experience and makes details impossible to see. Test your lighting angles before permanently mounting fixtures, and adjust positioning to eliminate reflections on glass-covered artwork.
Overlighting your collection creates harsh, uncomfortable viewing conditions and makes your space feel more like a retail store than a home. Start with subtle lighting and gradually add more if needed—you can always increase brightness, but harsh overlighting is hard to fix without removing fixtures entirely.
Maintenance and Upkeep Tips
Battery-operated lights need regular attention to keep performing well. Check batteries monthly and replace them as soon as you notice dimming—weak batteries often cause flickering that’s annoying and makes your gallery look neglected.
Dust your light fixtures every few weeks using a soft microfiber cloth. Accumulated dust reduces brightness and creates a dingy appearance that undermines all your decorating efforts. For picture lights mounted above frames, wipe them down when you’re already dusting your artwork.
LED bulbs last for years, but they do eventually fade. If you notice uneven brightness across multiple fixtures, replace all bulbs at once rather than mixing old and new ones that might have slightly different color temperatures.
Check adhesive mounting strips every few months to ensure they’re still secure. Heat and humidity can sometimes loosen adhesive over time, especially in bathrooms or kitchens. Reinforce or replace strips before fixtures fall and potentially damage your artwork.
Clean glass-covered artwork periodically to maintain clarity and prevent buildup that makes lighting less effective. Use a microfiber cloth with a tiny bit of glass cleaner, working from top to bottom to avoid streaks.
Bringing Your Gallery to Life
Great gallery wall lighting turns your carefully curated collection into a dynamic focal point that enhances your home morning, noon, and night. The right combination of fixtures, placement, and light quality makes your artwork look more valuable, your rooms feel more intentional, and your entire home more welcoming.
Start with one or two key pieces that matter most to you, test different lighting approaches, and expand from there. You’ll quickly discover which techniques work best for your specific space and style preferences.
Explore more inspiring home lighting ideas and décor tips at DecorKingdom—we’re here to help you create spaces you’ll love living in.
FAQs
What type of lighting is best for a gallery wall?
LED picture lights and adjustable track lighting work best for most gallery walls because they provide focused illumination without generating heat that could damage artwork. Battery-operated LED picture lights offer the easiest installation for homeowners, while track lighting gives you maximum flexibility to adjust as your collection changes. Choose warm white LEDs for traditional artwork and family photos, or cool white for contemporary pieces and bold graphics.
How do I light a gallery wall without hardwiring?
Battery-operated picture lights, wireless puck lights, and plug-in track lighting systems all provide excellent results without any electrical work. These solutions use adhesive mounting strips or simple clips that attach to walls or frames in minutes. Many include remote controls and automatic timers, giving you all the functionality of hardwired systems with none of the installation complexity or permanent commitment.
Should every piece on a gallery wall have its own light?
Not necessarily—lighting every single piece can create visual clutter and overwhelming brightness. Instead, focus on illuminating your three to five most important pieces individually, then use ambient lighting to softly illuminate the rest of the collection. This creates visual hierarchy and makes your gallery feel intentionally curated rather than randomly lit.
How far should picture lights be from the artwork?
Picture lights should sit two to four inches above the top of your frame, centered horizontally. This distance prevents hot spots while ensuring even illumination from top to bottom. For larger pieces over three feet tall, position lights slightly higher to ensure the bottom portion receives adequate light without increasing fixture size dramatically.
Can I use regular lamps to light my gallery wall?
Yes, strategically positioned table lamps or floor lamps can illuminate gallery walls beautifully, especially in small spaces where dedicated fixtures feel excessive. Angle lamps upward or sideways toward your wall, and choose bulbs that match the color temperature of any other lighting in the room. This approach works best for casual, eclectic galleries where perfect, even lighting isn’t essential to the overall look you’re creating.
—
Meta Title: Gallery Wall Lighting Ideas That Transform Your Art (2026)
Meta Description: Make your gallery wall shine with lighting ideas anyone can do. No wiring needed—just beautiful results you’ll love every evening.