7 Ways to Style a Wood Plank Wall Without It Looking DIY-Gone-Wrong
You walk into a room and something feels missing. The paint is fresh, the furniture looks great, but the walls? They’re just… flat. That’s where wood plank accent wall ideas come in to add warmth, texture, and personality that paint alone can’t deliver.
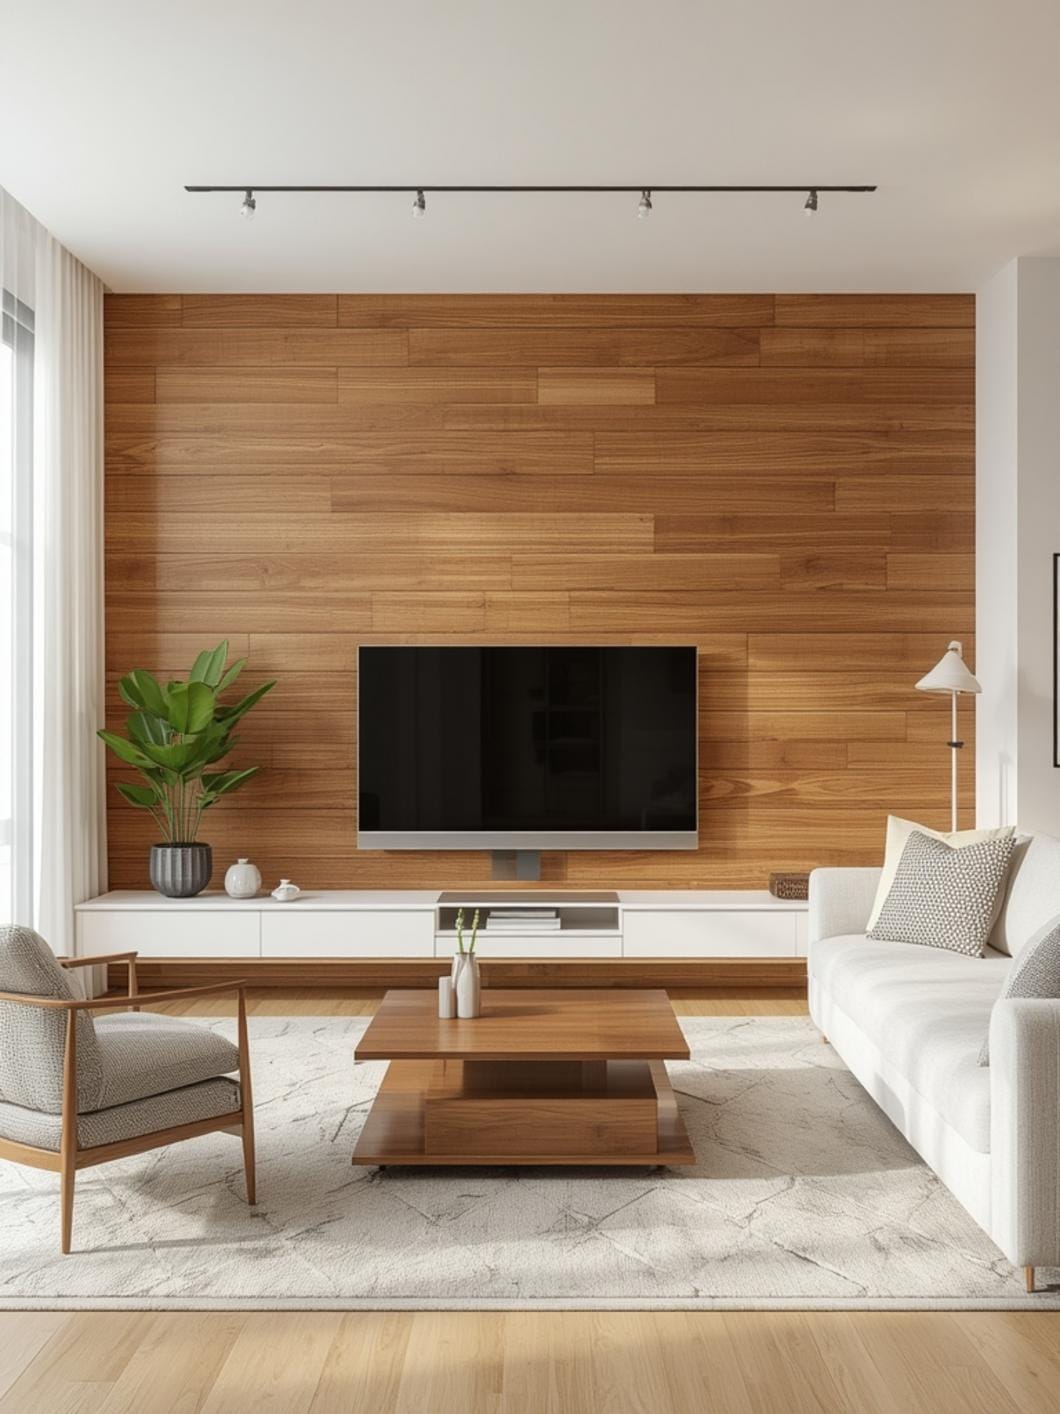
Whether you’re dreaming of rustic farmhouse vibes or sleek modern lines, a wood plank accent wall creates an instant focal point. The best part? You don’t need to be a contractor to pull off this transformation.
This guide walks you through everything from choosing your wood to styling the finished wall, so you can create a space that finally feels complete.
Table of Contents
What You’ll Need to Get the Look
Before you start planning your accent wall, gather these essentials:
Wood Materials:
– Shiplap boards (popular for horizontal installation)
– Reclaimed barn wood (adds authentic character)
– Peel-and-stick wood planks (renter-friendly option)
– Pine boards from your local hardware store
– Pre-finished plank panels (fastest installation)
Basic Tools:
– Level (keeps lines straight)
– Stud finder (locates wall anchors)
– Finishing nails or construction adhesive
– Miter saw or handsaw for cuts
– Measuring tape and pencil
Finishing Touches:
– Wood stain or paint (optional)
– Clear polyurethane (protects the wood)
– Wood filler for gaps
– Sandpaper (smooths rough edges)
Most homeowners can source these materials from local hardware stores. Budget around $200-$600 depending on your wall size and wood choice.
Finding Your Style and Season
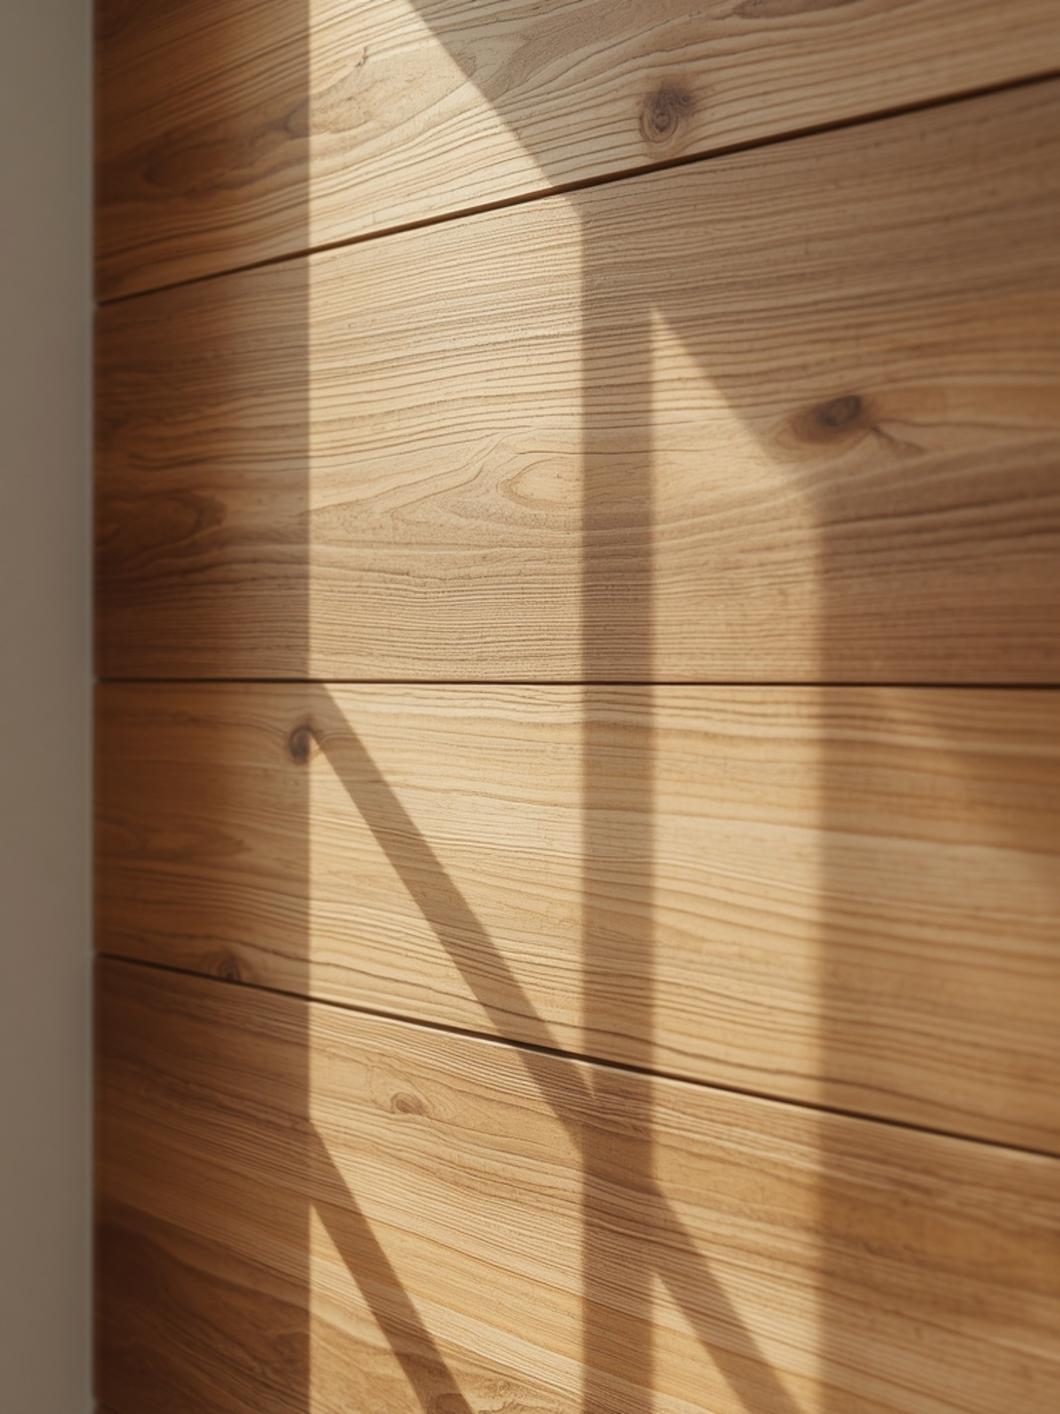
Timing matters when you’re planning a wood accent wall project. Consider starting during spring or fall when moderate temperatures make working in your home more comfortable.
If you’re installing a wall as part of a larger room refresh, tackle the accent wall before bringing in new furniture. This prevents dust and debris from settling on your pieces.
Think about the mood you want to create. Whitewashed planks feel bright and beachy for summer vibes, while darker stained wood brings cozy warmth perfect for winter months.
Your wall choice should match your lifestyle too. Busy families might prefer durable pre-finished panels, while DIY enthusiasts can enjoy the custom look of staining raw wood themselves.
Budget about two weekends for this project—one for installation, another for finishing touches. Rushing through leads to visible mistakes that will bother you every time you enter the room.
7 Ideas to Try in Your Home
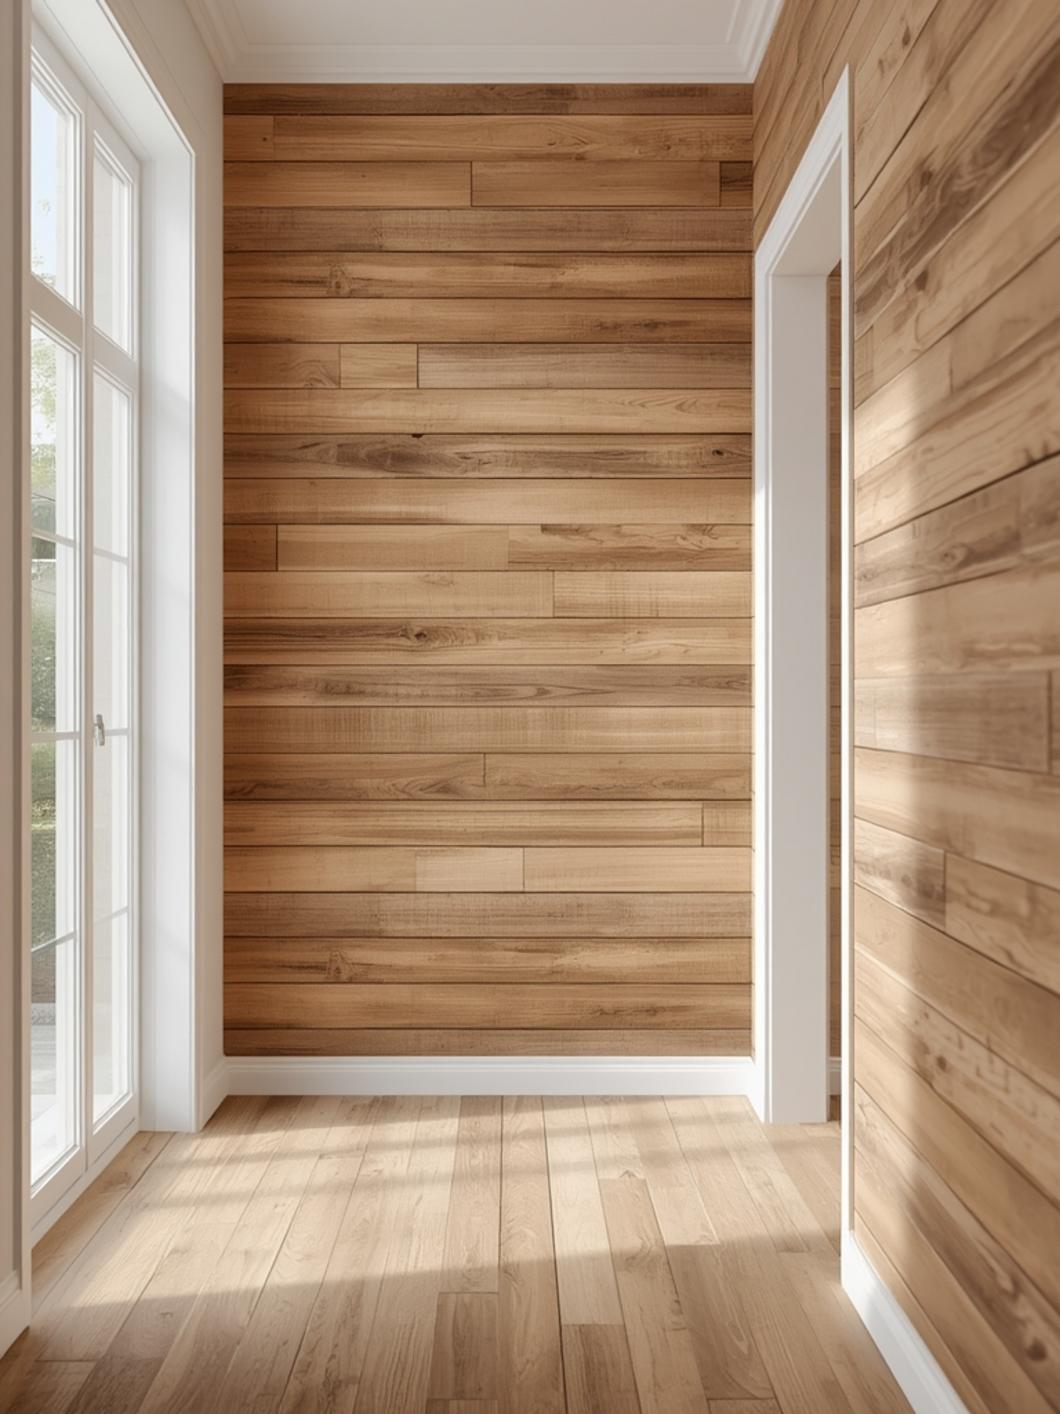
1. Classic Horizontal Shiplap
This timeless look works in almost any room. Install boards horizontally across your wall, starting from the bottom and working up. The subtle shadow lines between each plank add depth without overwhelming the space.
Paint it crisp white for farmhouse charm, or leave natural wood tones for rustic appeal. This style particularly shines behind beds in master bedrooms or as a living room focal wall.
If you’re wondering how to install shiplap accent wall yourself, start by finding your studs and marking them clearly. Nail your first board level at the bottom, then stack subsequent boards with consistent spacing.
2. Vertical Plank Drama
Flip the script by running planks vertically from floor to ceiling. This creates the illusion of taller ceilings—perfect for rooms that feel cramped.
Vertical installations work beautifully in narrow hallways or small powder rooms where you want to draw the eye upward. Mix wood widths for added visual interest.
3. Weathered Reclaimed Wood
Nothing beats the authentic character of salvaged barn wood. Each plank tells a story with its unique grain patterns, nail holes, and aged patina.
This style brings instant warmth to modern spaces that might otherwise feel cold. The varied plank widths and colors create an organic, collected-over-time look.
Install reclaimed wood in random patterns rather than uniform rows. The imperfections are part of the charm.
4. Geometric Pattern Play
Get creative by arranging planks in herringbone, chevron, or diagonal patterns. These eye-catching designs turn your wall into genuine artwork.
Geometric patterns work best on smaller accent walls where the full pattern remains visible. Behind a console table in an entryway makes a stunning first impression.
Plan your pattern on paper first to calculate exact angles and cuts needed.
5. Two-Tone Color Block
Install horizontal planks but paint the top half one color and the bottom another. This adds playful sophistication without complicated installation.
Try white on top with navy blue below for a nautical feel, or soft gray paired with natural wood for modern contrast. The color break typically sits around 40-50 inches high.
This approach lets you experiment with bold colors while keeping your space balanced.
6. Ceiling Extension
Don’t limit yourself to vertical walls. Extending your plank treatment onto the ceiling creates a cocooning effect that feels incredibly cozy.
This works particularly well in bedrooms where you want a retreat-like atmosphere. Use lighter wood tones to prevent the space from feeling too dark.
7. Partial Wall Statement
Cover just a portion of your wall—maybe behind floating shelves or around a fireplace. This “frame” technique draws attention to specific features.
Partial installations use less material, making them budget-friendly while still delivering impact. The surrounding painted wall creates a built-in border.
Benefits That Go Beyond Beauty
A wood plank accent wall does more than just look good. It actually changes how your space functions and feels every single day.
The texture absorbs sound better than flat painted walls, reducing echo in large rooms. You’ll notice conversations feel more intimate and less harsh.
Wood adds natural insulation value, helping regulate room temperature. Your heating and cooling systems won’t work quite as hard.
These walls hide imperfections beautifully. That crack you’ve been staring at for months? Covered. The patched area that never quite matched? Gone.
The investment pays off when selling too. Buyers consistently rate homes with architectural details like accent walls as more desirable. You’re not just decorating—you’re adding value.
Perhaps most importantly, a wood accent wall brings nature indoors. Even city dwellers feel more grounded and calm surrounded by natural materials.
Budget-Friendly to Splurge-Worthy Options
Budget-Conscious Choice:
Peel-and-stick wood-look planks cost around $1-2 per square foot. They’re perfect for renters or anyone wanting to test the look before committing. Installation takes hours, not days, and requires zero tools.
These removable planks work well in low-humidity rooms. Skip them in bathrooms where moisture might compromise adhesion
Mid-Range Investment:
Real pine boards from hardware stores run $2-4 per square foot. You’ll need to prime, paint, or stain them yourself, but the authentic wood quality shows.
This option gives you complete creative control over color and finish. The installation process is straightforward enough for confident beginners.
Premium Splurge:
Reclaimed barn wood or exotic hardwoods cost $8-15 per square foot but deliver unmatched character. Each installation becomes truly one-of-a-kind.
Professional installation might make sense here since these materials require careful handling. The result is an heirloom-quality wall that lasts decades.
Small Space Solution:
Working with a tiny room? Focus on the wall behind your bed or sofa only. You’ll use fewer materials while still creating a focal point that defines the space.
Consider wider planks in small rooms—they make spaces feel larger than lots of narrow strips.
Common Mistakes to Avoid
Skipping the Stud Finder
Many homeowners nail planks directly into drywall, assuming adhesive alone will hold. Within months, boards start separating from the wall. Always locate studs and anchor your planks properly for long-term success.
Forgetting About Outlets
You start installing and suddenly remember there’s an outlet on that wall. Measure and mark all electrical fixtures before beginning, then cut precise openings in your planks to fit around them.
Installing Wet or Unconditioned Wood
Wood needs to acclimate to your home’s humidity for at least 48 hours before installation. Stack planks in the room where they’ll live so they adjust to moisture levels. Skip this and you’ll see gaps or buckling later.
Inconsistent Spacing
Some gaps between planks look wider than others, creating a sloppy appearance. Use spacers (even pennies work) between each board to maintain uniform shadow lines throughout your installation.
Ignoring Wood Grain Direction
Randomly mixing grain patterns creates visual chaos rather than interest. Install planks with grain running the same direction for a cohesive, intentional look that feels professionally done.
Keeping Your Wall Beautiful
Wood accent walls need surprisingly little maintenance, but a few simple habits keep them looking fresh.
Dust with a microfiber cloth weekly, just like you would furniture. Vacuum baseboards where sawdust settles if you notice buildup.
For sealed or painted planks, wipe spills immediately with a slightly damp cloth. Never saturate wood with water—it causes swelling and damage.
Check nails or adhesive every six months. Tap loose boards back into place before they pull further away from the wall.
Natural wood darkens over time with sun exposure. Rotate wall art occasionally to prevent obvious fade lines where pictures once hung.
If you used raw unsealed wood, reapply a coat of polyurethane every 2-3 years. This protects against scratches and keeps the color rich.
Avoid hanging heavy items directly on plank seams—they’re weaker than solid sections. Use proper wall anchors that bite into studs behind the boards.
Making Your Wall Work for You
You’ve got the inspiration, the materials list, and the know-how to avoid common pitfalls. Now it’s time to create that accent wall you’ve been picturing.
Remember, your first plank sets the tone for everything that follows—take time to get it perfectly level. The rest of the installation flows naturally once that foundation is solid.
Ready to explore more ways to make your home uniquely yours? Browse DecorKingdom for dozens of room-by-room ideas that bring your vision to life.
FAQs
What’s the easiest type of wood plank for beginners?
Peel-and-stick planks are the most beginner-friendly option since they require no tools or permanent installation. For real wood, pre-finished shiplap boards come ready to install without the extra steps of sanding, staining, or sealing. Both options let you complete a wall in a single weekend with minimal stress.
Can I install a wood accent wall in a rental apartment?
Yes, using peel-and-stick planks designed for renters. They adhere firmly during use but remove cleanly without damaging paint or drywall underneath. Test one plank in an inconspicuous spot first to ensure compatibility with your walls, and always check your lease agreement before starting any installation project.
How much does a wood accent wall typically cost?
For a standard 12×10 foot wall, expect to spend $150-300 for peel-and-stick options, $250-500 for pine boards you finish yourself, or $800-1,500 for premium reclaimed wood with professional installation. Prices vary based on your location, wood choice, and whether you hire help or do it yourself.
Do I need to remove baseboards before installing planks?
Removing baseboards creates the cleanest look since planks sit flush against the wall, then baseboards reinstall over them. However, you can work around existing baseboards by cutting planks to fit snugly above them. This saves time but may look slightly less polished depending on your baseboard style.
Will a dark wood wall make my room feel smaller?
Not necessarily—it depends on your overall color scheme and lighting. Dark wood on one accent wall with lighter walls surrounding it actually creates depth and dimension. Add plenty of ambient lighting, use mirrors to reflect light, and balance dark wood with light-colored furniture to keep the space feeling open and inviting.
—
Meta Title: Wood Plank Accent Wall Ideas That Wow (2026 Guide)
Meta Description: Discover stunning wood plank accent wall ideas for every style and budget. Get design inspiration plus simple installation tips you can use today.