7 Wedding Photo Gallery Wall Ideas That Tell Your Love Story
Your wedding photos deserve more than a spot in a dusty album or buried in your phone’s camera roll. They represent one of the most meaningful days of your life, and displaying them beautifully can bring joy every single time you walk past them.
Creating wedding photo gallery wall ideas that feel both romantic and stylish doesn’t require a professional designer or complicated tools. With the right approach, you can turn your favorite moments into a stunning focal point that complements your home’s decor while celebrating your love story.
Whether you have a cozy apartment or a spacious house, a thoughtfully arranged gallery wall adds personality and warmth to any room. The key is choosing the right photos, frames, and layout that reflect your unique style.
Table of Contents
What You’ll Need to Get the Look
The beauty of creating a wedding photo gallery wall is that you likely already have the most important element—your cherished photos. Beyond those memories, you’ll need a few basic materials to bring your vision to life.
Start with frames in various sizes that complement your home’s aesthetic. You might choose matching frames for a cohesive look or mix different styles for an eclectic feel. Most homeowners find success with 5 to 12 frames, depending on wall size and photo selection.
Consider these essential items:
– Picture frames in 3–5 different sizes (8×10, 5×7, 4×6 are popular choices)
– Picture hanging strips or traditional picture hooks rated for your wall type
– A measuring tape and pencil for planning
– Kraft paper or newspaper for creating layout templates
– A level to ensure straight hanging
You’ll also want to think about matting options. White or cream mats create a classic, gallery-style appearance, while black mats offer dramatic contrast. Some homeowners skip mats entirely for a more casual, modern vibe.
The wall space itself matters too. Choose a location with good natural or artificial lighting that won’t cause glare on the glass. Hallways, living rooms, and bedroom walls are all excellent options for displaying your wedding memories.
Finding Your Style and Season
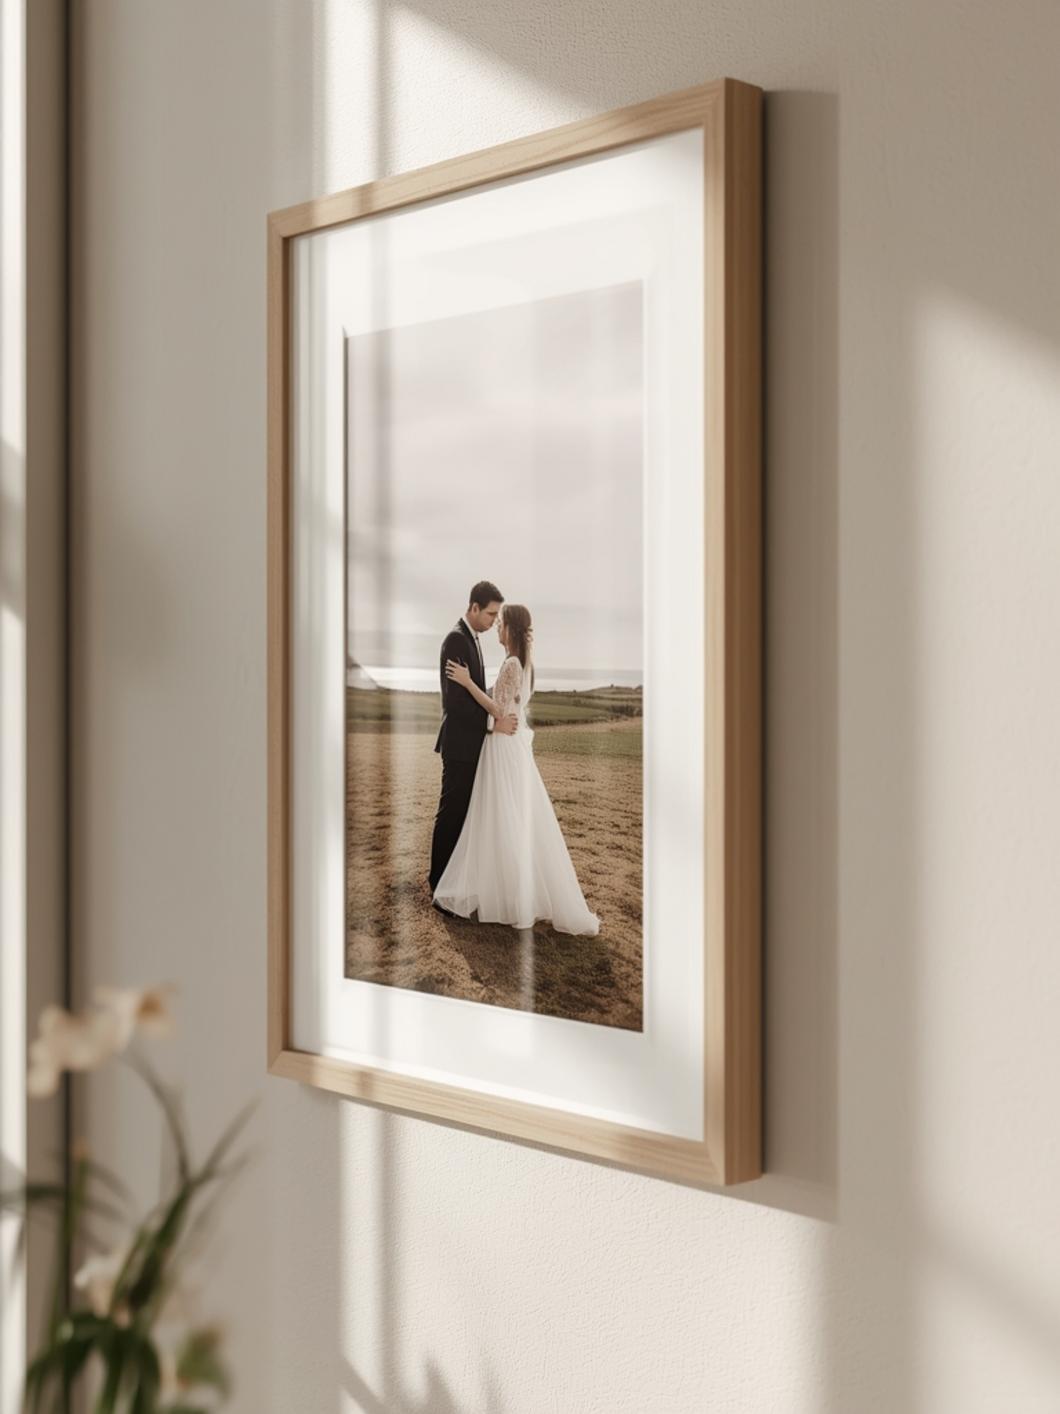
The mood you want to create should guide your gallery wall design. Are you drawn to romantic and dreamy aesthetics, or do you prefer clean and modern displays? Your home’s existing decor will naturally influence these choices.
Consider the season when you’re planning this project. Many couples feel inspired to create their gallery wall around anniversaries or during slower home seasons like winter, when indoor projects feel especially cozy. There’s no wrong time, but having a clear vision before you start makes the process smoother.
Think about how formal or casual you want the display to feel. A symmetrical grid arrangement with identical frames creates an elegant, formal impression perfect for traditional homes. Asymmetrical layouts with mixed frame styles offer a more relaxed, personal touch that works beautifully in contemporary spaces.
Color coordination matters more than you might think. Black-and-white photos create a timeless, sophisticated look that never goes out of style. Color photos bring vibrancy and can tie into your room’s color scheme. Some homeowners mix both for visual interest.
The emotional tone of your selected photos shapes the overall feel. Candid shots of laughter and celebration create a joyful, energetic gallery. Formal portraits and detail shots lean more elegant and refined. Most successful gallery walls blend both types for dimension and storytelling.
7 Ideas to Try in Your Home
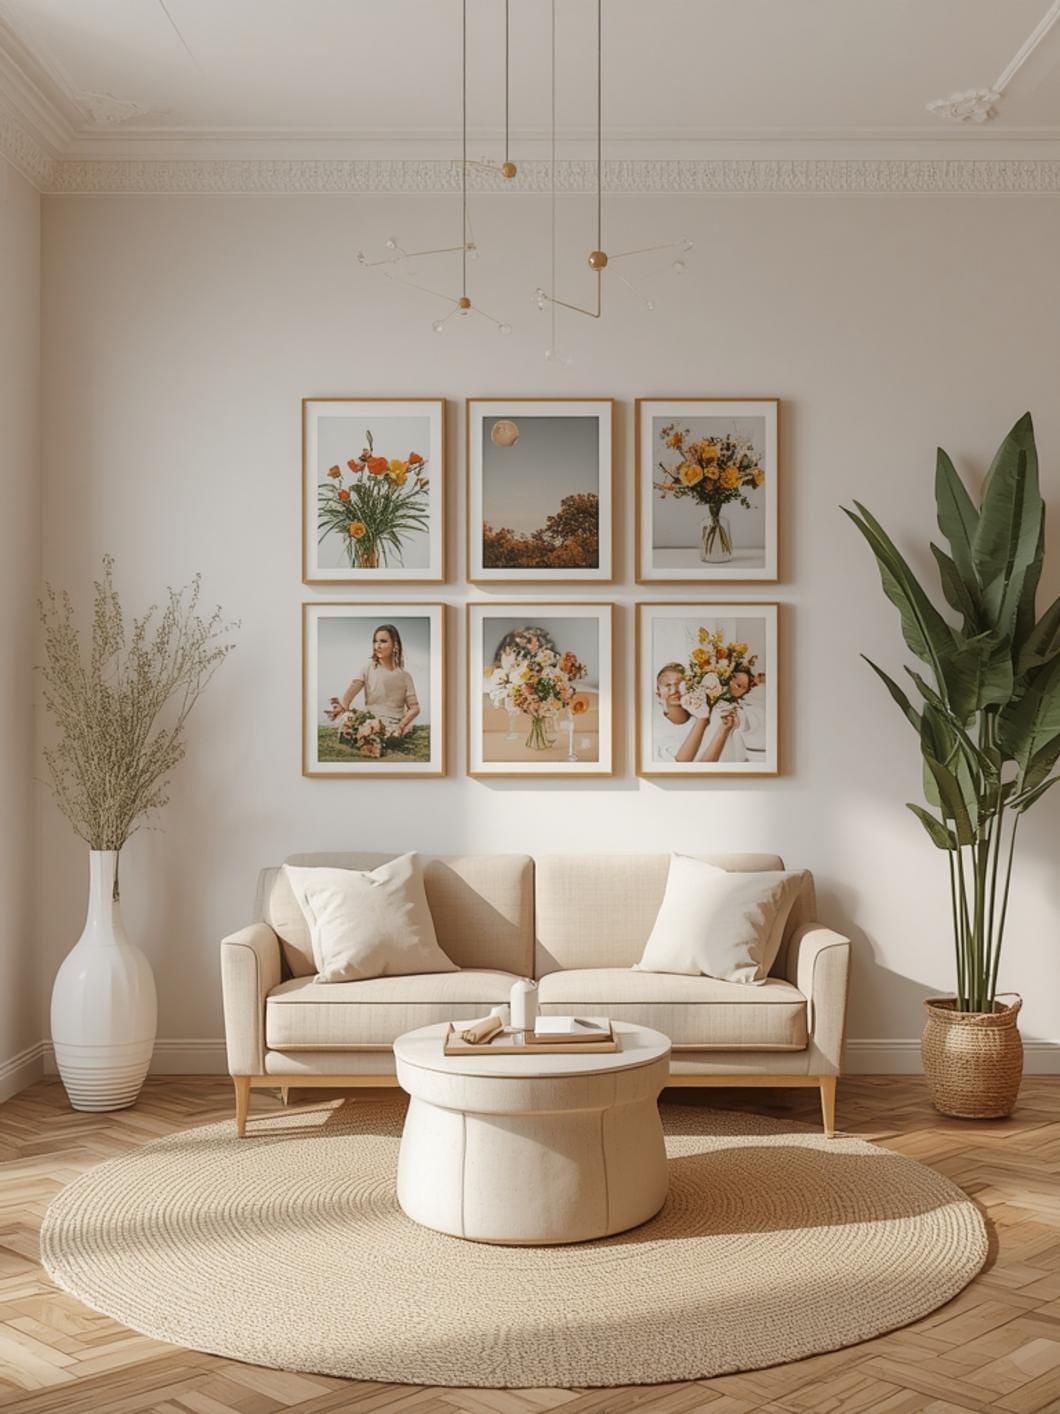
Creating a stunning display starts with understanding how to arrange wedding photos on a gallery wall in ways that feel both intentional and personal. Here are proven approaches that work beautifully in real homes.
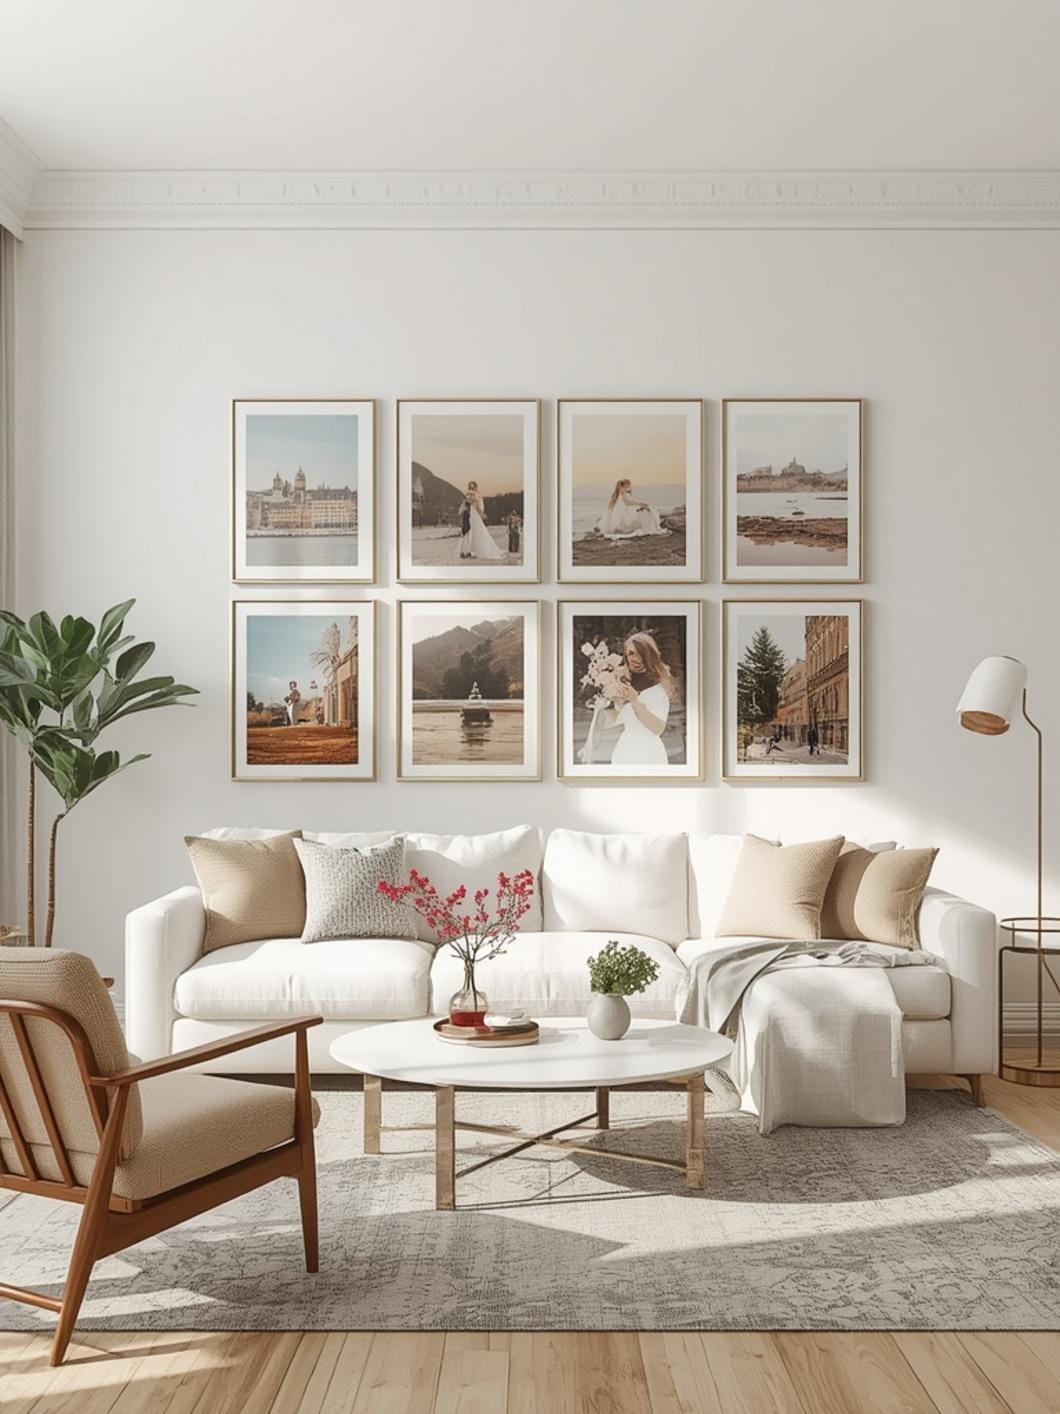
The Classic Grid Layout: Arrange same-size frames in perfect rows and columns for a museum-quality look. This works exceptionally well with 6, 9, or 12 frames. Keep spacing consistent at 2–3 inches between each frame for the cleanest appearance.
The Salon-Style Mix: Combine various frame sizes and orientations in an organic arrangement that feels collected over time. Start with your largest frame as an anchor piece, then build around it with smaller photos. This approach adds personality and visual interest to any wall.
The Heart Shape Formation: Arrange your frames to form a heart outline on the wall—perfect for romantic spaces like bedrooms. Use 9–15 frames of varying sizes, placing smaller ones at the top point and bottom tip of the heart, with larger frames filling the curves.
The Horizontal Timeline: Create a linear story from your wedding day by arranging photos chronologically in a long horizontal row. This works beautifully above sofas, beds, or console tables. Include getting-ready shots, ceremony moments, and reception highlights flowing left to right.
The Statement Center Piece: Feature one oversized wedding portrait as your focal point, surrounded by smaller complementary photos. This draws the eye immediately to your favorite image while creating layers of visual interest.
The Ascending Staircase Display: Follow your stairway wall with photos that climb alongside the steps. This natural flow makes use of often-overlooked vertical space and creates an intimate journey through your wedding memories as you walk upstairs.
The Matching Triptych: Select three coordinating photos in identical frames and hang them in a straight horizontal line with equal spacing. This minimalist approach works perfectly in modern homes and creates a sophisticated, gallery-like presentation without overwhelming smaller spaces.
Benefits That Go Beyond Beautiful Walls
A well-designed wedding photo gallery wall does more than just fill empty wall space. It creates an emotional anchor in your home that celebrates your relationship every single day.
These displays spark conversations when guests visit, naturally leading to storytelling and connection. Your wedding day memories become part of your daily environment rather than hidden away, keeping those special feelings alive years later.
Gallery walls add significant visual interest to rooms that might otherwise feel bland or incomplete. They serve as affordable art that’s deeply personal—no generic prints or mass-produced pieces needed.
For couples, seeing these moments regularly reinforces positive memories during stressful times. It’s a gentle reminder of commitment, joy, and the reasons you chose each other. Many homeowners report that their gallery wall becomes their favorite feature in the entire house.
From a design perspective, a cohesive gallery wall makes any room feel more finished and intentional. It demonstrates thoughtfulness in your decor choices and creates a custom look that reflects your unique story.
Tips, Alternatives, and Styling Advice
Budget considerations shouldn’t stop you from creating a beautiful display. Start with simple black frames from discount stores—they photograph beautifully and work with any decor style. Print photos at regular sizes (5×7, 8×10) to avoid custom printing costs.
For a mid-range approach, invest in quality frames with real glass rather than plastic. Mix in one or two special frames with unique details—metallic finishes, ornate corners, or textured materials—to elevate the overall look. Consider professional printing for your largest centerpiece photo.
Premium options include custom framing with museum-quality materials, archival matting to protect photos long-term, and hiring a professional to design and install your layout. LED picture lights add dramatic ambiance for evening viewing.
Small space adaptations work beautifully with mini gallery walls. Use just 3–5 frames in a tight cluster, or create a vertical column beside a doorway or window. Corner arrangements make use of often-wasted space and create visual interest in unexpected places.
Alternative materials beyond traditional frames include clipboards hung in rows, floating shelves that let you lean photos casually, and canvas prints that eliminate frames entirely. Wire grid systems with clips allow you to swap photos seasonally without putting new holes in walls.
Common Mistakes to Avoid
Many homeowners hang their frames too high, placing them at ceiling height rather than eye level. The center of your gallery wall should sit approximately 57–60 inches from the floor, which is standard gallery height for comfortable viewing.
Choosing too many similar photos creates visual boredom even with varied frame sizes. Mix wide shots of your venue with intimate close-ups, detail shots of rings or flowers, and candid moments for a dynamic, interesting display.
Spacing frames inconsistently makes even beautiful photos look haphazard and unplanned. Maintain the same distance between all frames—typically 2–3 inches works well—regardless of whether you’re creating a grid or organic arrangement.
Skipping the planning stage leads to unnecessary wall damage from multiple hanging attempts. Always lay your arrangement on the floor first, or trace frames on kraft paper and tape the paper to your wall to visualize before committing to nail holes.
Forgetting to consider lighting means your beautiful gallery might sit in shadows or suffer from glare. Observe how natural light hits your chosen wall throughout the day, and add a table lamp or wall sconce nearby if needed.
Maintenance and Upkeep Tips
Dust your frames monthly with a microfiber cloth to prevent buildup that dulls photos and makes glass look cloudy. Simply wipe gently in one direction rather than circular motions to avoid streaking.
Check frame stability every few months, especially if you’ve used adhesive strips rather than traditional hooks. These can loosen over time, particularly in humid environments or with heavier frames.
Direct sunlight will fade color photos over time, so consider UV-protective glass if your gallery wall faces a sunny window. Alternatively, rotate photos every year or two if fading becomes noticeable.
Clean glass surfaces twice yearly with a gentle glass cleaner sprayed on your cloth rather than directly on the frame. This prevents moisture from seeping behind the glass and damaging your photos.
If you notice photos shifting within frames, open the back and reposition them. Sometimes the backing loosens, allowing photos to slide down slightly. This simple fix takes just minutes and keeps your display looking crisp.
Make Your Memories Part of Your Everyday Life
Your wedding photos represent irreplaceable moments that deserve prominent display in your home. A thoughtfully designed gallery wall brings these memories into your daily life while adding beautiful, personal style to your space.
The process doesn’t need to be complicated or expensive. Start with your favorite photos, choose frames that match your aesthetic, and plan your layout before hanging. The result will be a custom art installation that no store-bought decoration could ever replicate.
Ready to explore more ways to personalize your home with meaningful decor? Visit DecorKingdom for hundreds of inspiring ideas that help you create spaces you’ll love living in every single day.
FAQs
How many wedding photos should I include on a gallery wall?
Most successful gallery walls feature between 5 and 12 photos, though you can certainly use more in larger spaces. The key is variety—include different moments from your day rather than multiple similar shots. Odd numbers (5, 7, 9) often create more visually interesting arrangements than even numbers.
What’s the best room for displaying wedding photos?
Living rooms and hallways are popular choices because they get regular traffic and allow guests to enjoy your photos too. Bedrooms create a more intimate display perfect for personal enjoyment. Avoid bathrooms and kitchens where humidity and temperature changes can damage photos over time.
Should all my wedding photo frames match?
Not necessarily. Matching frames create a clean, cohesive look that works beautifully in traditional and modern homes. Mixed frames add personality and eclectic charm, especially when you coordinate them through a common element like color or finish. Choose whichever approach fits your overall home style.
How do I choose which wedding photos to frame?
Select photos that tell your wedding day story and evoke strong emotions when you see them. Include a mix of formal portraits, candid moments, detail shots, and group photos with loved ones. Avoid photos where guests are looking away or images that feel too similar to others you’ve selected.
Can I create a gallery wall without damaging my walls?
Yes, several damage-free options exist for renters or anyone avoiding permanent holes. Picture hanging strips rated for appropriate frame weight work exceptionally well and remove cleanly. Lean larger frames on picture rails or floating shelves, or use wire grid systems that require minimal wall attachment.
—
Meta Title: 30 Wedding Photo Gallery Wall Ideas for Your Home 2026
Meta Description: Transform your wedding memories into stunning displays with these wedding photo gallery wall ideas. Simple DIY tips for every style and budget.