Transform Your Cluttered Garage Into an Organized Workshop
Your garage doesn’t have to be a chaotic mess where tools disappear into piles and projects stall because you can’t find what you need. Whether you’re a weekend DIYer or just want your space to function better, a tool wall organizer garage system can turn that wall into a hardworking, accessible storage solution that actually makes your life easier.
The beauty of wall-mounted tool storage is that it works with your space, not against it. You’ll reclaim floor space, protect your tools from damage, and create a garage that feels more like a workshop than a dumping ground.
Ready to take back control of your garage? Here’s everything you need to know to make it happen.
Table of Contents
Materials & Decor Elements
Getting started with garage tool organization doesn’t require a massive investment or a contractor. Here’s what most homeowners use to create functional, accessible wall storage:
Pegboard panels are the classic choice — lightweight, affordable, and endlessly customizable with hooks and brackets that rearrange as your needs change.
Slatwall panels offer a more finished look with horizontal grooves that accept various accessories. They’re sturdier than pegboard and easier to clean.
Metal grid panels bring an industrial aesthetic and exceptional durability. They work beautifully in modern garages and handle heavier tools with ease.
Magnetic strips keep frequently used metal tools within arm’s reach and add a sleek, minimalist touch to your organization system.
Shelving brackets and bins complete the system by holding items that don’t hang well — paint cans, fasteners, and small parts stay contained and visible.
Tool hooks in various sizes ensure everything from hammers to garden shears has a dedicated home. Look for rubber-coated versions to protect tool handles.
Label maker or adhesive labels might seem unnecessary, but they’re game-changers for maintaining the system long-term, especially in shared households.
Timing / Project Planning
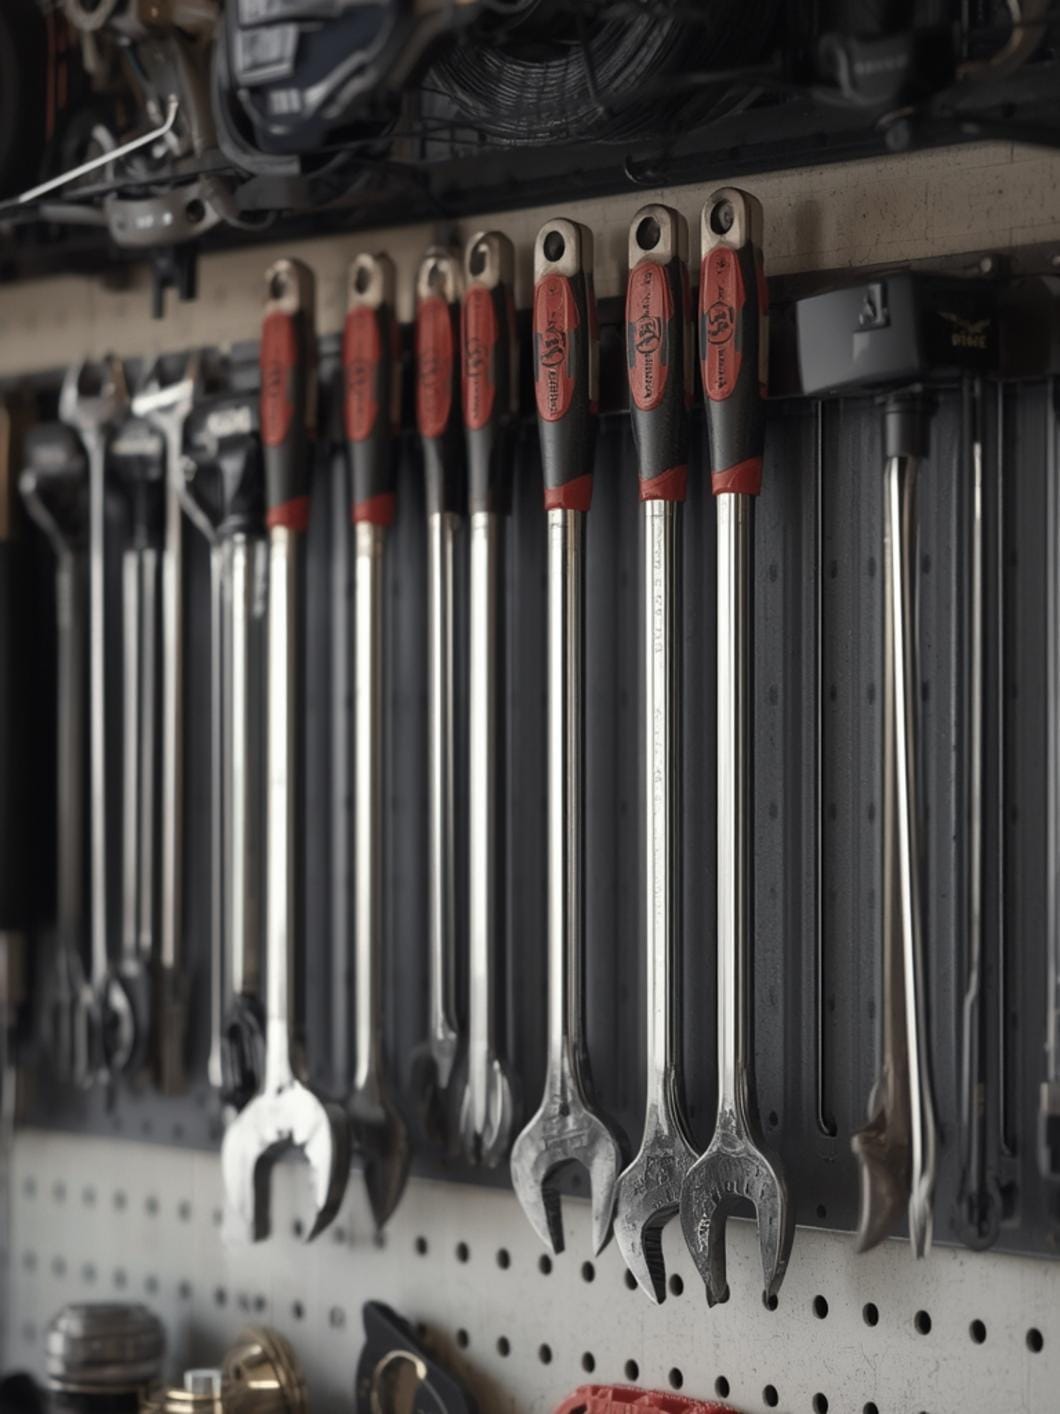
Most homeowners can set up a basic tool wall organizer in a single Saturday afternoon. Budget about four to six hours if you’re working alone, less if you have help.
The best time to tackle this project is during mild weather — spring or fall weekends when your garage isn’t too hot or cold to work in comfortably. You’ll be spending time measuring, drilling, and arranging, so comfort matters.
Before you start, clear your entire tool collection and sort through what you actually use. This isn’t just organization — it’s an opportunity to declutter and maybe donate tools that haven’t left their spot in years.
Budget-wise, plan for $100 to $300 for a standard two-car garage wall. Pegboard systems start around $75, while slatwall and premium metal systems run $200 and up. Your actual cost depends on wall size and how many accessories you need.
One crucial timing note: if your garage walls aren’t finished drywall, you’ll need to add backing boards first. This adds a weekend to your timeline but creates a much more stable mounting surface.
Step-by-Step Instructions
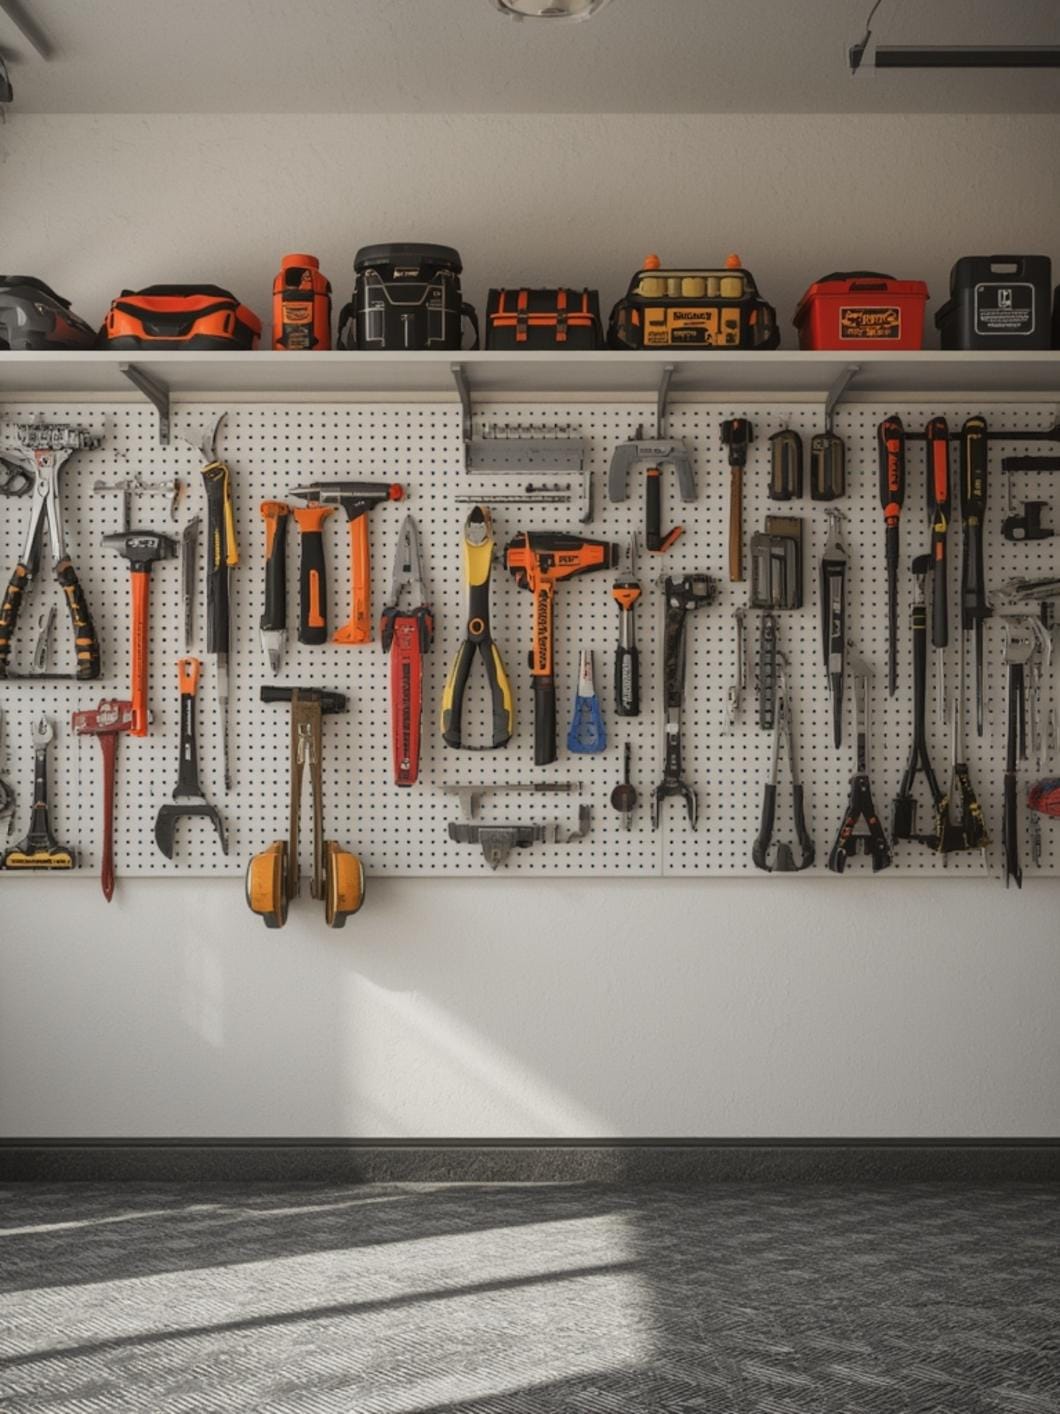
Creating an organized tool wall doesn’t require professional help — just methodical planning and a few hours of focused work.
Clear and measure your wall space. Empty the area completely and use a stud finder to locate wall studs. Mark them with painter’s tape since you’ll want to anchor into these for maximum strength. Measure the full width and height of your available space.
Plan your layout on paper first. Sketch where panels will go and which tools will hang where. Group similar items together — hand tools in one zone, power tools in another, gardening supplies in a third section. This planning phase prevents costly mistakes.
Install your backing if needed. If you’re mounting to bare studs, attach 3/4-inch plywood sheets directly to the studs first. This creates a solid base for any organizer system and lets you mount hooks anywhere, not just at stud locations.
Mount your panels securely. When learning how to install pegboard wall organizer systems or slatwall, the key is anchoring to studs or your backing board. Start at the top and work down, checking level frequently. Leave a small gap behind pegboard (use washers as spacers) so hooks can insert properly.
Add your accessories strategically. Don’t fill every hole or slot immediately. Start with your most-used tools at eye level and within easy reach. Less-used items can go higher or lower.
Test weight distribution. Before loading everything up, hang a few heavy tools and check that panels feel secure. Adjust mounting or add supports if anything feels unstable.
Create a maintenance routine. Take a photo of your finished organization system. This becomes your reference for putting tools back in the right spot and helps everyone in your household maintain the system.
The entire process becomes much easier if you work in sections rather than trying to organize everything at once. Complete one wall or zone fully before moving to the next.
Benefits / Advantages
A well-organized tool wall does more than just look tidy — it fundamentally changes how you use your garage space.
You’ll save significant time on every project. Instead of digging through drawers or bins, you’ll see exactly what you need and grab it in seconds. That means less frustration and more time actually working.
Your tools last longer when they’re properly stored. Hanging tools don’t rub against each other, reducing rust and damage. Cutting edges stay sharper, and you’ll stop losing small items in the abyss of a toolbox.
Wall storage opens up precious floor space. You can finally park both cars in a two-car garage or set up that workbench you’ve been dreaming about.
There’s also an unexpected confidence boost that comes with an organized space. You’ll tackle projects more readily when you know exactly where everything is and that your workspace supports your efforts.
Family members and guests notice the difference too. A thoughtfully organized garage suggests competence and care, elevating your entire home’s feel.
Tips, Alternatives, Styling Advice
Your budget and garage style can guide which system works best for your space.
Budget-friendly option: Basic pegboard panels from home improvement stores cost $15 to $20 per 4×8 sheet. Pair them with an assortment pack of universal hooks for under $50 total. Paint the pegboard in your favorite color to add personality without adding cost.
Mid-range option: Slatwall panels with a variety of specialized hooks and bins run $150 to $250 for a standard wall. The cleaner look and easier rearranging capability make this the sweet spot for most homeowners.
Premium option: Custom metal grid systems or track-based organizers start around $300 but offer the most flexibility and the most polished appearance. These systems handle serious weight and look outstanding in garages that do double-duty as workshops or hobby spaces.
Small space adaptation: Even a tiny garage or shed can benefit from wall organization. Focus on one 4-foot section for your most essential tools. Vertical space matters more than horizontal when square footage is tight — use the full height from waist level to ceiling.
Multi-purpose zones: Consider dedicating different sections to different activities. One zone for automotive tools, another for yard work, and a third for household repairs. This functional zoning makes everything more intuitive.
Lighting enhancement: Add LED strip lights above your tool wall. Good lighting transforms usability and makes your organized space feel professional and intentional.
Common Mistakes to Avoid
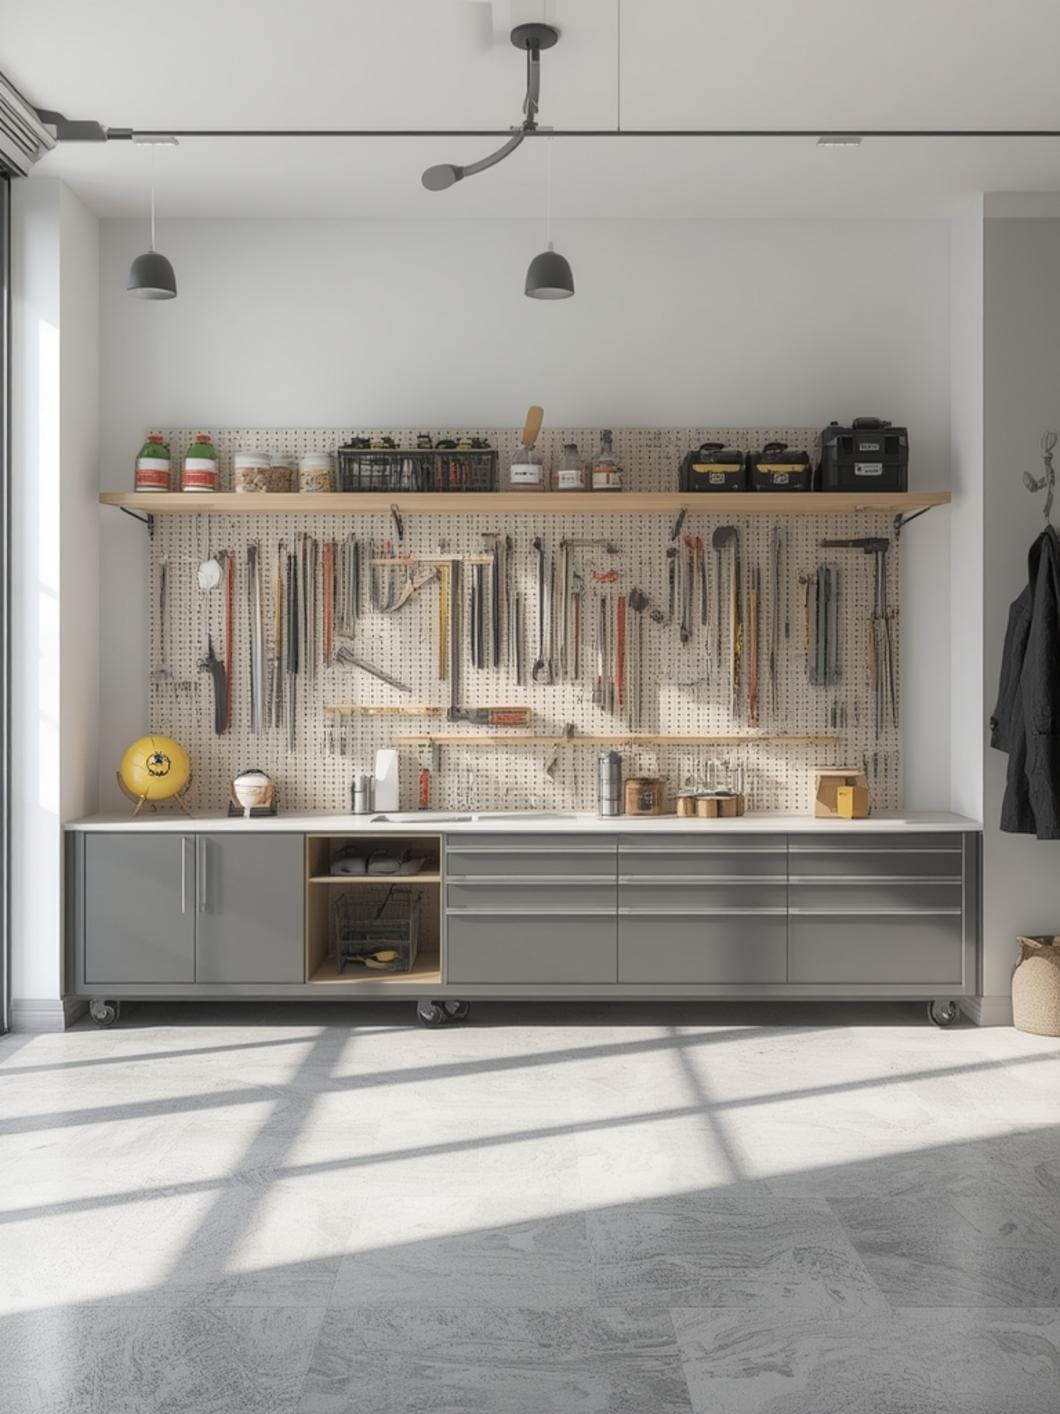
Skipping the stud finder and hoping for the best. Drywall anchors alone won’t reliably hold a panel loaded with heavy tools. Always anchor to studs or install proper backing boards first.
Mounting panels flat against the wall with no spacer. Pegboard hooks need about 1/2 inch of clearance behind the board to insert properly. Use washers or buy pre-made spacers to create this gap.
Organizing tools by size instead of by frequency of use. Your most-used tools should occupy the prime real estate at eye level and arm’s reach. Size and aesthetics come second to functionality.
Installing everything permanently before testing the layout. Live with your arrangement for a week or two before making it permanent. You’ll discover which placements work and which need adjustment.
Forgetting to account for tool dimensions with handles or guards. That circular saw needs more space than just the tool body — factor in the blade guard and handle when planning spacing.
Neglecting to label zones or create a system map. Without clear organization logic, tools migrate over time and the system breaks down. Simple labels keep everyone accountable.
Maintenance / Upkeep Tips
Keeping your tool wall organized requires minimal ongoing effort if you build good habits from the start.
Return tools to their designated spots immediately after use. This single habit prevents the gradual slide back into chaos. Shadow outlines or labels make this automatic.
Wipe down panels monthly with a damp cloth to remove dust and cobwebs. Garage environments get dirty, and a quick cleaning keeps everything visible and accessible.
Quarterly reviews help you adjust the system as your tool collection evolves. Remove hooks for tools you’ve sold or donated, and add spots for new acquisitions.
Inspect mounting hardware twice a year. Tighten any loose screws or bolts before they become problems. Check that heavily loaded sections remain secure.
Consider seasonal rotations if you have extensive tool collections. Move snow removal tools and holiday decoration hooks to prime spots in late fall, then swap in gardening tools come spring.
Conclusion
Creating an effective tool wall organizer system in your garage isn’t about perfection — it’s about making your space work harder for you. With the right panels, thoughtful planning, and a few hours of installation time, you’ll transform frustrating tool hunts into quick, confident grabs.
Your garage has the potential to be more than storage. It can be a functional, organized space that actually supports your projects and hobbies.
Looking for more ways to maximize your home’s potential? Explore more storage and organization ideas at DecorKingdom.net.
FAQs
What type of wall organizer is strongest for heavy tools?
Metal slatwall or industrial grid panels handle heavy tools best, supporting 50+ pounds per square foot when properly mounted to studs. These systems distribute weight better than pegboard and won’t sag over time under the load of power tools and equipment.
Can I install a pegboard organizer on a concrete garage wall?
Yes, but you’ll need to attach furring strips or a plywood backing board to the concrete first using concrete anchors. This creates the necessary spacing behind the pegboard and provides a stable mounting surface for the panel itself.
How far should tools hang from the wall on an organizer?
Most tools should hang 2 to 4 inches from the wall surface depending on their bulk. This clearance lets you grab them easily without knuckles scraping the wall and allows air circulation to prevent moisture buildup on metal tools.
Do I need special tools to install a garage wall organizer?
You’ll need basic tools most homeowners already have: a drill with bits, level, tape measure, stud finder, and screwdriver. A saw helps if you’re cutting panels to size, but many stores will cut panels for you at purchase.
How do I keep pegboard hooks from falling out?
Use locking pegboard hooks that have a small tab or clip securing them in place, or add a dab of hot glue on the back of standard hooks once you’ve finalized your layout. The glue still allows removal if needed but prevents accidental drops.
—
Meta Title: Tool Wall Organizer Garage Guide 2026 | Smart Storage
Meta Description: Stop losing tools in garage chaos. Create a functional tool wall organizer garage system in one weekend with our homeowner-friendly guide.