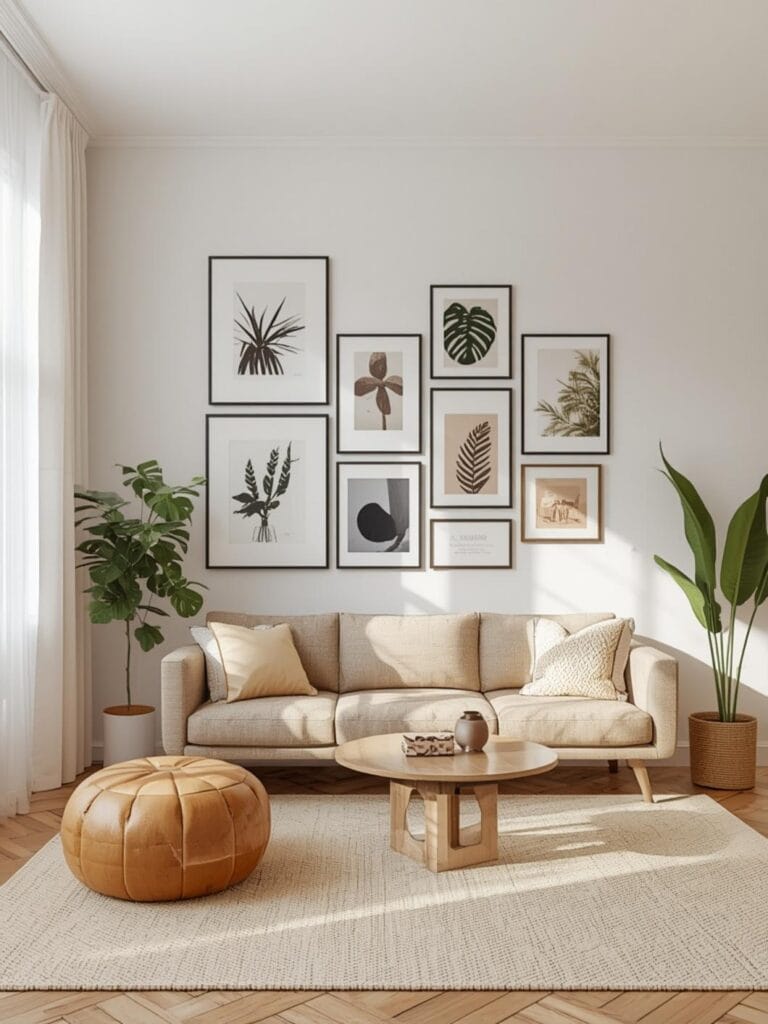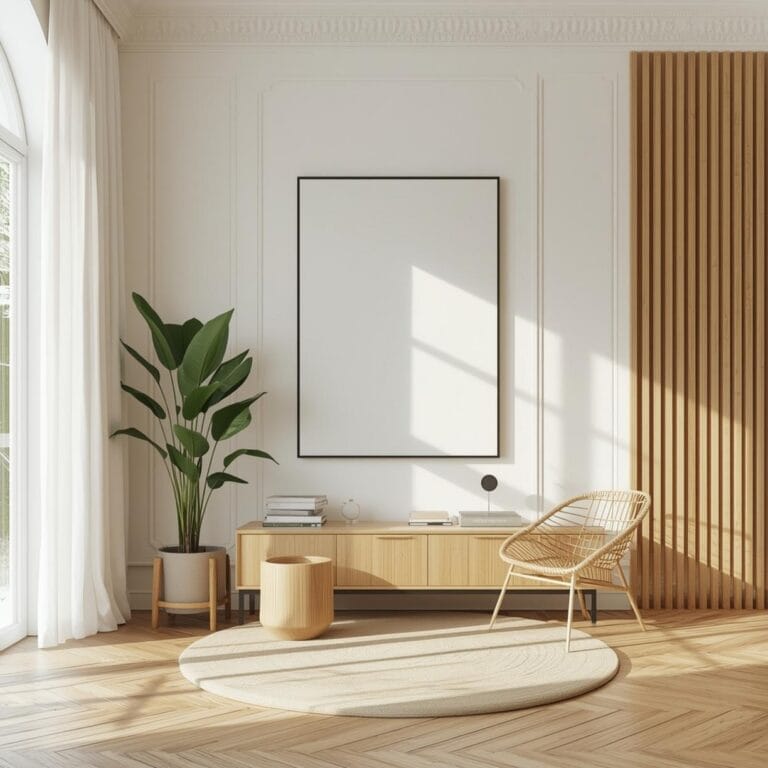
7 Wood Accent Wall Ideas That Add Warmth Without a Full Remodel
You walk into a room and something feels… flat. The furniture is nice, the paint color works, but there’s no personality, no focal point that makes you stop and say “wow.” That’s where a wood accent wall changes everything.
Wood accent wall ideas bring warmth, texture, and character to your home in ways paint alone simply can’t match. Whether you’re drawn to rustic reclaimed barn wood, sleek horizontal planks, or the timeless appeal of shiplap, a wood wall creates instant visual interest that anchors your entire design scheme.
The best part? You don’t need to be a master carpenter to pull this off. With the right planning and approach, creating a stunning wood accent wall is one of the most rewarding DIY projects you can tackle in a weekend.
Table of Contents
What You’ll Need to Get the Look
Creating a wood accent wall requires some basic materials, but nothing too intimidating. Here’s what you should gather before starting your project:
Wood Materials:
– Wood planks (reclaimed, new pine, cedar, or whitewood depending on your style)
– Shiplap boards if you’re going for that classic farmhouse look
– Wood stain or paint to achieve your desired finish
– Sandpaper in various grits (80, 120, and 220)
Installation Supplies:
– Wood adhesive or construction adhesive
– Finish nails or brad nails
– Level (a 4-foot level works perfectly)
– Tape measure and pencil
– Miter saw or hand saw for cutting planks to size
– Painter’s tape for marking layout
Finishing Touches:
– Clear polyurethane or wood sealer
– Wood filler for any gaps or nail holes
– Paintable caulk for edges
– Drop cloths to protect your floors
Don’t forget safety gear like glasses and a dust mask if you’ll be cutting or sanding. These supplies are all available at your local home improvement store, and most items you might already have in your garage.
Finding Your Style and Season
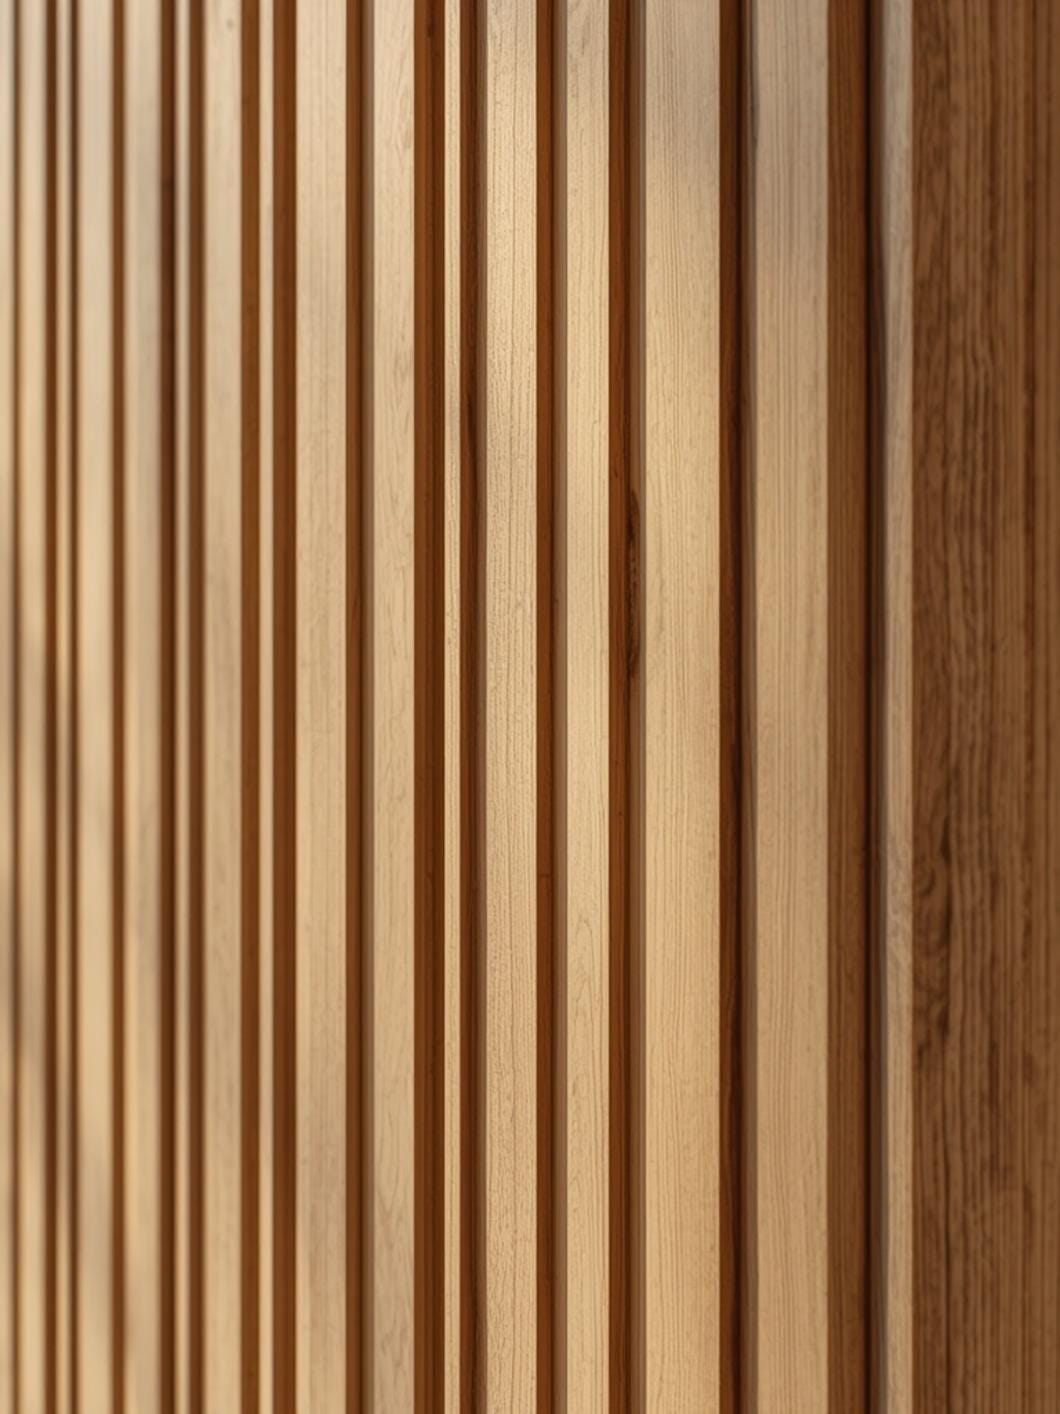
Wood accent walls work beautifully year-round, but different styles shine in different seasons and settings. Understanding when and where to install yours helps you choose the right look.
Spring and summer are perfect for lighter wood tones—whitewashed shiplap, blonde pine, or weathered gray finishes that keep your space feeling bright and airy. These lighter options work wonderfully in bedrooms and living rooms where you want that fresh, coastal vibe.
Fall and winter naturally call for richer, deeper wood tones. Dark walnut stains, natural cedar, or reclaimed barn wood with its authentic patina create cozy, intimate spaces perfect for family rooms and reading nooks.
Budget and timeline matter too. A simple horizontal plank wall might take one weekend and cost $200-400 for a standard bedroom wall. More elaborate patterns like herringbone or mixed-width planks could stretch to two weekends and $500-800, depending on your wood choice and room size.
Consider your home’s existing style. Modern farmhouse? Shiplap is your friend. Mid-century modern? Try horizontal walnut planks. Rustic cabin? Reclaimed barn wood tells the perfect story.
7 Ideas to Try in Your Home
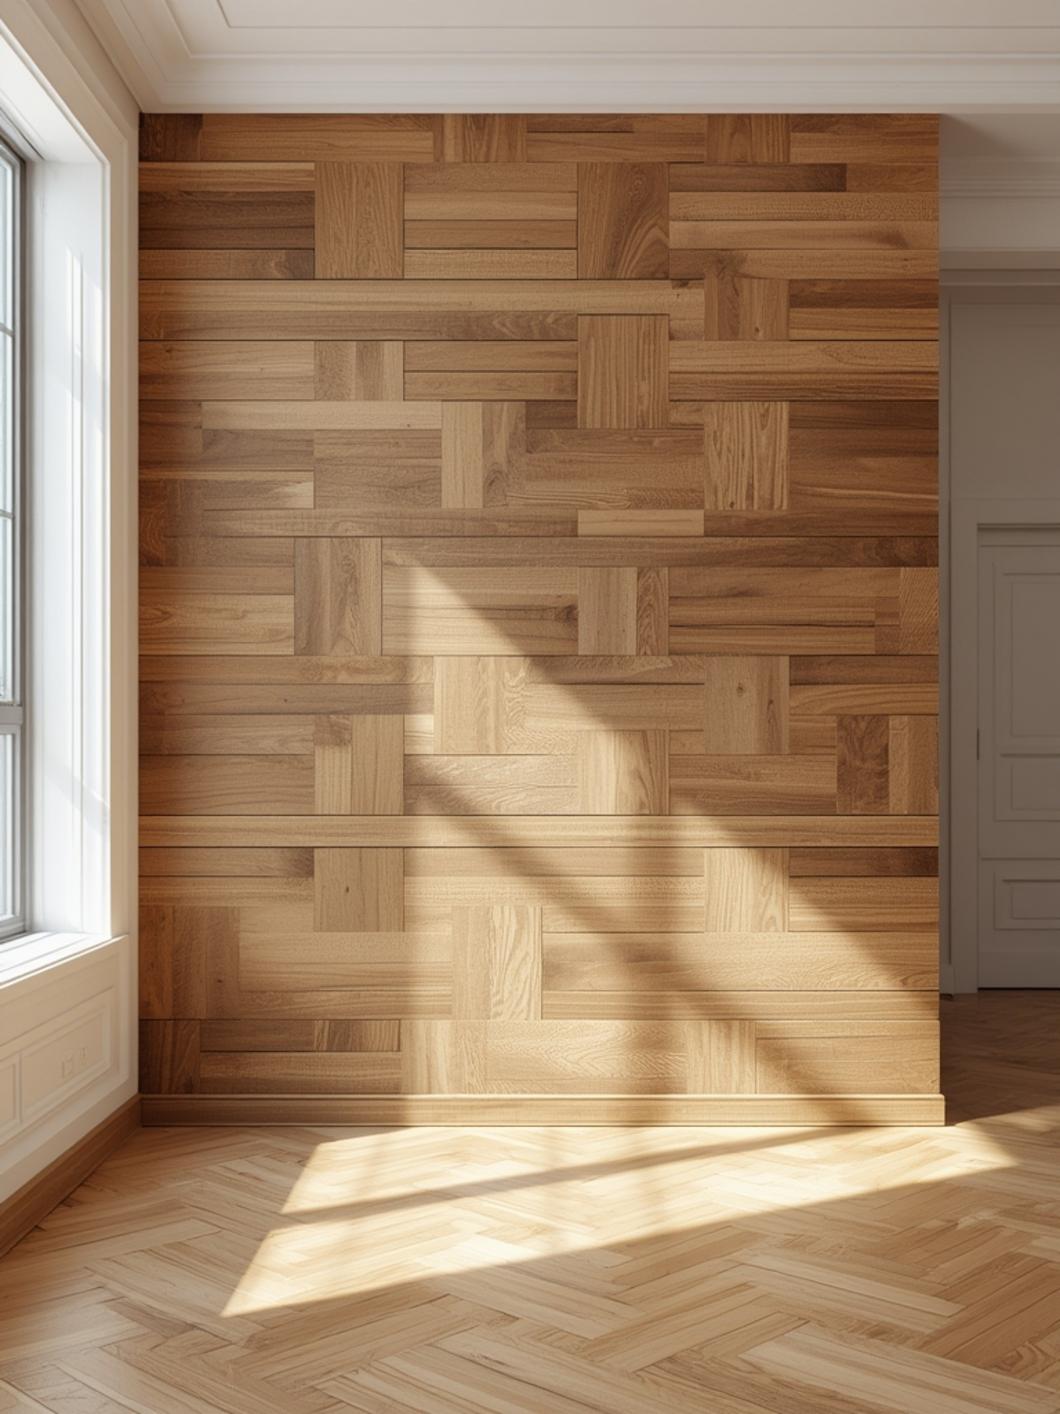
1. Classic Horizontal Shiplap
The farmhouse favorite never goes out of style. How to install shiplap accent wall involves starting at the bottom and working your way up, using small spacers between boards for that signature shadow line. Paint it white for Joanna Gaines vibes, or stain it gray for a more contemporary look. This works beautifully behind your bed or as a living room focal wall.
2. Vertical Planking for Height
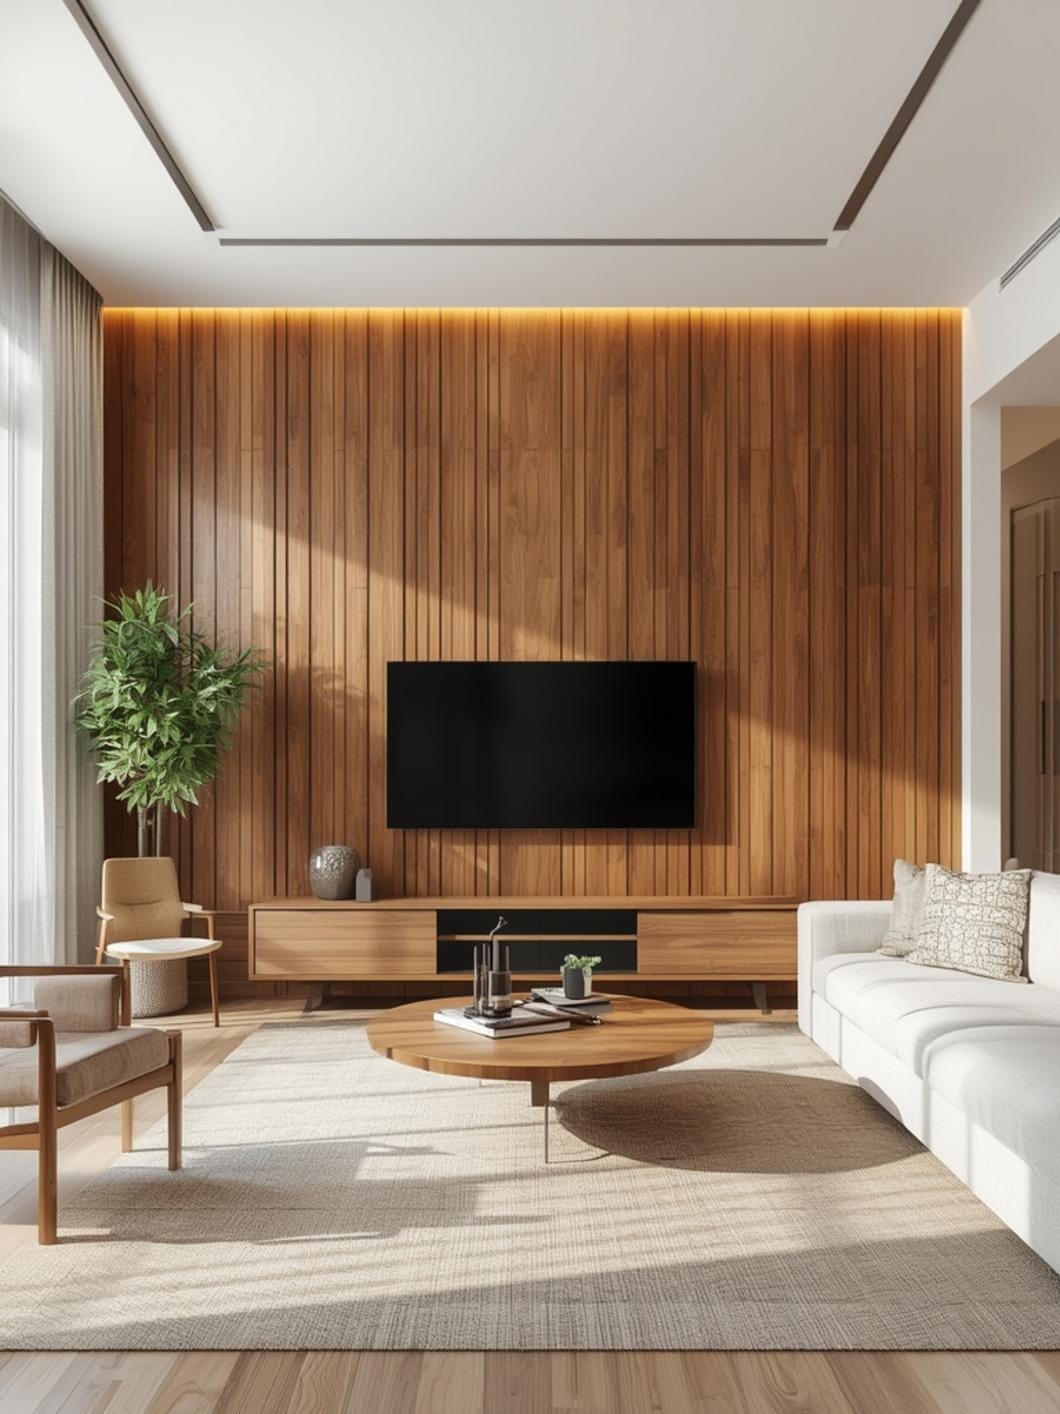
Running your wood planks vertically draws the eye upward and makes standard 8-foot ceilings feel taller. Mix different widths of planks—some 4 inches, some 6 inches, some 8 inches—for added visual interest. This technique works especially well in narrow hallways or small bedrooms where you want to create the illusion of more space.
3. Reclaimed Barn Wood Character
Nothing beats the authentic texture and story of weathered barn wood. Each plank brings its own history with nail holes, saw marks, and natural aging. Install these boards in a random pattern rather than perfectly aligned for that genuine salvaged look. This style absolutely shines in dining rooms and home offices where you want sophisticated rustic charm.
4. Herringbone Pattern Drama
For the ambitious DIYer, a herringbone wood pattern creates stunning visual impact. Cut your planks at 45-degree angles and arrange them in that classic V-shape pattern. Yes, it requires more cutting and planning, but the result is gallery-worthy. This works beautifully as a fireplace surround accent or in an entryway where you want to make an immediate impression.
5. Two-Tone Modern Mix
Combine stained and painted wood planks in an alternating pattern for contemporary flair. Try three natural wood planks, then one painted white, repeating the pattern across your wall. This technique adds depth without overwhelming the space and pairs perfectly with modern minimalist decor.
6. Floating Shelves Integration
Build your wood accent wall with intentional gaps where floating shelves will sit. The wood planks frame your shelves beautifully, creating a cohesive built-in look without the built-in price tag. Perfect for displaying books, plants, and decor in your living room or home office.
7. Plank Frame Feature
Instead of covering an entire wall, create a large rectangular frame of wood planks around your bed, TV, or artwork. Think of it as a three-dimensional picture frame that adds architecture to flat walls. Use thicker planks (1×6 or 1×8) for this approach so the frame stands proud from the wall surface.
Benefits That Go Beyond Beauty
A wood accent wall does more than just look gorgeous—it solves real problems in your home while adding value.
Wood naturally absorbs sound, so that accent wall behind your TV actually reduces echo and improves acoustics in your living room. You’ll notice conversations sound clearer and television audio feels more balanced.
Texture matters more than most people realize. In rooms dominated by smooth surfaces—drywall, glass, metal—that wood grain and dimensional depth creates warmth that flat paint simply cannot achieve. Your space feels more inviting and lived-in immediately.
Wood accent walls hide imperfections brilliantly. Got a wall with texture issues, old paneling damage, or repairs that never quite matched? Cover it with beautiful planks and nobody will ever know what’s underneath.
Property value gets a boost too. Real estate agents consistently note that homes with distinctive architectural features like wood accent walls photograph better and attract more buyer interest. You’re not just decorating—you’re investing in your home’s appeal.
Tips, Alternatives, Styling Advice
Budget-Friendly Option:
Use basic pine boards from your local home improvement store and apply your own stain. For a 10×12-foot wall, expect to spend $150-250. Consider peel-and-stick wood plank wallpaper as an even more affordable alternative at $80-120 per wall. It looks surprisingly authentic and requires zero tools.
Mid-Range Option:
Pre-finished shiplap boards save you the staining step and come in beautiful ready-to-install colors. Budget $300-500 for that same bedroom wall. The time savings alone makes this worthwhile if you’re tackling this project solo.
Premium Option:
Invest in reclaimed barn wood or exotic hardwoods like walnut or cedar. These materials run $600-1200 for an accent wall but deliver unmatched character and authenticity. The patina and grain patterns are impossible to replicate with new wood.
Small Space Adaptation:
In tight spaces like powder rooms or small bedrooms, cover just half the wall height or create a headboard-sized section rather than floor-to-ceiling coverage. You’ll get the visual impact without overwhelming the room. Lighter wood tones also help smaller spaces feel more open.
Pair your wood wall with simple decor—let the wood be the star. White or cream textiles, minimal artwork, and plenty of greenery complement wood beautifully without competing for attention.
Common Mistakes to Avoid
Skipping the Acclimation Period:
Installing wood planks immediately after bringing them home causes warping and gaps as the wood adjusts to your home’s humidity. Let your wood planks sit in the room where they’ll be installed for 48-72 hours before starting your project.
Forgetting About Outlets and Switches:
Measure twice and mark exactly where electrical outlets sit before covering them with planks. Cut precise openings in your boards before installation—it’s much easier than trying to find and cut around them afterward.
Using the Wrong Adhesive:
Regular wood glue isn’t strong enough for vertical wall applications. Use construction adhesive specifically rated for wall paneling, and reinforce with finish nails every 16 inches where studs are located for long-term durability.
Ignoring Expansion Gaps:
Wood expands and contracts with temperature and humidity changes. Leave a 1/4-inch gap at the ceiling and floor, covering these with trim molding. Without this breathing room, your planks can buckle or crack over time.
Choosing Wood That’s Too Thick:
Planks thicker than 3/4 inch create installation challenges and make the wall protrude awkwardly into your room. Stick with 1/2 to 3/4-inch thickness for the best balance of visual impact and practical installation.
Maintenance and Upkeep Tips
Wood accent walls are remarkably low-maintenance compared to other dramatic design features. A few simple habits keep them looking fresh for years.
Dust your wood wall monthly with a microfiber cloth or soft brush attachment on your vacuum. This prevents buildup in the grooves and grain that can dull the finish over time.
For sealed or polyurethane-finished walls, occasional damp wiping with a barely moist cloth removes fingerprints and smudges. Never saturate the wood—excess moisture damages even sealed finishes.
Inspect your wall twice yearly for any loose planks or nail pops. A quick dab of adhesive or a replacement nail fixes these issues before they become bigger problems.
If you used natural or lightly sealed wood, consider reapplying a protective coat every 2-3 years. This maintains the color and protects against fading from sunlight exposure, especially important for walls with significant window light.
Watch for signs of humidity damage in bathrooms or basements where you’ve installed wood walls. If you notice swelling or discoloration, improve ventilation in that space and consider adding a dehumidifier.
Create Your Perfect Focal Wall
A wood accent wall brings character, warmth, and architectural interest to any room in your home. Whether you choose the classic appeal of shiplap, the rich texture of reclaimed barn wood, or a creative pattern that reflects your personal style, this project delivers impressive results that elevate your entire space.
The satisfaction of stepping back and admiring a wall you created yourself makes every measurement, cut, and nail worthwhile. Your home deserves that wow factor, and now you have the roadmap to make it happen.
Ready to explore more ways to transform your space? Browse DecorKingdom for hundreds of inspiring ideas that make your house feel like the home you’ve always imagined.
FAQs
What type of wood is best for an accent wall?
Pine and whitewood are excellent choices for beginners because they’re affordable, easy to work with, and take stain beautifully. Cedar works wonderfully if you want natural resistance to moisture for bathrooms. Reclaimed barn wood offers the most character but costs more and requires careful cleaning before installation. Choose based on your budget, skill level, and the look you’re after.
Do I need to find wall studs when installing a wood accent wall?
Yes, finding and marking your studs before you start makes installation much more secure. While construction adhesive holds the planks in place, adding nails into studs every 16 inches ensures your wall won’t sag or separate over time. Use a stud finder and mark each stud location with painter’s tape before you begin attaching planks.
Can I install a wood accent wall in a bathroom?
Absolutely, but choose your wood carefully and seal it properly. Cedar naturally resists moisture and works great in bathrooms. Whatever wood you select, apply at least two coats of polyurethane sealer to protect against humidity and water splashes. Avoid installing wood directly in shower areas where it gets constantly wet.
How do I make sure my planks are level?
Start with a perfectly level first plank—this is your foundation for the entire wall. Use a 4-foot level to check it, then check again. For horizontal installations, this first plank typically goes at the bottom. For vertical installations, start from a corner. Every few rows, check your level again to catch any drift before it becomes noticeable.
What’s the easiest wood accent wall style for beginners?
Horizontal planks using pre-finished shiplap boards offer the most beginner-friendly approach. The planks install straightforwardly from bottom to top, the tongue-and-groove edges help with alignment, and pre-finished boards eliminate the staining step entirely. You can complete a bedroom accent wall in a single weekend with basic tools and confidence.
—
Meta Title: Wood Accent Wall Ideas That Transform Any Room (2026)
Meta Description: Discover stunning wood accent wall ideas from shiplap to barn wood. Get step-by-step guidance for creating beautiful walls in any room.