How to Choose Wall Stickers for Living Room
Are you tired of staring at the same blank walls every day? Maybe you’ve thought about repainting, but the mess and commitment feel overwhelming. That’s where Wall Stickers for Living Room spaces come in — they’re the perfect way to add personality and charm without the fuss of paint or permanent changes.
Wall stickers have come a long way from those tacky decals you might remember from childhood. Today’s designs range from elegant botanical prints to modern geometric patterns that can completely refresh your space in just an afternoon. Whether you’re renting and can’t paint or you simply want the freedom to change your look seasonally, wall stickers offer incredible flexibility.
The best part? You don’t need any special skills or tools to create a stunning feature wall that looks like you hired a professional designer.
Table of Contents
What You’ll Need to Get the Look
Before you start browsing designs, let’s talk about what actually makes a wall sticker project successful. You won’t need much, which is part of the beauty.
Essential items:
– Clean, smooth walls (freshly painted walls should cure for at least 30 days first)
– Microfiber cloth for cleaning the surface
– Measuring tape and pencil for planning placement
– Level tool or smartphone app to keep designs straight
– Squeegee or credit card for smoothing out bubbles
– Optional: painter’s tape for creating guidelines
Style considerations:
– Wall stickers in vinyl material for durability
– Fabric-based stickers for textured walls
– Removable adhesive types for renters
– Peel-and-stick designs for easy application
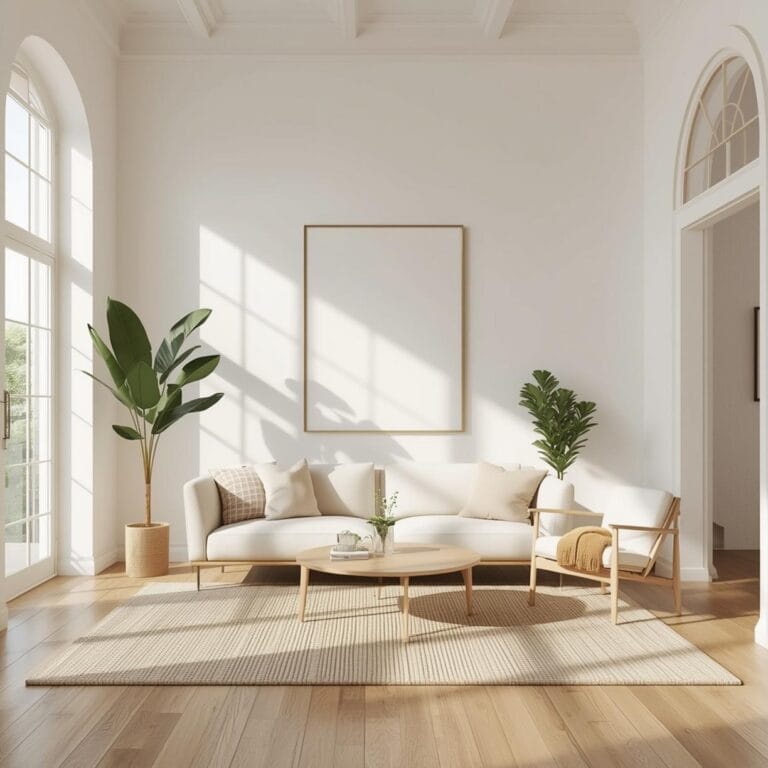
Your existing furniture and color scheme matter too. If you have a neutral sofa and curtains, you can go bold with your wall stickers. Already have colorful decor? Choose subtle, monochromatic designs that complement rather than compete.
Finding Your Style and Season
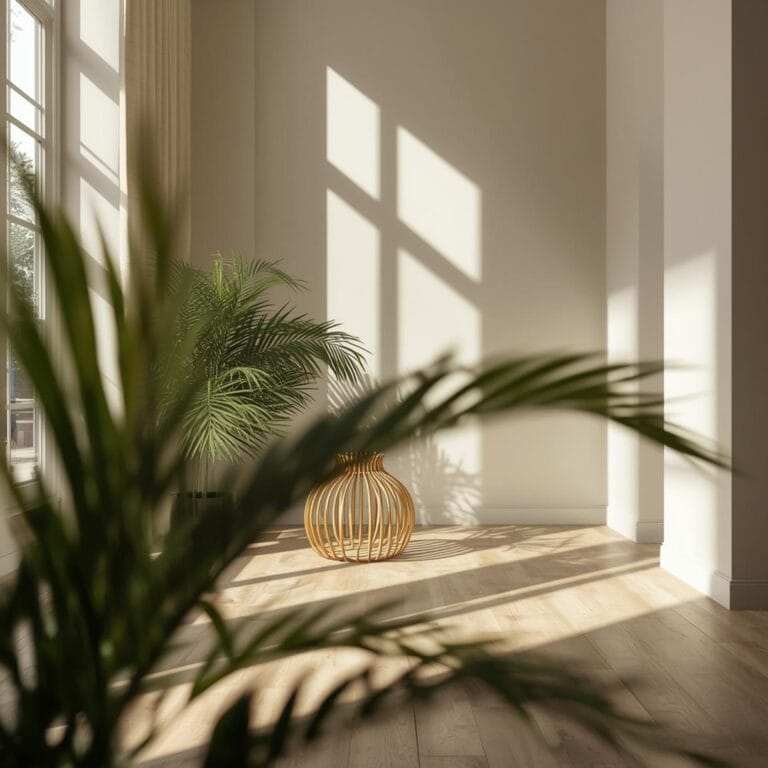
Choosing wall stickers isn’t just about what catches your eye — it’s about matching your lifestyle and the season. Think about how much natural light your living room gets throughout the day. Dark, moody stickers can feel heavy in a room with limited windows, while light designs might get washed out in bright spaces.
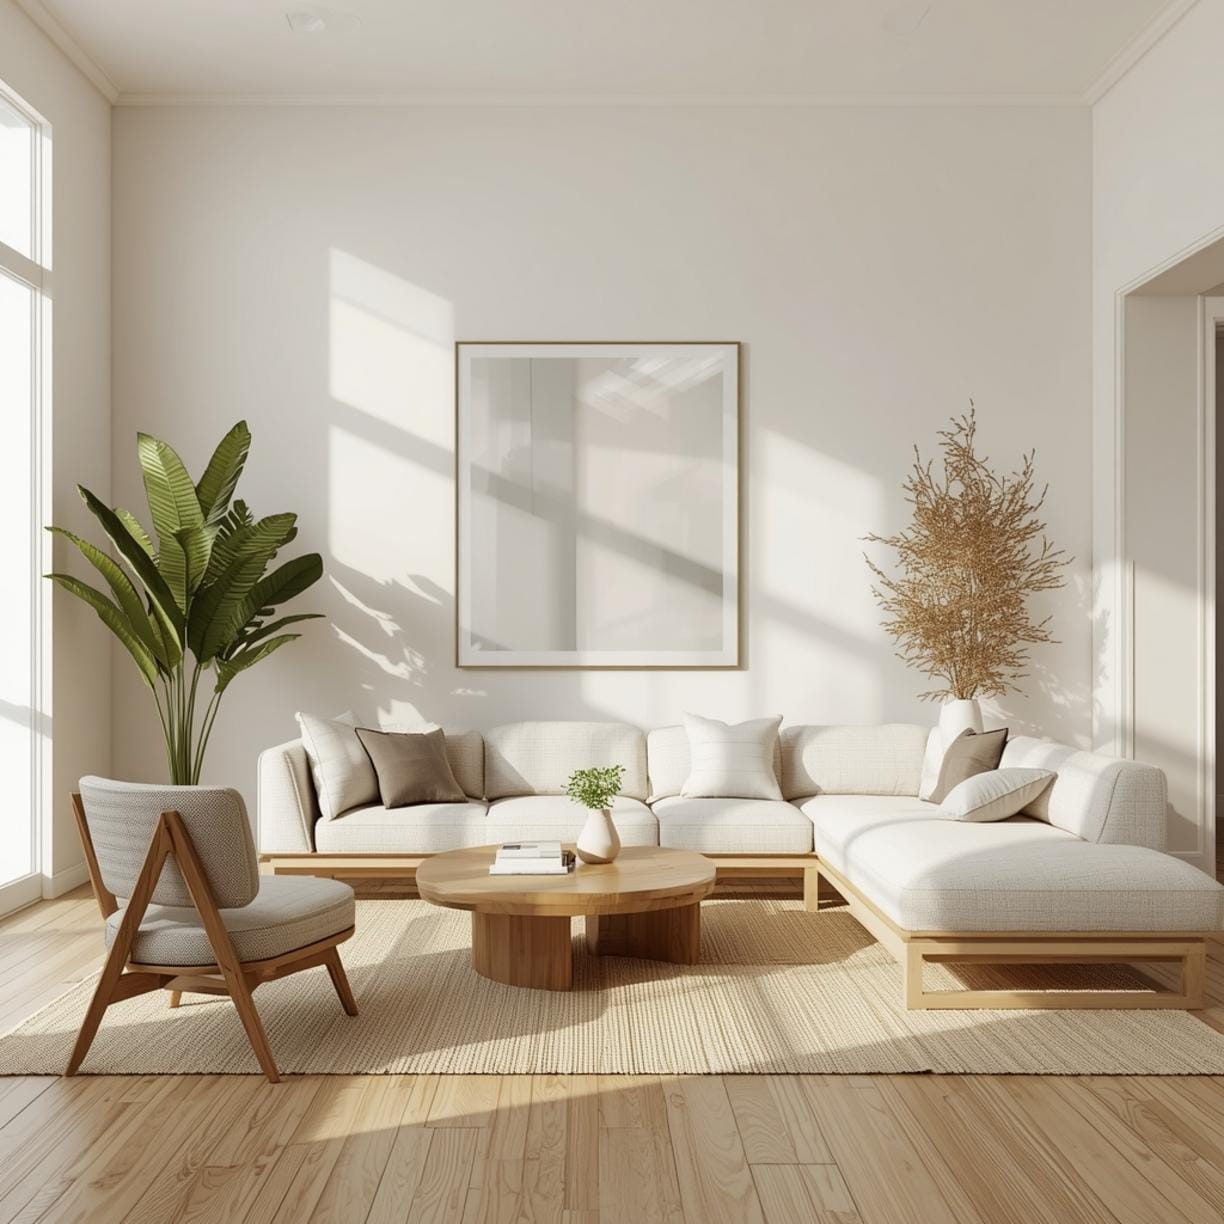
Consider your home’s overall vibe. Modern farmhouse? Look for botanical prints or rustic quotes. Mid-century modern? Geometric shapes and abstract patterns work beautifully. Traditional decor pairs wonderfully with damask or vintage-inspired medallions.
Seasonal inspiration:
– Spring and summer: floral patterns, birds, light colors
– Fall: warm-toned leaves, harvest themes, golden accents
– Winter: snowflakes, cozy quotes, metallic finishes
– Year-round: geometric patterns, abstract art, monochrome designs
Budget about one to two hours for initial planning and browsing. Rushed decisions often lead to buying stickers that don’t quite work with your space. Take photos of your walls and mock up placement using design apps before ordering.
7 Ideas to Try in Your Home
Let’s explore specific ways to use wall stickers that actually work in real living rooms.
Create a Statement Feature Wall
Choose one wall as your focal point — typically the wall behind your sofa or across from your main seating area. Large-scale tree designs or oversized florals make dramatic statements without overwhelming the room. Keep the other three walls simple to let your feature wall shine.
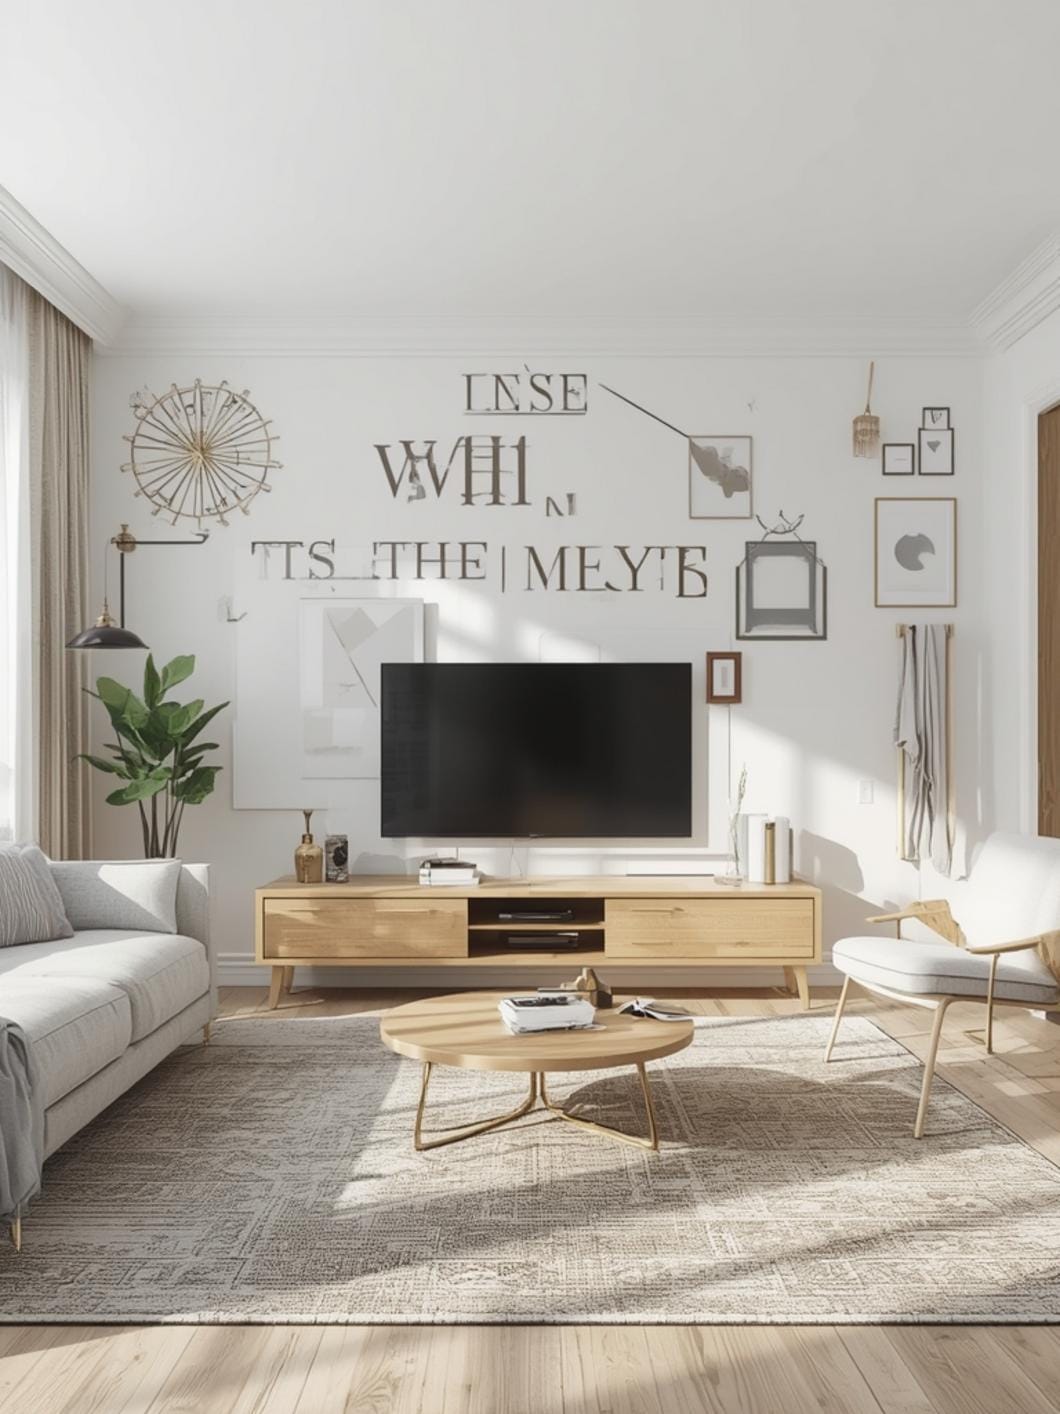
Frame Your Television
Turn your TV into art by surrounding it with decorative sticker borders or corner flourishes. This clever trick makes your screen look intentional rather than like a black rectangle dominating your wall. Symmetrical designs work best here for a polished look.
Add Height with Vertical Designs
Tall, climbing vines or stacked geometric shapes draw the eye upward and make your ceilings feel higher. This trick works especially well in smaller living rooms where you want to create the illusion of more space. Position these designs starting about 12 inches from the floor for maximum impact.
Build a Gallery Wall Effect
Mix and match smaller stickers to create a curated gallery look without the commitment of hanging frames. This approach gives you flexibility to rearrange elements until you love the composition. Start with a central larger piece and build outward with complementary smaller designs.
Highlight Architectural Features
Use stickers to emphasize existing molding, corners, or archways. Delicate corner flourishes or border designs can make basic walls look custom and thoughtfully designed. This works beautifully in older homes with character or newer builds that need added detail.
Create a Removable Mural
Full-wall murals in sticker form let you enjoy dramatic scenery without permanent commitment. Forest scenes, cityscapes, or abstract art can transform your entire room. can help you choose colors that coordinate perfectly.
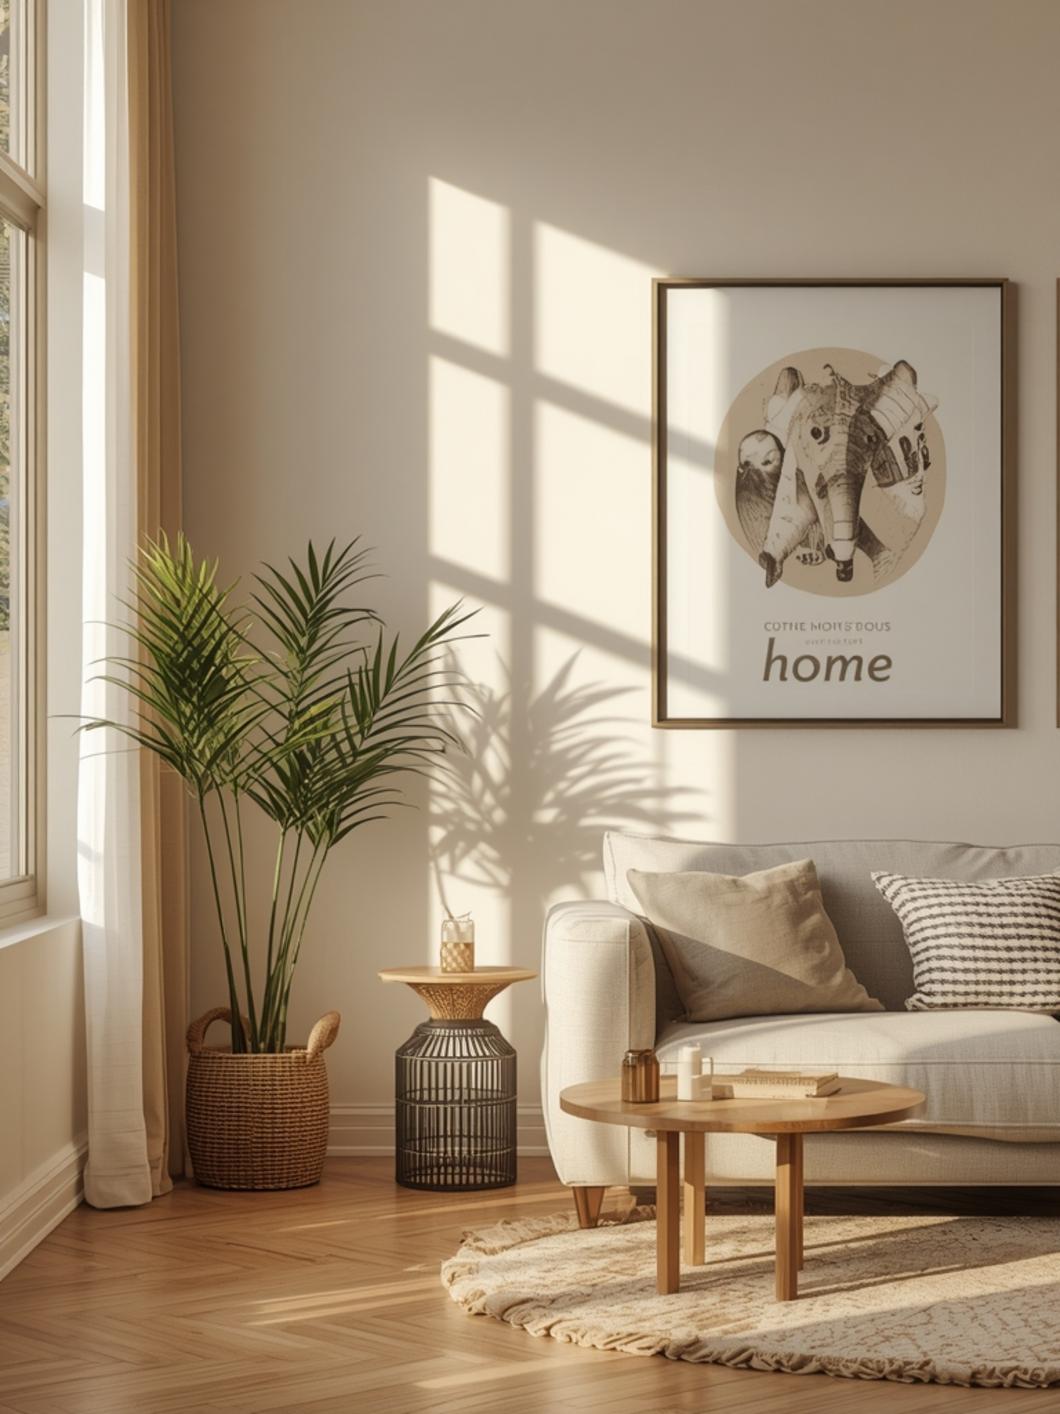
Personalize with Meaningful Quotes
Typography stickers featuring your favorite sayings or family mottos add personal warmth. Choose fonts that match your decor style — script for traditional spaces, block letters for modern rooms. Place these above doorways or windows where they’ll catch attention naturally.
One important consideration as you plan: How to remove wall stickers without damaging paint starts with choosing the right product from the beginning. Look for stickers specifically labeled as removable or repositionable. When removal time comes, peel slowly at a 45-degree angle, warming stubborn spots with a hairdryer on low heat. Never rush the process or you risk pulling paint along with the adhesive.
Benefits / Advantages
Wall stickers offer advantages that traditional wall treatments simply can’t match. The most obvious benefit is reversibility — if you change your mind or want to update your look seasonally, you can remove and replace designs without patching holes or repainting.
For renters, this flexibility is invaluable. You can finally personalize your space without risking your security deposit. Many landlords appreciate that wall stickers don’t damage surfaces when properly removed.
Lifestyle benefits include:
– Instant gratification with visible results in hours, not days
– No chemical fumes or messy cleanup like painting requires
– Easy to change as your style evolves or kids grow up
– Budget-friendly way to refresh your space regularly
– DIY-friendly with no professional help needed
The emotional impact shouldn’t be underestimated either. Coming home to a living room that reflects your personality and brings you joy improves your daily mood. Wall stickers make this transformation accessible to everyone, regardless of skill level or budget.
Tips, Alternatives, Styling Advice
Your budget doesn’t have to limit your creativity with wall stickers. Here’s how to approach this project at different price points.
Budget-Friendly Approach ($20-40)
Start with smaller accent pieces rather than full wall coverage. A single large decal above your sofa or a border around your window can make significant impact. Black or neutral colors typically cost less than multi-color designs and offer versatile styling options.
Mid-Range Investment ($50-100)
This budget range opens up quality vinyl stickers with more intricate designs and better adhesive. You can cover a full feature wall or mix multiple complementary pieces. Look for sets that include coordinating elements for a cohesive designer look.
Premium Options ($150+)
Custom-designed stickers or high-end fabric-based options fall into this category. These products often feature textured finishes, metallic accents, or oversized murals with incredible detail. The adhesive quality tends to be superior, making removal even cleaner.
Small Space Adaptation
If you’re working with a compact living room, use stickers strategically rather than covering entire walls. Vertical designs make ceilings feel higher, while light colors keep the space feeling open. provides additional strategies for maximizing limited square footage.
Consider removable stickers for rooms that serve multiple purposes. If your living room doubles as a home office, choose designs that inspire productivity during work hours and relaxation in the evening.
Common Mistakes to Avoid
Even with such a forgiving project, certain mistakes can derail your results. Here’s what to watch out for.
Applying stickers to dirty or dusty walls creates bubbles and poor adhesion. Always wipe down your wall with a damp microfiber cloth and let it dry completely before applying any stickers.
Skipping measurements leads to crooked designs that look unprofessional. Use a level tool and mark light pencil guidelines before removing the backing from your stickers.
Rushing the application process traps air bubbles under the sticker. Work slowly from one edge to the other, smoothing as you go with a squeegee or credit card to push out air.
Choosing designs that clash with your existing decor creates visual chaos. Pull colors directly from your furniture, curtains, or rugs to ensure cohesion rather than introducing completely new color families.
Ignoring wall texture means poor adhesion and premature peeling. Vinyl stickers work best on smooth, flat surfaces — textured walls may need fabric-based alternatives or you’ll face frustration.
Maintenance / Upkeep Tips
Wall stickers require minimal maintenance, but a little care keeps them looking fresh longer. Dust them gently with a dry microfiber cloth every few weeks, especially if they’re in high-traffic areas. Never use cleaning sprays directly on stickers as the chemicals can break down the adhesive.
If edges start to lift slightly over time, press them back firmly with your finger. Stubborn corners can be secured with a tiny dab of removable adhesive, though this rarely becomes necessary with quality products.
Watch for signs of fading if your stickers receive direct sunlight. UV rays will eventually fade any design, so consider this when choosing placement. Rotating designs seasonally prevents this from becoming noticeable.
When pets or kids cause accidental damage, most sticker designs allow you to replace just the affected section rather than the entire piece. This is especially true for modular designs with multiple separate elements.
Make Your Living Room Uniquely Yours
Wall stickers offer an accessible, affordable way to express your personal style without the commitment or mess of traditional decorating methods. From subtle accent pieces to bold statement walls, you have endless options to refresh your living room as often as your mood changes.
The key is starting with quality removable products and taking your time with application. Your living room should be a space that energizes and comforts you — wall stickers make achieving that feeling easier than ever.
Ready to transform your space? Explore more inspiring ideas and practical guides here at DecorKingdom to create the home you’ve always wanted.
FAQs
Do wall stickers damage paint when you remove them?
High-quality removable wall stickers designed for home use won’t damage paint when removed correctly. The key is peeling slowly at a 45-degree angle and ensuring your paint has cured for at least 30 days before application. Cheap stickers with aggressive adhesive can cause problems, so always check product reviews before purchasing.
Can I apply wall stickers over textured walls?
Vinyl stickers work best on smooth surfaces and may not adhere well to heavily textured walls. For textured surfaces, look specifically for fabric-based wall decals which conform better to uneven surfaces. You can also smooth small wall sections with joint compound before applying vinyl stickers if you’re committed to a specific design.
How long do wall stickers typically last?
Quality wall stickers last anywhere from one to five years depending on conditions. Stickers in low-humidity rooms away from direct sunlight last longest, while bathroom humidity or constant sun exposure shortens their lifespan. Most homeowners choose to change designs well before the stickers actually wear out, simply because their style preferences evolve.
Can I reuse wall stickers after removing them?
Most wall stickers are designed for one-time use only, as removing them stretches the material and compromises the adhesive. Some premium repositionable stickers can be moved once or twice during initial application to get placement right, but they won’t successfully restick after being fully removed and stored. Plan to purchase new stickers when you want to change your design.
What’s the best way to apply large wall stickers without bubbles?
Start by taping the top edge in position without removing the backing. Peel away backing paper a few inches at a time while smoothing the sticker onto the wall with a squeegee or credit card. Work from the center outward to push air bubbles toward the edges. Having a helper hold larger stickers while you smooth makes the process much easier and prevents wrinkles.
—
Meta Title: Wall Stickers for Living Room: Fresh Ideas for 2026
Meta Description: Transform your living room with stunning wall stickers. Get style ideas, application tips, and safe removal advice for beautiful results.