best 7 linear light fixture for kitchen island ideas
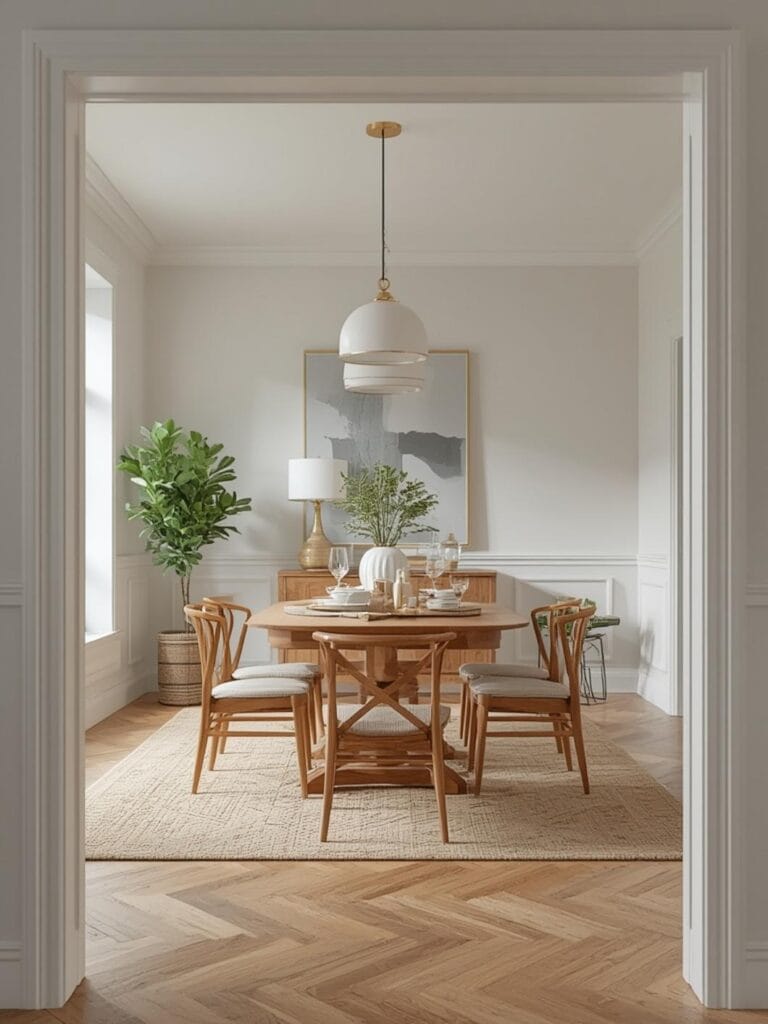
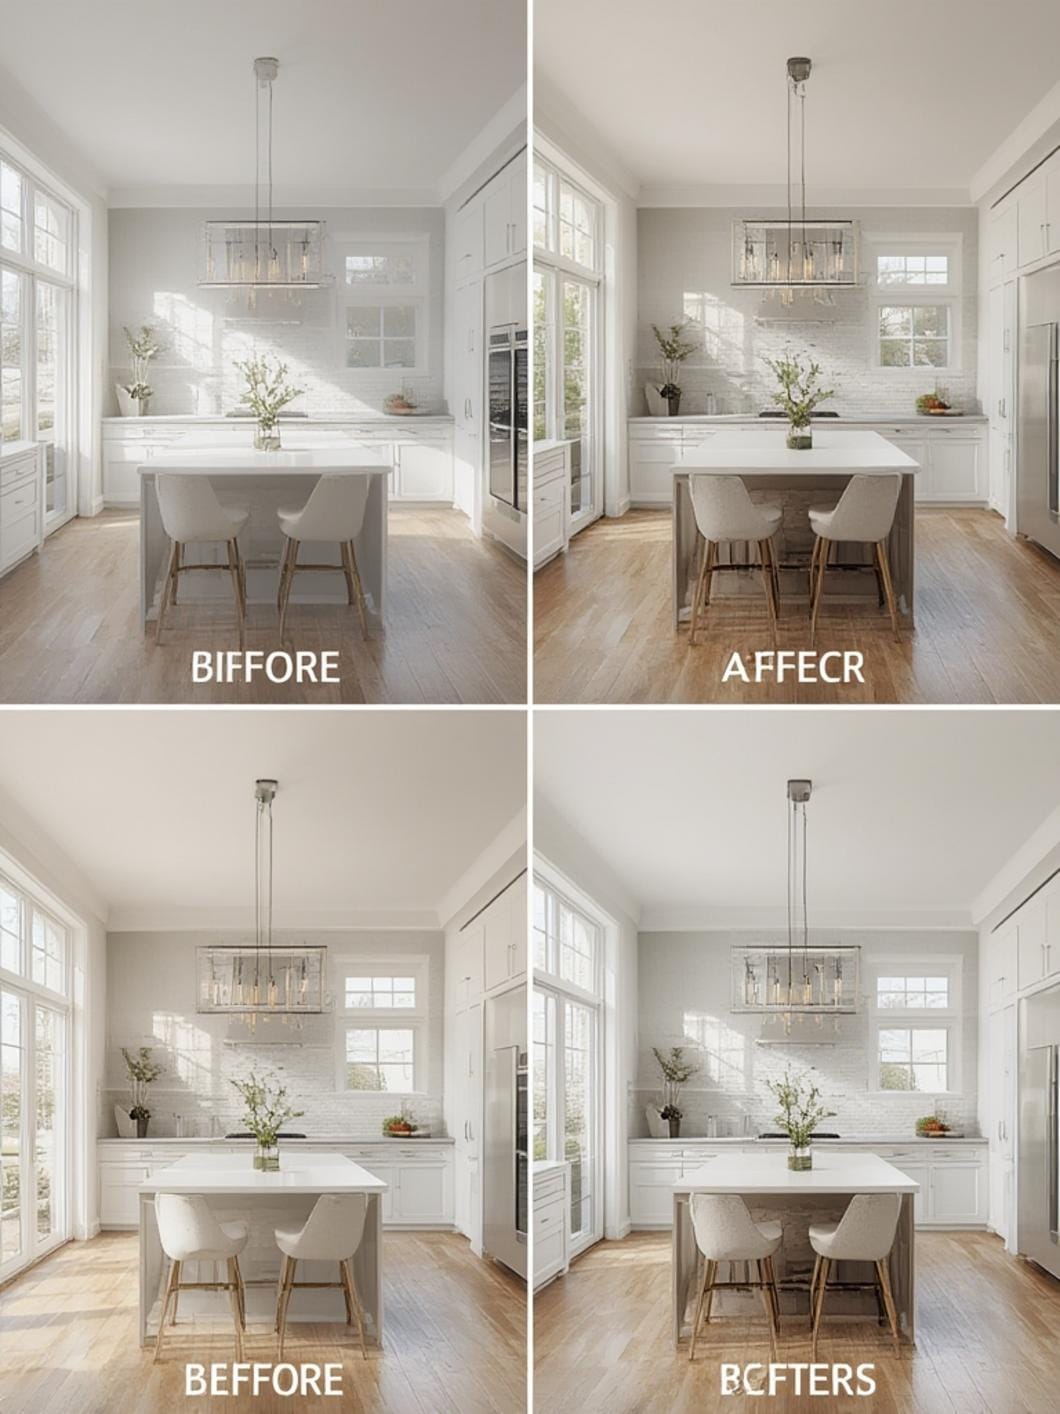
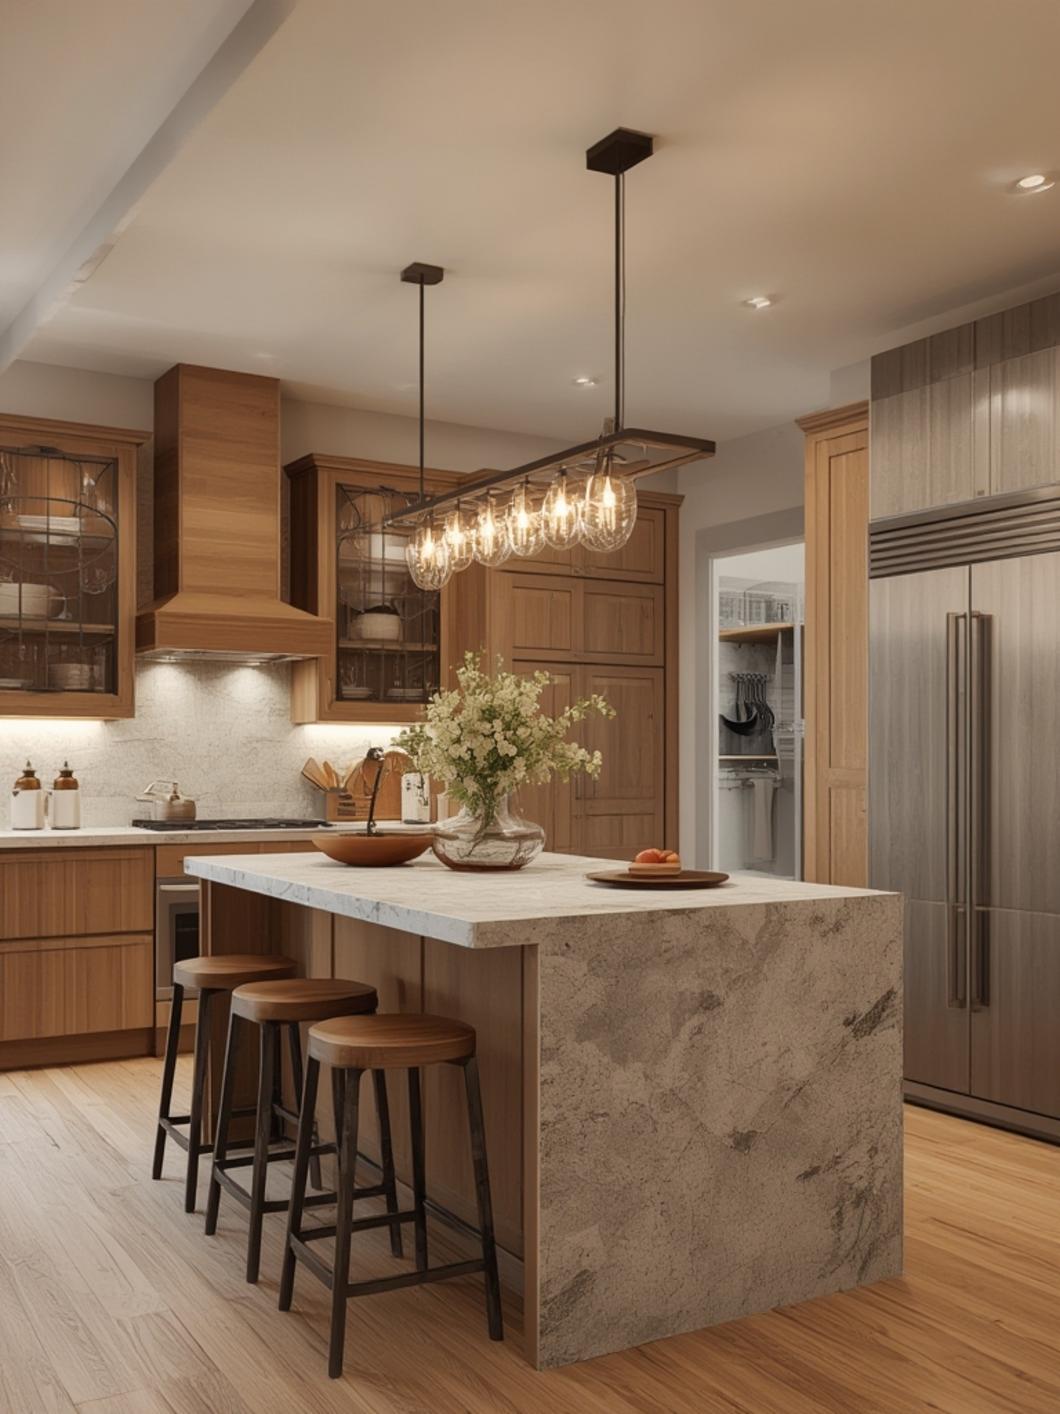
There’s something magical about a well-lit kitchen—it becomes the heart of the home, a gathering place where meals are prepared, conversations flow, and memories are made. If you’ve been feeling like your kitchen lacks that certain spark, the solution might be simpler than you think. Installing a Linear Light Fixture for Kitchen Island can dramatically transform your space, creating both functional task lighting and a stunning focal point. Unlike traditional kitchen island pendant lights, linear fixtures offer continuous illumination across the entire length of your island, eliminating shadows and creating a modern, cohesive look.
Table of Contents
Whether you’re renovating your entire kitchen or simply looking to refresh your space with updated lighting, choosing the right fixture can elevate your kitchen from ordinary to extraordinary. In this comprehensive guide, I’ll walk you through everything you need to know about selecting, installing, and styling linear light fixtures for your kitchen island, ensuring you create a space that’s both beautiful and highly functional.
Materials & Decor Elements
Before beginning your kitchen island lighting project, gather all necessary materials and tools to ensure a smooth installation process:
Lighting Fixture & Components:
– Linear LED light fixture (sized appropriately for your island length)
– Mounting hardware and ceiling canopy (usually included with fixture)
– Light bulbs (if not integrated LED)
– Dimmer switch compatible with your fixture
– Junction box or ceiling mounting plate
– Wire nuts and electrical tape
Tools Required:
– Voltage tester or multimeter
– Wire stripper
– Screwdriver set (both flathead and Phillips)
– Drill with appropriate bits
– Ladder or step stool
– Measuring tape
– Pencil for marking
– Stud finder
– Level tool
Safety Equipment:
– Safety glasses
– Work gloves
– Circuit breaker labels
Optional Decorative Elements:
– Decorative ceiling medallion or trim
– Chain or rod extensions for height adjustment
– Coordinating cabinet hardware to match fixture finish
– Under-cabinet lighting to complement overhead fixture
Complementary Decor Items:
– Fresh flowers or greenery for island styling
– Decorative bowls or trays
– Bar stools that complement the fixture style
– Coordinating backsplash materials
Timing / Project Planning
Proper planning ensures your lighting installation goes smoothly without unnecessary stress or delays. Here’s a realistic timeline for your project:
Preparation Phase (1-2 weeks):
– Research and select your linear light fixture (2-3 days)
– Order fixture and wait for delivery (3-7 days)
– Review existing electrical setup and determine if professional help is needed (1 day)
– Clear the work area and protect countertops and island surface (1-2 hours)
– Gather all tools and materials listed above (1-2 hours)
Installation Day (2-5 hours):
– Turn off power and verify it’s off (15 minutes)
– Remove existing fixture if applicable (30-45 minutes)
– Install mounting bracket and junction box if needed (45-60 minutes)
– Wire the new fixture (30-45 minutes)
– Mount the fixture and make final adjustments (45-60 minutes)
– Install bulbs and test the fixture (15-30 minutes)
– Clean up work area (30 minutes)
Post-Installation (1-2 days):
– Fine-tune height and positioning (30 minutes)
– Install dimmer switch if desired (1-2 hours or hire electrician)
– Style your island area to complement new lighting (1-2 hours)
Best Time to Complete This Project:
Schedule your installation during daylight hours when you have natural light to work with. Weekend mornings are ideal when you have uninterrupted time. Avoid evening installations when you’ll need the kitchen most for dinner preparation.
Step-by-Step Instructions
Follow these detailed steps to successfully install your Linear Light Fixture for Kitchen Island:
Step 1: Measure and Plan Placement
Measure your kitchen island length and width. Your linear fixture should span approximately two-thirds to three-quarters of the island’s length for optimal proportion. Mark the center point of your island on the ceiling using a pencil. The fixture should hang 30-36 inches above the island surface for standard 36-inch high islands.
Step 2: Turn Off Power and Verify
Locate your kitchen’s circuit breaker and switch off power to the existing light fixture. Use a voltage tester to confirm the power is completely off before proceeding. This critical safety step prevents electrical shock.
Step 3: Remove Existing Fixture
If replacing old kitchen island pendant lights, carefully remove them by unscrewing the mounting hardware and disconnecting the wires. Support the fixture’s weight as you remove it to prevent damage to ceiling or wiring.
Step 4: Install Mounting Bracket
Position the mounting bracket that came with your linear fixture over the junction box. Ensure it’s centered and level, then secure it with screws into the ceiling joists or ceiling box. If your ceiling doesn’t have adequate support, install a new junction box rated for the weight of your fixture.
Step 5: Connect the Wiring
Match the fixture wires to your ceiling wires: black to black (hot), white to white (neutral), and green or bare copper to ground. Twist wires together clockwise, secure with wire nuts, and wrap with electrical tape for extra security. Carefully tuck wires into the junction box.
Step 6: Attach the Fixture
With help from another person (linear fixtures can be long and awkward), lift the fixture to the mounting bracket. Follow manufacturer instructions to secure it, which typically involves twisting and locking the canopy into place. Ensure all connections are tight and the fixture feels secure.
Step 7: Install Bulbs and Shades
If your fixture requires separate bulbs, install them according to specifications. Attach any glass shades, diffusers, or decorative elements. For integrated LED fixtures, simply ensure all protective films are removed.
Step 8: Restore Power and Test
Return to the circuit breaker and switch the power back on. Test your fixture using the wall switch. Check that all lights illuminate properly and the dimmer function works if installed.
Step 9: Make Final Adjustments
Step back and evaluate the fixture’s position. Adjust the height if your fixture has adjustable rods or chains. Use a level to ensure the fixture hangs perfectly straight. Make any necessary tweaks to positioning.
Step 10: Style Your Space
Now that your lighting is installed, style your kitchen island to showcase your new fixture. Add decorative elements, arrange bar stools at appropriate intervals, and enjoy your beautifully illuminated space.
Benefits / Advantages
Installing a linear light fixture for your kitchen island offers numerous practical and aesthetic advantages:
Uniform Illumination:
Linear fixtures provide even, continuous light across the entire island surface, eliminating the shadowy gaps that can occur between multiple pendant lights. This makes food preparation safer and more enjoyable, as you can clearly see what you’re working on from any position.
Modern Aesthetic Appeal:
These sleek fixtures instantly modernize your kitchen with clean lines and contemporary styling. They create a sophisticated focal point that draws the eye and anchors your kitchen’s design scheme.
Space Optimization:
Unlike multiple pendant lights that can feel cluttered or overwhelming, a single linear fixture streamlines your visual space, making even small kitchens feel more open and organized.
Versatile Design Options:
Linear fixtures come in countless styles—from industrial metal designs to elegant glass options—allowing you to find the perfect match for your kitchen’s personality, whether it’s farmhouse, modern, traditional, or transitional.
Increased Home Value:
Quality lighting fixtures are a smart investment that potential home buyers notice and appreciate. Updated kitchen lighting can significantly boost your home’s appeal and market value.
Energy Efficiency:
Most linear fixtures now feature LED technology, dramatically reducing energy consumption compared to traditional incandescent bulbs while providing superior light quality that lasts for years.
Flexible Task and Ambient Lighting:
When paired with a dimmer switch, linear fixtures offer incredible versatility—bright task lighting for cooking and softer ambient lighting for entertaining and dining.
Easy Maintenance:
A single fixture is far easier to clean and maintain than multiple pendant lights, saving you time and effort in your regular housekeeping routine.
Tips, Alternatives, Styling Advice
Maximize your kitchen island lighting with these expert suggestions:
Budget-Friendly Alternatives:
If premium designer fixtures exceed your budget, consider these cost-effective options: Look for well-rated fixtures from big-box retailers, shop end-of-season sales at lighting stores, or explore online marketplaces for gently used fixtures. DIY painting or refinishing an existing fixture can also create a custom look for minimal investment.
Small Space Solutions:
For compact kitchens with shorter islands, opt for a shorter linear fixture (24-36 inches) or consider a single oversized pendant instead. Mini linear fixtures designed specifically for small spaces provide the same modern look without overwhelming the area.
Style Coordination Tips:
Match your fixture finish to other kitchen hardware (cabinet pulls, faucet, appliances) for a cohesive design. For mixed metal looks, ensure your fixture complements at least one other metal element in the space. Consider your cabinet color—light fixtures provide beautiful contrast against dark cabinets, while darker fixtures pop against white or light-colored cabinetry.
Height Adjustment Guidelines:
The standard 30-36 inch hanging height works for most situations, but adjust based on your ceiling height and users’ heights. Taller individuals may prefer fixtures hung slightly higher (36-40 inches), while lower ceilings may require fixtures closer to 28-30 inches above the island.
Layered Lighting Approach:
Don’t rely solely on your island fixture. Create a complete lighting design by incorporating under-cabinet lighting for task areas, recessed ceiling lights for general ambient lighting, and decorative sconces or toe-kick lighting for depth and dimension.
Color Temperature Considerations:
Choose warm white (2700-3000K) for a cozy, inviting atmosphere in traditional kitchens, or opt for bright white (3500-4100K) in contemporary spaces where you want crisp, clean illumination that showcases modern finishes.
Fixture Style by Kitchen Design:
– Modern/Contemporary: Choose fixtures with clean lines, geometric shapes, and finishes like brushed nickel, chrome, or matte black
– Farmhouse/Rustic: Look for fixtures with wood accents, distressed finishes, or Edison-style bulbs
– Industrial: Select fixtures featuring exposed bulbs, metal cage designs, or raw metal finishes
– Transitional: Opt for simple fixtures with subtle details that bridge traditional and contemporary styles
– Traditional: Consider fixtures with classic details, bronze or brass finishes, and elegant glass shades
Mixing Linear Fixtures with Pendants:
For large islands or open-concept spaces, consider pairing a linear fixture with complementary pendant lights in other areas to create visual interest while maintaining design cohesion.
Common Mistakes to Avoid
Steer clear of these frequent pitfalls when selecting and installing your kitchen island lighting:
Choosing the Wrong Size:
The most common mistake is selecting a fixture that’s too small or too large for the island. A fixture that’s too short looks lost and disproportionate, while an oversized fixture overwhelms the space. Always measure carefully and follow the two-thirds to three-quarters rule for fixture length relative to island length.
Incorrect Hanging Height:
Hanging fixtures too high reduces their effectiveness and visual impact, while hanging them too low creates head-bumping hazards and obstructs sight lines. Maintain that 30-36 inch clearance and adjust only based on specific circumstances.
Ignoring Light Output Requirements:
Choosing a fixture based solely on appearance without considering brightness needs leaves you with inadequate lighting. Kitchen islands require 35-50 lumens per square foot for proper task lighting. Calculate your needs before purchasing.
Mismatched Color Temperature:
Installing cool-toned lighting in a warm-toned kitchen (or vice versa) creates visual discord. Ensure your fixture’s color temperature complements your overall kitchen palette and existing lighting.
Poor Quality Fixtures:
Budget fixtures might save money initially but often feature inferior construction, shorter lifespans, and disappointing light quality. Invest in quality fixtures from reputable manufacturers with good warranties.
Neglecting Dimming Capability:
Installing a fixture without dimming capability eliminates flexibility in your lighting scheme. Always choose dimmable fixtures and install compatible dimmer switches for maximum versatility.
DIY Installation Beyond Skill Level:
While many homeowners can successfully install light fixtures, complex electrical work or situations requiring new junction boxes should be handled by licensed electricians. Know your limits and prioritize safety.
Forgetting Ceiling Height Considerations:
Standard installation guidelines assume 8-9 foot ceilings. Homes with vaulted, cathedral, or exceptionally low ceilings require adjusted mounting approaches. Factor in your specific ceiling configuration.
Not Testing Before Permanent Installation:
Failing to test the fixture before completing installation can result in discovering defects after the point of easy return. Always test functionality before finishing the job.
Ignoring Overall Lighting Design:
Installing a beautiful island fixture while neglecting other kitchen lighting needs creates an unbalanced space with dark corners and insufficient ambient light. Think holistically about your entire kitchen’s lighting plan.
Maintenance / Upkeep Tips
Keep your linear light fixture looking beautiful and functioning optimally with these maintenance practices:
Regular Cleaning Schedule:
Dust your fixture weekly using a microfiber cloth or duster to prevent buildup. For glass or acrylic components, clean monthly with a mixture of warm water and mild dish soap, drying thoroughly with a lint-free cloth. Always turn off power and allow bulbs to cool before cleaning.
Deep Cleaning Process:
Quarterly, perform a thorough cleaning by removing any detachable shades or covers. Wash these components in warm, soapy water, rinse well, and dry completely before reinstalling. Wipe down metal components with appropriate cleaners for the finish type—avoid abrasive cleaners that can damage finishes.
Bulb Replacement:
For non-integrated LED fixtures, replace bulbs promptly when they burn out to maintain consistent light levels. Keep spare bulbs on hand and always replace with the correct wattage and type specified by the manufacturer. When replacing bulbs, wear clean gloves to avoid transferring skin oils that can shorten bulb life.
Inspection and Tightening:
Every few months, inspect your fixture for loose connections, screws, or components. Gently tighten any loose elements to prevent rattling or misalignment. Check that the fixture remains level and adjust if necessary.
Checking Electrical Connections:
Annually, turn off power and inspect visible wiring connections for any signs of wear, discoloration, or looseness. If you notice any issues, contact an electrician for professional assessment.
Updating for Style Refresh:
When your kitchen decor evolves, consider these update options without replacing the entire fixture: swap out shades for different colors or styles, spray paint metal components in new finishes (with fixture disassembled and power off), or replace standard bulbs with vintage Edison bulbs for a different aesthetic.
Protecting During Kitchen Projects:
When undertaking other kitchen renovations or painting projects, protect your fixture by covering it with plastic sheeting or removing it temporarily to prevent damage from dust, paint splatter, or chemical cleaners.
Addressing Common Issues:
If lights flicker, check bulb connections and dimmer compatibility. If the fixture dims over time, clean components to remove grease film that can reduce light output. If you notice buzzing sounds, investigate dimmer switch compatibility or loose connections.
Conclusion
Installing a Linear Light Fixture for Kitchen Island represents one of the most impactful upgrades you can make to your kitchen space. This single change delivers both practical illumination for daily tasks and stunning visual appeal that transforms your kitchen into a showcase worthy of design magazines. Unlike scattered kitchen island pendant lights that can create an uneven, cluttered appearance, a well-chosen linear fixture provides elegant continuity while flooding your workspace with consistent, shadow-free light. By following the comprehensive steps outlined in this guide—from careful measurement and proper installation to thoughtful styling and diligent maintenance—you’ll create a kitchen environment that serves your family beautifully for years to come. The benefits extend far beyond aesthetics; improved task lighting makes cooking safer and more enjoyable, while the modern design instantly updates your home’s most important gathering space. Whether you’re preparing meals, helping children with homework at the island, or entertaining guests, your new lighting will enhance every moment spent in your kitchen.
Ready to illuminate your kitchen island in style? Don’t wait another day to transform your space. Take measurements this weekend, explore fixture options that match your design vision, and begin your journey toward a brighter, more beautiful kitchen. Your dream kitchen is just one fixture away—make it happen today!
FAQs
Q: How long should a linear light fixture be for my kitchen island?
A: Your linear fixture should measure approximately two-thirds to three-quarters the length of your kitchen island. For example, if your island is 60 inches long, choose a fixture between 40-45 inches. This proportion creates visual balance without overwhelming or underwhelming the space.
Q: Can I install a linear light fixture myself, or do I need an electrician?
A: If you’re simply replacing an existing fixture with similar electrical requirements and you’re comfortable working with basic wiring, DIY installation is feasible for those with moderate skills. However, if you need to install new junction boxes, relocate electrical connections, or if you’re uncertain about any aspect of electrical work, hiring a licensed electrician ensures safety and code compliance.
Q: What’s the ideal height to hang a linear fixture above a kitchen island?
A: The standard recommendation is 30-36 inches from the bottom of the fixture to the island surface. This range provides optimal task lighting while allowing clear sight lines across the island. Adjust slightly higher for taller household members or lower for particularly high ceilings, but stay within the 28-40 inch range.
Q: How many watts or lumens do I need for proper kitchen island lighting?
A: Kitchen islands require 35-50 lumens per square foot for adequate task lighting. Calculate your island’s square footage and multiply by 40 lumens as a good middle ground. For example, a 15-square-foot island needs approximately 600 lumens total. Modern LED fixtures make achieving this output easy and energy-efficient.
Q: Should I choose a linear fixture with integrated LED or one that uses replaceable bulbs?
A: Both options have merits. Integrated LED fixtures offer sleek designs, excellent energy efficiency, and long lifespans (typically 25,000-50,000 hours), but when they eventually fail, the entire fixture may need replacement. Fixtures with replaceable bulbs offer flexibility to change brightness or color temperature and allow simple bulb swaps, but they may be less energy-efficient and require more frequent maintenance. Consider your priorities regarding initial cost, long-term maintenance preferences, and design aesthetics when making this decision.