LED vs Traditional Ceiling Lights: The 2026 Energy & Style Guide
Transforming your home’s ambiance starts from above—literally. When it comes to choosing the perfect ceiling lights, homeowners today face an important decision: LED vs Traditional Ceiling Lights. This choice impacts not just your monthly utility bills, but also your home’s aesthetic appeal, environmental footprint, and long-term maintenance requirements. With energy costs rising and sustainability becoming increasingly important, understanding the energy efficient ceiling lighting comparison between LED and traditional options is essential for making an informed decision that enhances your living space while saving money.
Table of Contents
Traditional incandescent and halogen ceiling lights have dominated homes for decades, but LED technology has revolutionized how we illuminate our spaces. Whether you’re renovating a single room or planning a whole-house lighting upgrade, this comprehensive guide will walk you through everything you need to know about selecting, installing, and maximizing the benefits of the right ceiling lighting solution for your home.
Materials & Decor Elements
Before diving into your lighting transformation project, gather these essential materials and elements:
Lighting Fixtures:
– LED ceiling light fixtures (recessed, flush-mount, or pendant style)
– Traditional ceiling light alternatives (incandescent or halogen fixtures for comparison)
– Light bulbs appropriate for each fixture type
– Dimmer switches compatible with your chosen lighting technology
Installation Tools:
– Screwdriver set (flathead and Phillips)
– Wire strippers
– Voltage tester
– Ladder or step stool
– Drill with appropriate bits
– Wire nuts and electrical tape
– Junction box (if replacing existing fixtures)
Decor Enhancement Elements:
– Light diffusers or decorative covers
– Ceiling medallions for traditional aesthetics
– Paint or touch-up supplies for ceiling repairs
– Decorative trim rings for recessed lighting
Safety Equipment:
– Safety glasses
– Work gloves
– Circuit breaker labels
– Flashlight or headlamp
Documentation Materials:
– Measuring tape
– Notepad for recording measurements
– Camera for before/after photos
– Energy consumption calculator or app
Timing / Project Planning
Proper planning ensures your lighting upgrade proceeds smoothly without unnecessary delays or complications.
Preparation Phase (1-3 Days):
– Research and compare different lighting options (2-4 hours)
– Measure room dimensions and ceiling height (1 hour)
– Calculate the number of fixtures needed based on room size (1 hour)
– Purchase materials and fixtures (2-3 hours)
– Review electrical requirements and local building codes (1-2 hours)
Installation Timeline:
Single Room (3-5 hours):
– Turning off power and removing old fixtures: 30-45 minutes
– Installing new ceiling light fixtures: 1-2 hours per fixture
– Testing and adjusting: 30 minutes
– Cleanup and final touches: 30 minutes
Whole House Project (1-3 days):
– Multiple rooms can be completed over a weekend with proper planning
– Consider staging the project room by room
– Allow buffer time for unexpected issues
Best Time to Undertake This Project:
– Daytime hours with natural light availability
– Mild weather if working in areas without climate control
– When household disruption is minimal
– Before major events or gatherings where lighting is crucial
Step-by-Step Instructions
Follow these detailed steps to successfully transition from traditional to energy-efficient ceiling lighting, keeping in mind the fundamental differences in the LED vs Traditional Ceiling Lights installation process.
Step 1: Assess Your Current Lighting Situation
Begin by evaluating your existing ceiling lights. Count the number of fixtures, note their wattage, and observe the quality of light they produce. Document your current energy consumption by checking recent electricity bills and calculating the approximate cost of running your traditional lights. This baseline will help you measure the impact of your upgrade and appreciate the energy efficient ceiling lighting comparison results.
Step 2: Calculate Your Lighting Needs
Determine the appropriate amount of light for each room using the following formula: Square footage × 1.5 = total wattage needed for traditional bulbs, or Square footage × 0.3 = total wattage needed for LED bulbs. For example, a 200-square-foot living room would need approximately 300 watts of traditional lighting or just 60 watts of LED lighting to achieve the same brightness.
Step 3: Select Appropriate LED Fixtures
Choose LED ceiling lights based on:
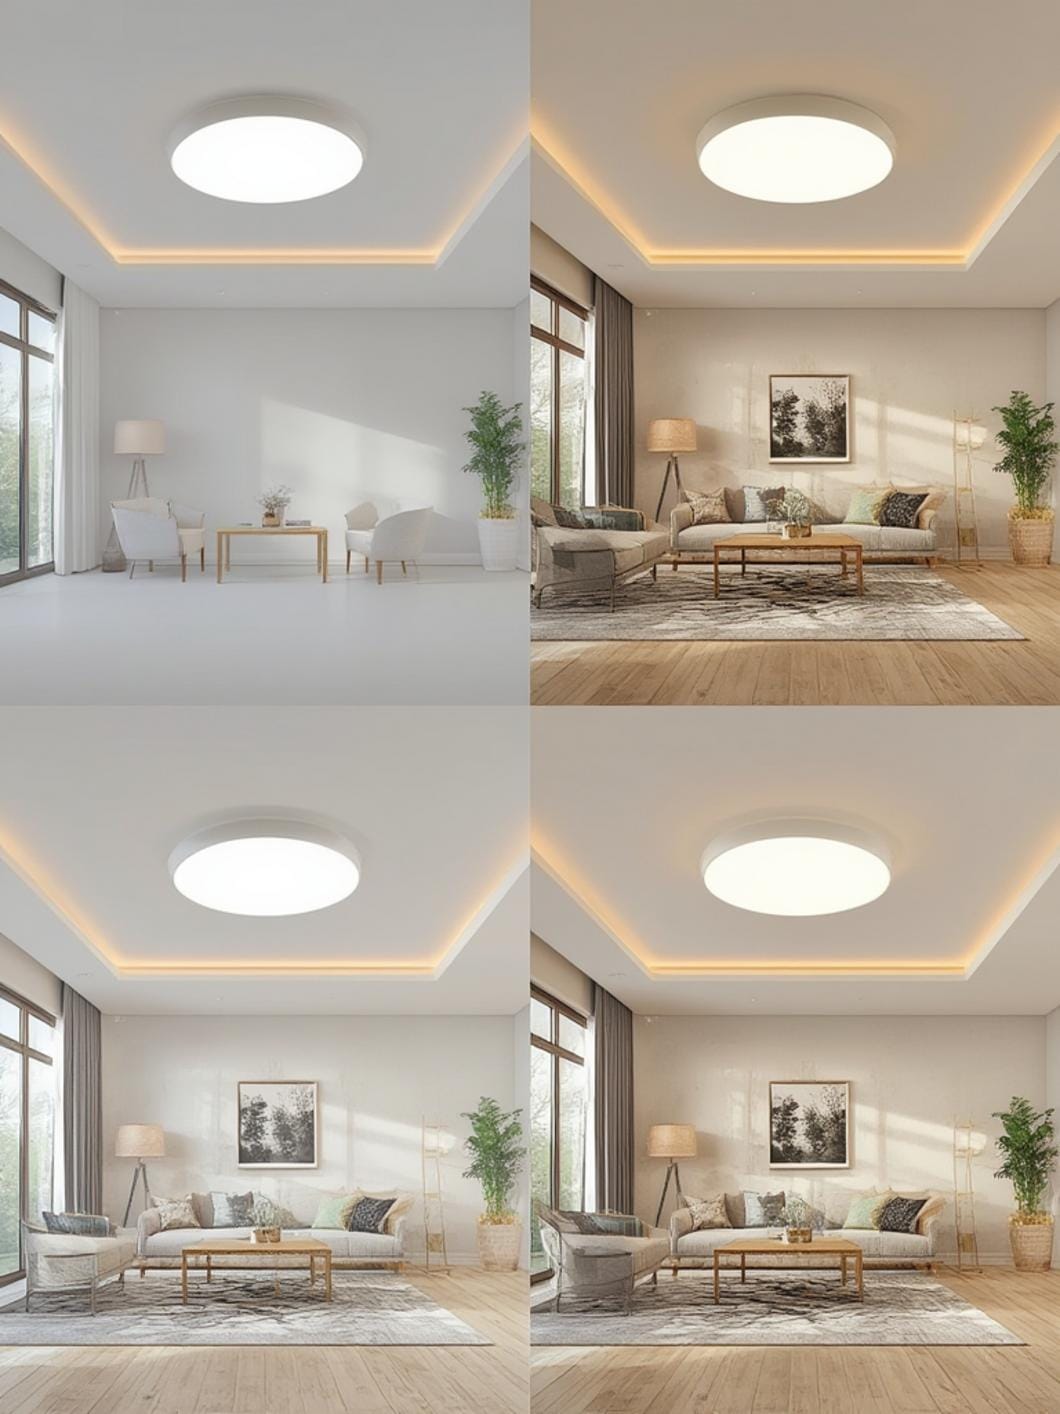
– Color temperature: 2700-3000K for warm, cozy spaces; 3500-4100K for task-oriented areas; 5000-6500K for workspaces requiring bright, focused light
– Lumens output: The actual brightness measurement (not wattage)
– Color Rendering Index (CRI): Aim for 80+ for accurate color representation
– Dimming compatibility: Ensure fixtures work with dimmer switches if desired
– Style and design: Match your home’s aesthetic with appropriate fixture styles
Step 4: Prepare the Work Area
Clear the room of furniture directly beneath lighting fixtures. Locate your electrical panel and identify the circuit breaker controlling the ceiling lights. Turn off the power and use a voltage tester to confirm electricity is disconnected. Place a warning sign on the breaker box to prevent accidental power restoration during installation.
Step 5: Remove Traditional Ceiling Fixtures
Carefully detach existing light fixtures by removing screws or mounting hardware. Gently pull the fixture away from the ceiling to access the wiring. Note the wire connections (typically black to black, white to white, and green or copper to ground). Disconnect wires by unscrewing wire nuts and separating the connections. Remove the old mounting bracket if you’re replacing it with a new one.
Step 6: Install LED Ceiling Light Fixtures
Attach the new mounting bracket to the junction box using the provided screws. Connect the fixture wires to your house wiring: black (hot) to black, white (neutral) to white, and green or bare copper (ground) to the ground wire or grounding screw. Secure connections with wire nuts and wrap with electrical tape for extra safety. Tuck wires neatly into the junction box and attach the LED fixture to the mounting bracket according to manufacturer instructions.
Step 7: Install LED Bulbs or Integrated Components
If your fixture uses replaceable bulbs, install LED bulbs with the appropriate wattage equivalent and color temperature. For integrated LED fixtures, ensure all components are properly connected. Double-check that all connections are secure before proceeding.
Step 8: Restore Power and Test
Return to the electrical panel and restore power to the circuit. Test each new LED ceiling light to ensure proper function. Check dimmer switches if installed, verifying smooth operation across the full range. Observe the light quality, color, and distribution throughout the room.
Step 9: Adjust and Optimize
Fine-tune your lighting by adjusting dimmer settings, repositioning adjustable fixtures, or adding additional lights if needed. Consider the lighting at different times of day and for various activities. Make necessary adjustments to achieve optimal illumination.
Step 10: Dispose of Old Fixtures Responsibly
Properly dispose of traditional bulbs and fixtures according to local regulations. Many communities offer recycling programs for light bulbs, especially compact fluorescent lamps (CFLs) that contain mercury. LED bulbs, while more environmentally friendly, should also be recycled when possible.
Benefits / Advantages
Making the switch to LED ceiling lights offers numerous compelling advantages that extend far beyond simple illumination.
Energy Efficiency and Cost Savings:
LED ceiling lights consume 75-80% less energy than traditional incandescent bulbs. A typical 60-watt incandescent bulb can be replaced with a 9-12 watt LED that produces the same amount of light. Over the lifetime of the LED (typically 25,000-50,000 hours compared to 1,000 hours for incandescent), you’ll save hundreds of dollars per fixture in electricity costs and replacement bulb expenses.
Extended Lifespan:
Traditional incandescent bulbs burn out frequently, requiring replacement every 8-12 months with regular use. LED ceiling lights can last 15-25 years under normal conditions, dramatically reducing maintenance requirements and the hassle of frequent bulb changes, especially beneficial for hard-to-reach ceiling fixtures.
Superior Light Quality:
Modern LED technology offers excellent color rendering and consistent brightness without the warm-up time required by some traditional lighting options. You can select from various color temperatures to create the perfect ambiance for each room, from warm, inviting tones for bedrooms to crisp, energizing light for kitchens and workspaces.
Environmental Impact:
LED lights significantly reduce your carbon footprint by consuming less electricity generated from fossil fuels. They contain no mercury or other hazardous materials found in some traditional lighting options, and their longer lifespan means fewer resources consumed in manufacturing and transportation.
Reduced Heat Emission:
Traditional incandescent bulbs convert approximately 90% of their energy into heat rather than light. LED ceiling lights remain cool to the touch, reducing air conditioning costs during warm months and eliminating the fire hazard associated with hot fixtures near combustible materials.
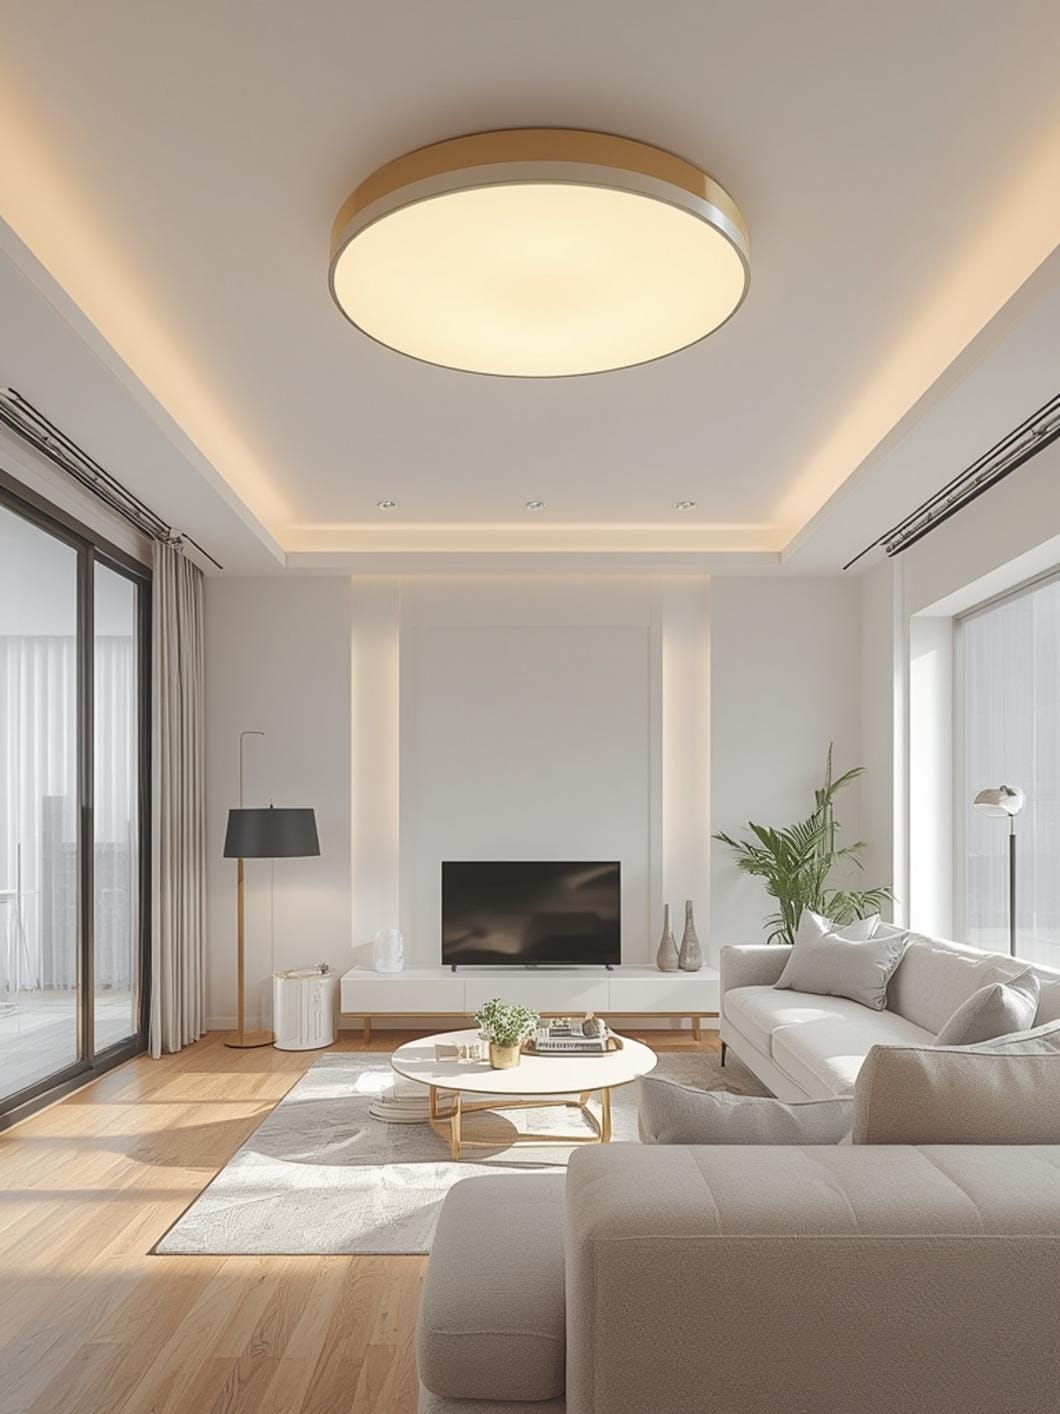
Design Flexibility:
LED technology enables sleek, modern fixture designs impossible with traditional bulbs. The compact size of LED components allows for ultra-thin flush-mount fixtures, flexible strip lighting, and creative designs that enhance your home’s architectural features.
Instant Illumination:
Unlike CFL bulbs that require warm-up time, LED ceiling lights provide full brightness immediately when switched on, perfect for areas requiring instant illumination like bathrooms, hallways, and staircases.
Dimming Capabilities:
When paired with compatible dimmers, LED ceiling lights offer smooth, flicker-free dimming across a wide range, allowing precise control over ambiance and further energy savings.
Tips, Alternatives, Styling Advice
Maximize the impact of your ceiling lighting upgrade with these expert recommendations tailored to various needs and preferences.
Budget-Conscious Approaches:
If cost is a concern, prioritize upgrading lights in rooms used most frequently—typically living rooms, kitchens, and bedrooms. Calculate the payback period by dividing the upgrade cost by annual energy savings; rooms with lights used 4+ hours daily typically offer the fastest return on investment. Consider replacing just the bulbs rather than entire fixtures if your existing fixtures are in good condition and compatible with LED bulbs.
Small Space Solutions:
In compact rooms, maximize the impact of ceiling lights by choosing fixtures with wider beam angles that distribute light more evenly. Recessed LED lights create a clean, uncluttered appearance that makes small spaces feel larger. Consider fixtures with adjustable direction to highlight specific areas and create depth.
Styling for Different Design Aesthetics:
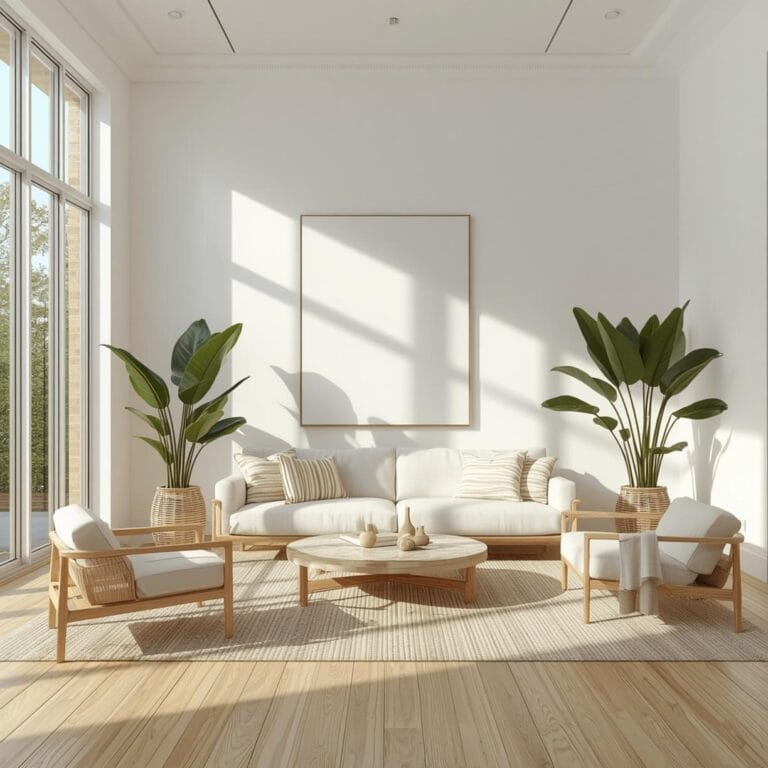
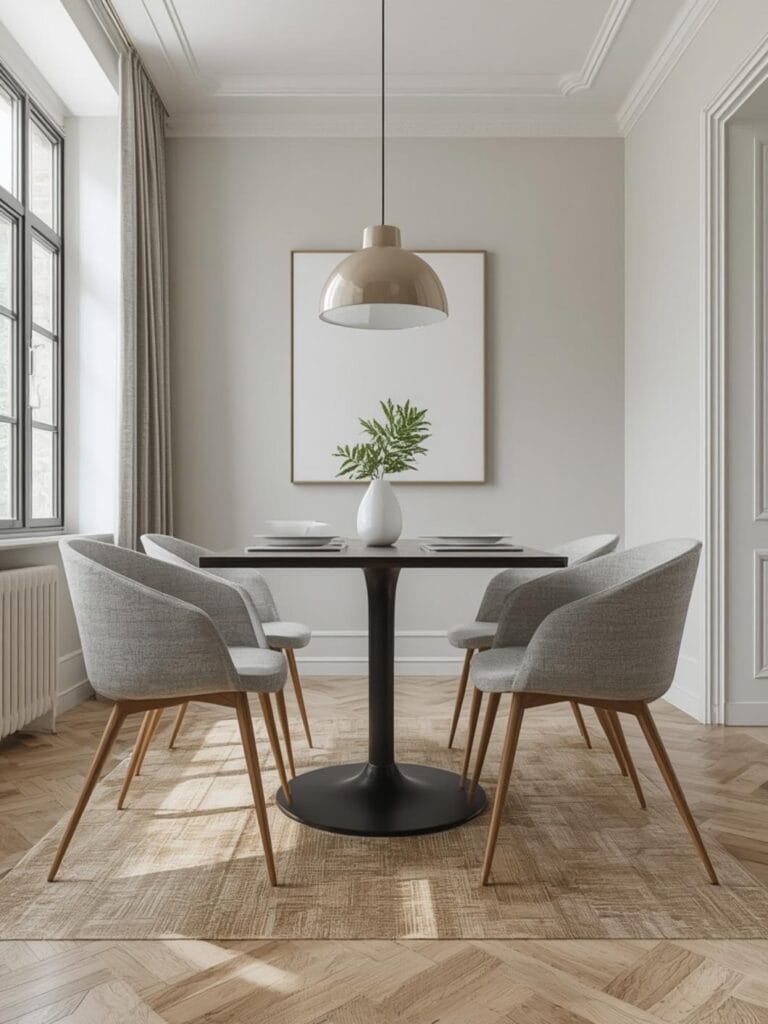
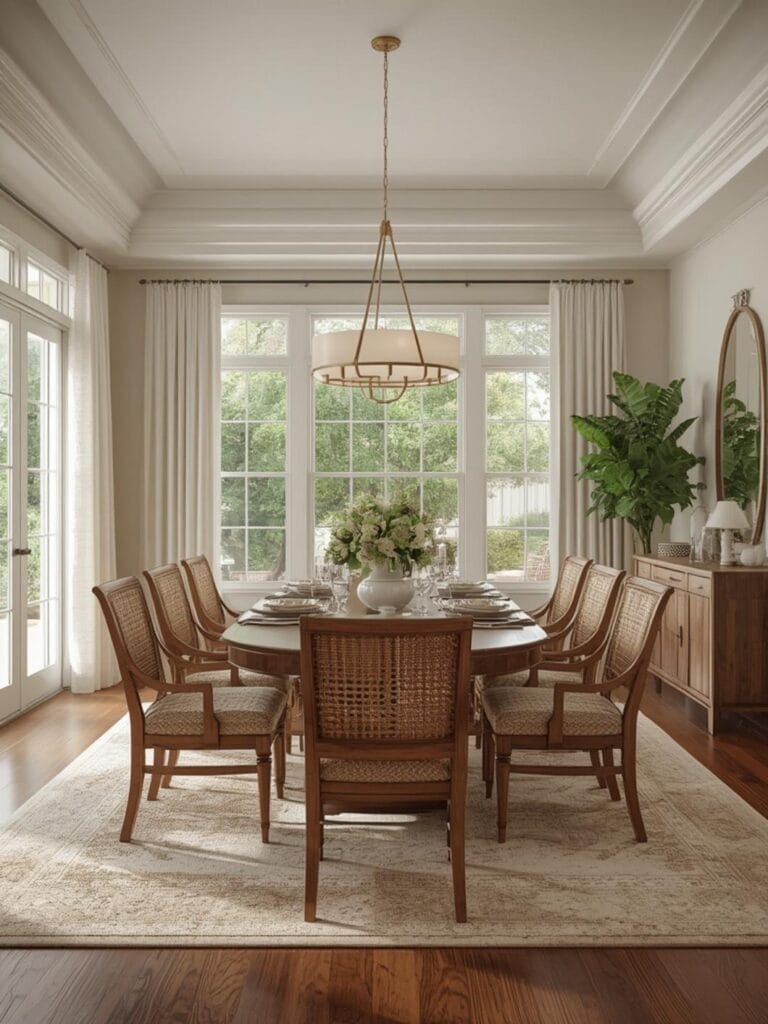
Modern/Contemporary: Choose sleek, geometric LED fixtures with clean lines, brushed metal finishes, or minimalist flush-mount designs. Opt for cooler color temperatures (4000-5000K) for a crisp, contemporary feel.
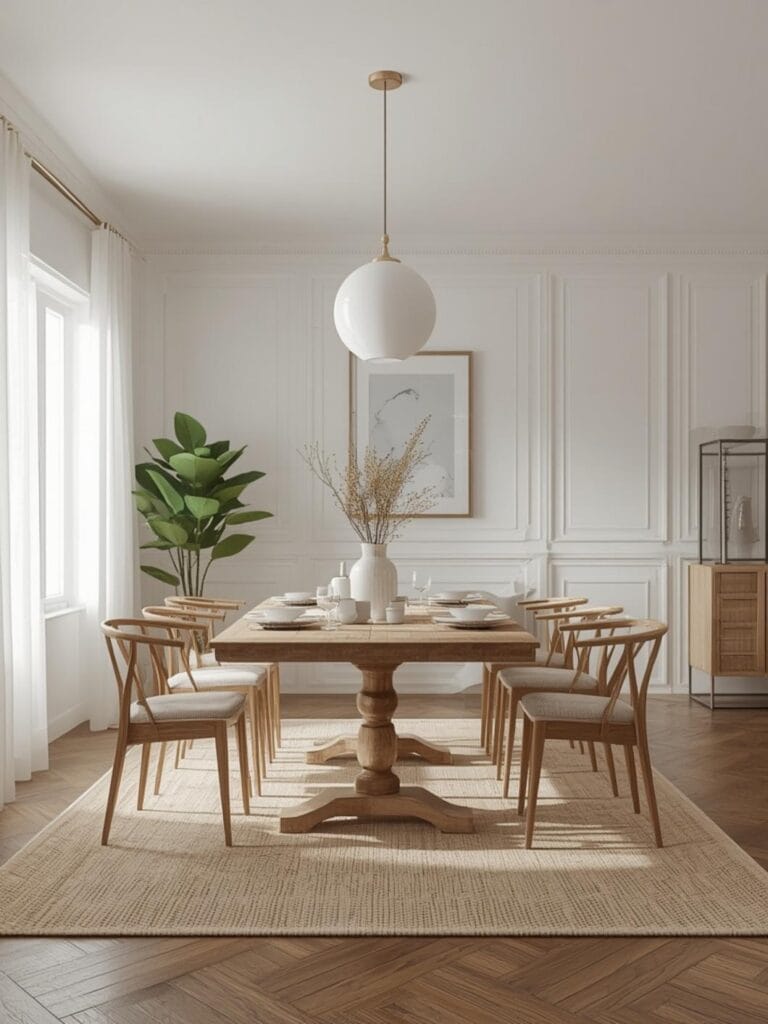
Traditional/Classic: Select LED fixtures designed to resemble traditional chandeliers, pendant lights with decorative elements, or fixtures with warm brass and bronze finishes. Use warmer color temperatures (2700-3000K) that mimic the glow of incandescent bulbs.
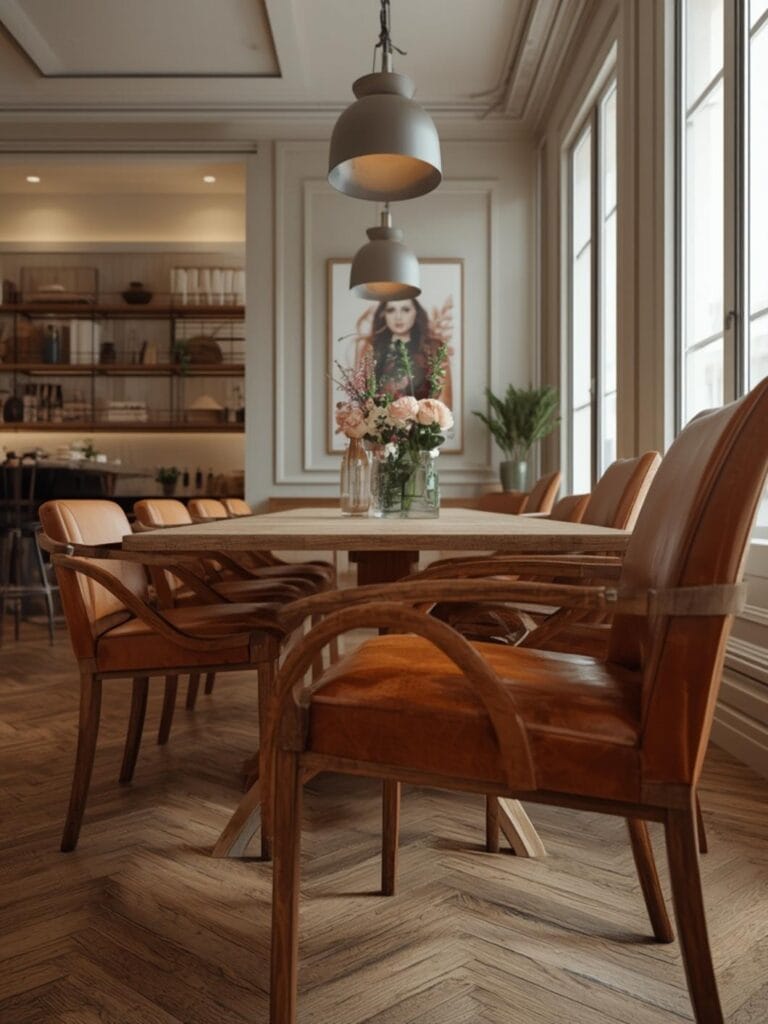
Industrial: Exposed bulb LED fixtures, metal cage designs, and fixtures with visible hardware complement industrial aesthetics while providing modern efficiency.
Scandinavian/Minimalist: Simple white or natural wood fixtures with integrated LEDs create the clean, functional appearance characteristic of Scandinavian design.
Layered Lighting Strategy:
Don’t rely solely on ceiling lights. Combine overhead LED fixtures with:
– Wall sconces for ambient lighting
– Table and floor lamps for task lighting
– Under-cabinet LEDs for functional illumination
– Accent lights to highlight artwork or architectural features
This layered approach creates depth, flexibility, and visual interest while optimizing energy use.
Color Temperature Selection Guide:
– 2700K (Warm White): Bedrooms, dining rooms, living rooms—creates cozy, intimate atmosphere
– 3000K (Soft White): Kitchens, bathrooms—balanced warmth with adequate task lighting
– 3500-4000K (Neutral White): Home offices, reading areas—reduces eye strain
– 5000K+ (Daylight): Garages, workshops, laundry rooms—bright, energizing illumination
Smart Home Integration:
Consider smart LED ceiling lights that connect to home automation systems. Features include:
– Voice control through Amazon Alexa, Google Assistant, or Apple HomeKit
– Scheduling to automatically turn lights on/off
– Remote control via smartphone apps
– Integration with security systems
– Adjustable color temperature throughout the day (circadian rhythm support)
Alternative LED Options:
If traditional ceiling fixtures don’t suit your needs, explore:
– LED track lighting: Adjustable and versatile for highlighting artwork or architectural features
– LED strip lighting: Installed in coves or around ceiling perimeters for indirect ambient lighting
– LED panel lights: Ultra-thin, frameless designs that create a floating light effect
– Retrofit LED kits: Convert existing recessed fixtures to LED without complete replacement
Common Mistakes to Avoid
Navigate your lighting upgrade successfully by avoiding these frequent pitfalls:
Mistake 1: Choosing Based on Wattage Instead of Lumens
Traditional thinking associates brightness with wattage, but LED efficiency makes this obsolete. An 800-lumen LED bulb might use only 10 watts while a traditional bulb needs 60 watts for the same brightness. Always check lumens (actual light output) rather than wattage when selecting LED replacements.
Solution: Use this conversion guide: 450 lumens = 40W incandescent; 800 lumens = 60W incandescent; 1,100 lumens = 75W incandescent; 1,600 lumens = 100W incandescent.
Mistake 2: Ignoring Color Temperature Compatibility
Installing LEDs with vastly different color temperatures in adjacent rooms or within the same space creates jarring transitions and visual discomfort.
Solution: Maintain consistency within 500K across open-plan spaces. Purchase all bulbs from the same manufacturer and product line to ensure color consistency.
Mistake 3: Using Incompatible Dimmers
Installing LED bulbs with traditional incandescent dimmers often results in flickering, buzzing, reduced dimming range, or premature LED failure.
Solution: Verify LED compatibility before purchasing dimmers. Look for dimmers specifically rated for LED or ELV (Electronic Low Voltage) applications. Many manufacturers provide compatibility lists on their websites.
Mistake 4: Overlooking Heat Management in Enclosed Fixtures
While LEDs produce less heat than traditional bulbs, they still generate warmth that must dissipate. Installing non-rated LEDs in completely enclosed fixtures can significantly reduce lifespan.
Solution: Choose LED bulbs specifically rated for enclosed fixtures when installing in covered ceiling lights, recessed cans with no ventilation, or outdoor fixtures with sealed globes.
Mistake 5: Poor Quality LED Selection
Bargain-basement LED products often suffer from poor color rendering, shorter lifespans, and inadequate warranties, negating the technology’s benefits.
Solution: Invest in reputable brands with Energy Star certification, good warranties (minimum 3-5 years), and CRI ratings above 80. Read reviews before purchasing.
Mistake 6: Inadequate Planning for Total Light Output
Replacing traditional bulbs one-for-one with LED equivalents without considering the room’s total lighting needs can result in over or under-illumination.
Solution: Calculate required lumens based on room size and function. Use lighting calculators available online or consult with lighting professionals for complex spaces.
Mistake 7: Neglecting Electrical Safety
Working with ceiling fixtures without properly shutting off power or using damaged wiring connections creates serious safety hazards.
Solution: Always turn off power at the circuit breaker, not just the wall switch. Use a voltage tester to confirm power is off. Replace damaged wiring or junction boxes. If uncertain about electrical work, hire a licensed electrician.
Mistake 8: Forgetting to Check Fixture Dimensions
Purchasing replacement LED fixtures without measuring existing junction box compatibility or ceiling clearance can result in installation difficulties or impossible fits.
Solution: Measure your existing fixtures and junction box configurations before shopping. Verify ceiling clearance for flush-mount fixtures and ensure adequate space for recessed lighting installations.
Maintenance / Upkeep Tips
Maximize the longevity and performance of your LED ceiling lights with proper maintenance:
Regular Cleaning (Every 3-6 Months):
Dust accumulation on LED fixtures reduces light output and can trap heat. Turn off power to fixtures and allow them to cool completely. Use a microfiber cloth slightly dampened with water to wipe fixture surfaces. For glass covers or diffusers, remove them carefully and wash with mild soap and water, drying thoroughly before reinstalling. Avoid harsh chemicals that might damage fixture finishes or plastic components.
Inspection Schedule:
Conduct quarterly inspections of your LED ceiling lights:
– Check for any flickering or dimming that might indicate connection issues
– Verify that fixtures remain securely mounted
– Look for discoloration around fixtures that might suggest heat problems
– Test dimmer switches for smooth operation
– Ensure no visible damage to fixtures or covers
Addressing Performance Issues:
If an LED light begins flickering, first check that the bulb (if replaceable) is securely screwed in. Verify wire connections are tight if you’re comfortable accessing the junction box. For integrated LED fixtures experiencing issues within the warranty period, contact the manufacturer for replacement options.
Updating Your Lighting:
LED technology continues advancing rapidly. Consider updating your ceiling lights every 10-15 years to benefit from improved efficiency, better color rendering, and enhanced features like smart home integration. Older LED fixtures, while still functional, may consume more energy than newer models.
Seasonal Considerations:
In areas with significant seasonal temperature variations, LED performance may be affected. While LEDs tolerate cold better than traditional bulbs, extreme heat in uninsulated spaces during summer can impact lifespan. Ensure adequate ventilation around fixtures and consider adding insulation to protect both your lighting and home comfort.
Documentation:
Keep records of purchase dates, warranty information, and product specifications for all LED ceiling lights. This documentation simplifies warranty claims and ensures you can purchase matching replacements if needed.
Professional Maintenance:
Schedule an electrician’s inspection every 5-7 years to verify all connections remain secure, junction boxes are in good condition, and your home’s electrical system adequately supports your lighting load. This preventive maintenance can identify potential issues before they become serious problems.
Conclusion
The decision between LED vs Traditional Ceiling Lights has become increasingly clear as LED technology has matured and prices have decreased. The comprehensive benefits of energy efficiency, longevity, superior light quality, and environmental responsibility make LED ceiling lights the superior choice for virtually every residential application. By following the step-by-step instructions outlined in this guide, you can confidently upgrade your home’s lighting system, immediately beginning to realize substantial energy savings while enhancing your living spaces with beautiful, controllable illumination.
The energy efficient ceiling lighting comparison demonstrates that LED technology offers unmatched value over the life of the fixtures, with typical payback periods of 2-3 years in frequently used rooms and ongoing savings for decades thereafter. Beyond financial considerations, the improved quality of light, reduced environmental impact, and decreased maintenance requirements create a compelling case for making the switch today rather than waiting for traditional bulbs to burn out.
Ready to transform your home with energy-efficient LED ceiling lights? Start with one room to experience the difference firsthand, then expand your upgrade throughout your home. Calculate your potential savings using online energy calculators, explore the latest LED fixture designs from reputable manufacturers, and take the first step toward a brighter, more efficient future. Share your lighting transformation journey in the comments below—we’d love to hear about your experiences and answer any questions as you embark on this rewarding home improvement project!
FAQs
Q1: Can I replace traditional ceiling lights with LEDs without changing the entire fixture?
Yes, in most cases you can simply replace traditional bulbs with LED equivalents that fit the same socket. Ensure the LED bulbs are compatible with your fixture type (enclosed, dimmable, etc.) and match the base size (E26, E12, GU10, etc.). This approach is the most budget-friendly and can be completed in minutes per fixture without any electrical work.
Q2: Why do some LED ceiling lights flicker, and how can I fix this?
LED flickering typically occurs due to incompatible dimmer switches, loose connections, or poor-quality LED drivers. First, ensure connections are secure. If using a dimmer, verify it’s rated for LED use and try adjusting the minimum dim level setting. For persistent issues, replace the dimmer with an LED-compatible model or switch to a higher-quality LED bulb or fixture with better driver electronics.
Q3: What is the actual cost savings difference between LED and traditional ceiling lights?
A single 60-watt incandescent bulb used 5 hours daily costs approximately $6.57 per year in electricity (at $0.13/kWh). An equivalent 10-watt LED costs just $1.10 annually—a savings of $5.47 per bulb. Over the LED’s 25,000-hour lifespan (approximately 13.7 years at 5 hours daily), you’ll save $75 per bulb in energy costs alone, not including the cost of replacing the incandescent bulb 25 times during that period.
Q4: Are all LED ceiling lights dimmable, and do I need special dimmer switches?
Not all LED bulbs and fixtures are dimmable—always check product specifications before purchasing. Dimmable LEDs require LED-compatible dimmer switches, as traditional incandescent dimmers often cause flickering, buzzing, limited dimming range, or reduced LED lifespan. Look for dimmers labeled “LED compatible” or “ELV” (Electronic Low Voltage), and consult manufacturer compatibility lists for best results.
Q5: How do I choose the right color temperature for LED ceiling lights in different rooms?
Color temperature significantly impacts room ambiance. For bedrooms, living rooms, and dining areas where you want warm, relaxing light, choose 2700-3000K. Kitchens and bathrooms benefit from 3000-3500K, providing adequate task lighting while maintaining warmth. Home offices and workspaces perform best with 3500-4000K for alertness without harshness. Garages, workshops, and laundry rooms can use 5000K+ for maximum visibility and energy.